A Drop of Drip Irrigation
Part 1
This post is essentially a version of my own pro/con list when I was deciding whether to try drip irrigation. If you already know you want to install a drip irrigation system, or don’t care about my thoughts on drip irrigation (no hard feelings) and just want to read a post about installing a system, wait until next post.
Watering Plants (not Grass)
Grass is overrated.
That said.
I’m a huge fan of vegetable gardens, flowers, trees, ferns, mossy rocks, structured bushes, succulents, climbing vines, and... ok... some ornamental grasses.
So while I have put minimal effort into maintaining my meager lawn, the last few years I have filled my property with all sorts of other plant life. My built-in porch planters now teem with tulip bulbs, mango popsicle flowers, periwinkle, and ice plants. I planted a baby japanese maple, black bamboo, and lilac bushes to help fill in the empty corners of my backyard. A small flotilla of a dozen or so pots huddle on my patio and contain assorted perennial flowers and hardy herbs like rosemary and lavender. And just a few weeks ago, I built a greenhouse and raised planter in my side yard to house even more plants!
Overlooking for a moment any apparent plant hoarding disorder, caring for so many (awesome) plants isn’t easy. And I found that the task that took the most time and gave me the smallest amount of joy (thanks Marie Kondo) was the seemingly constant task of watering them. 💦🌱
In an attempt to reclaim that joy, I determined I had 5 choices...
Irrigation Options
1. Continue watering everything by hand
Once plants become established, most only need to be watered well about once a week in my climate (zone 8b). But if you are like me, and are consistently adding new plants to your yard that require more watering to get settled in, watering by hand gets... well... out of hand. 👋 (Don’t worry, I write these jokes mainly to amuse myself.)
I wanted something more automated that I could supplement with hand watering for plants that needed it.
2. Use a portable sprinkler
When I was kid, my dad would water his yard this way. The problem was, he would forget about it, it would stay on for hours and beyond being wasteful, parts of the lawn would turn into treacherous swampy mud pits. I distinctly remember a friend of mine slipping on one of those mud pits and sliding head first into a nearby light pole.
My dad eventually started using a timer, but the sprinkler would never cover the entire yard and had to be moved from yard to yard through out the day. Easier than hand watering but still too much manual labor for me.
3. Use a pop-up sprinkler system
My property does have a traditional programmable pop-up sprinkler system. It is unquestionably more convenient than its portable cousin, and has sprinklers that cover virtually all corners of my property. However, my system was primarily designed for watering the lawn (which again, I don’t care about), and tends to spray mist all over other plants’ leaves, which I’ve realized encourages fungus growth.
I found, via some research, that I could replace some of my sprinkler heads with ones with different patterns and even some drip emitters. But due to the fact that my sprinkler heads are primarily located in the middle of my lawn, running drip lines through the grass or somehow getting water to spray all the way to my lawn-less side yard would have been impractical without some major reworking of the sprinkler system.
4. Use soaker hoses
Soaker hoses have a lot of the same benefits as drip irrigation systems in that they don’t waste a lot of water via spraying and only irrigate plant roots. I was actually using soaker hoses for my vegetable garden before considering drip irrigation.
The main drawback to soaker hoses is they have to be laid through your yard in some way to get to the plants you want to water. In my case, the hose had to lay right through a stone pathway in my backyard to get to my vegetable planters. I only had to trip on it a few times to understand what a horrible mistake I had made.
5. Build a drip irrigation system
When I first considered it, I thought building my own custom drip irrigation system would be expensive and a lot of work. Like many things in life, it depends.
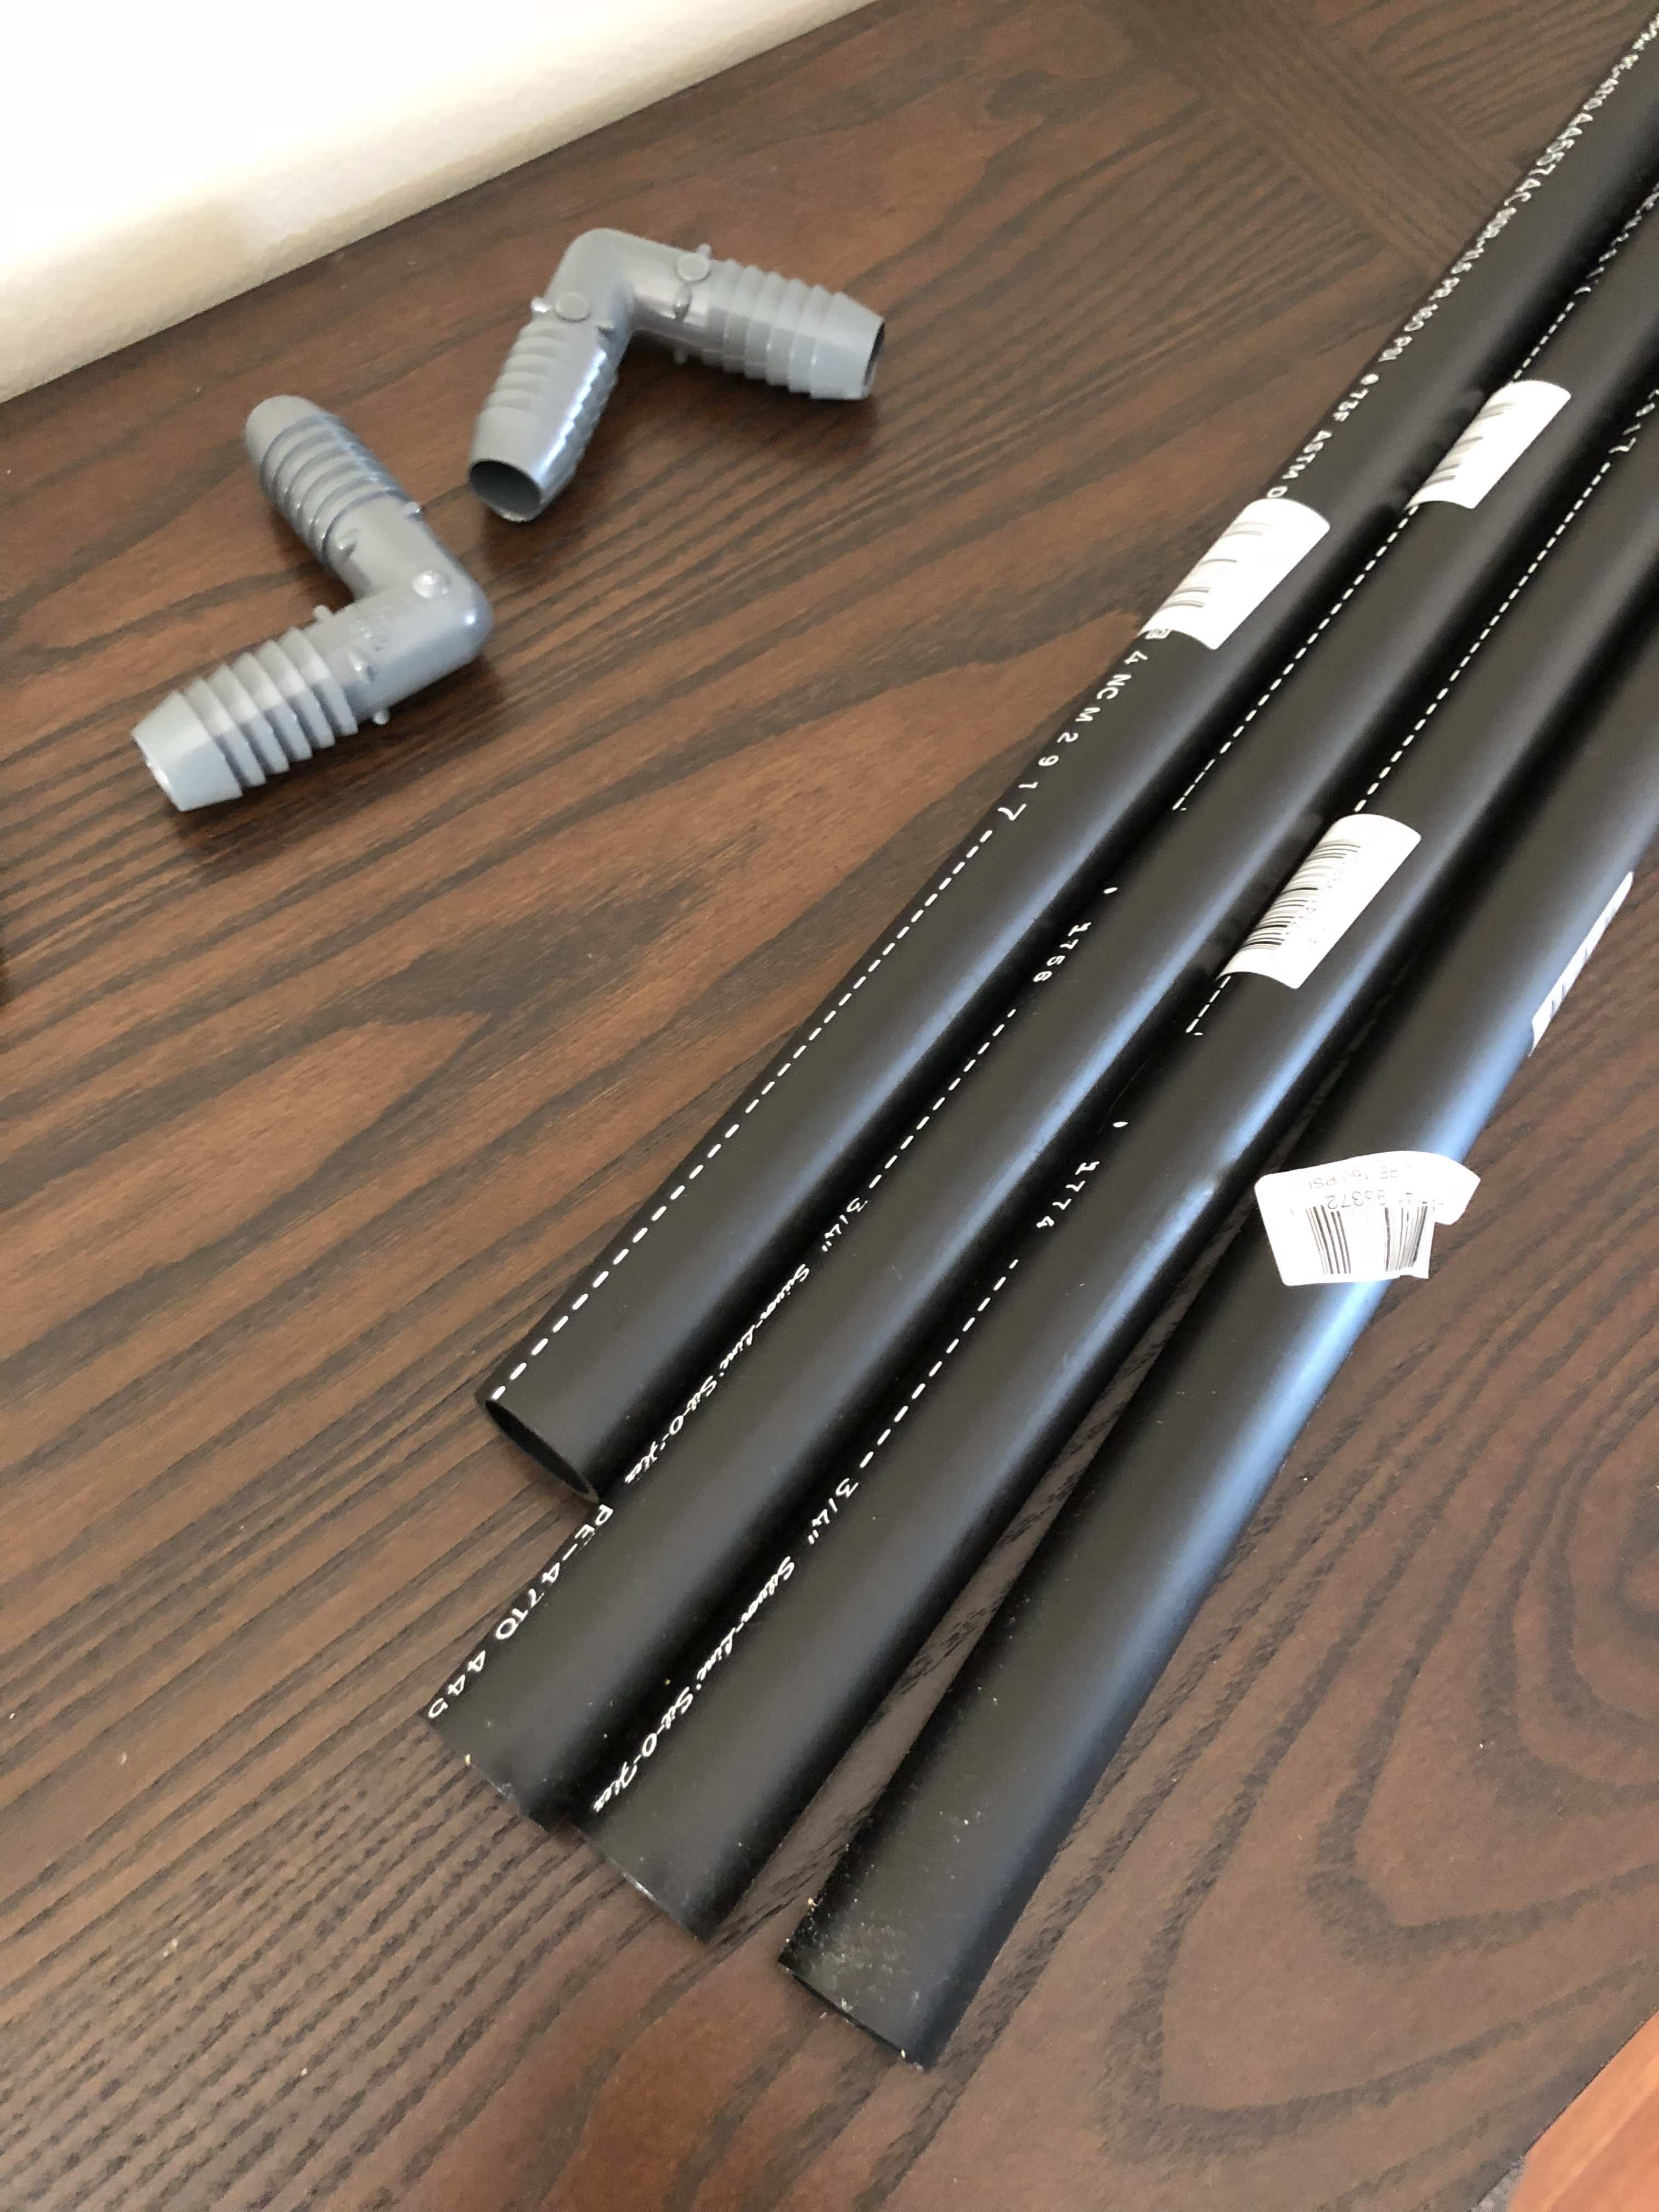
Amazon sells drip starter kits for around 25 bucks, which gives you everything you need to drip irrigate dozens of plants. Additional line and drip attachments are equally inexpensive and allow you to easily expand your system as you obsessively acquire more plants. Throw in a 25 dollar digital watering timer and you have yourself a decent automated irrigation system for around 50-60 bucks.
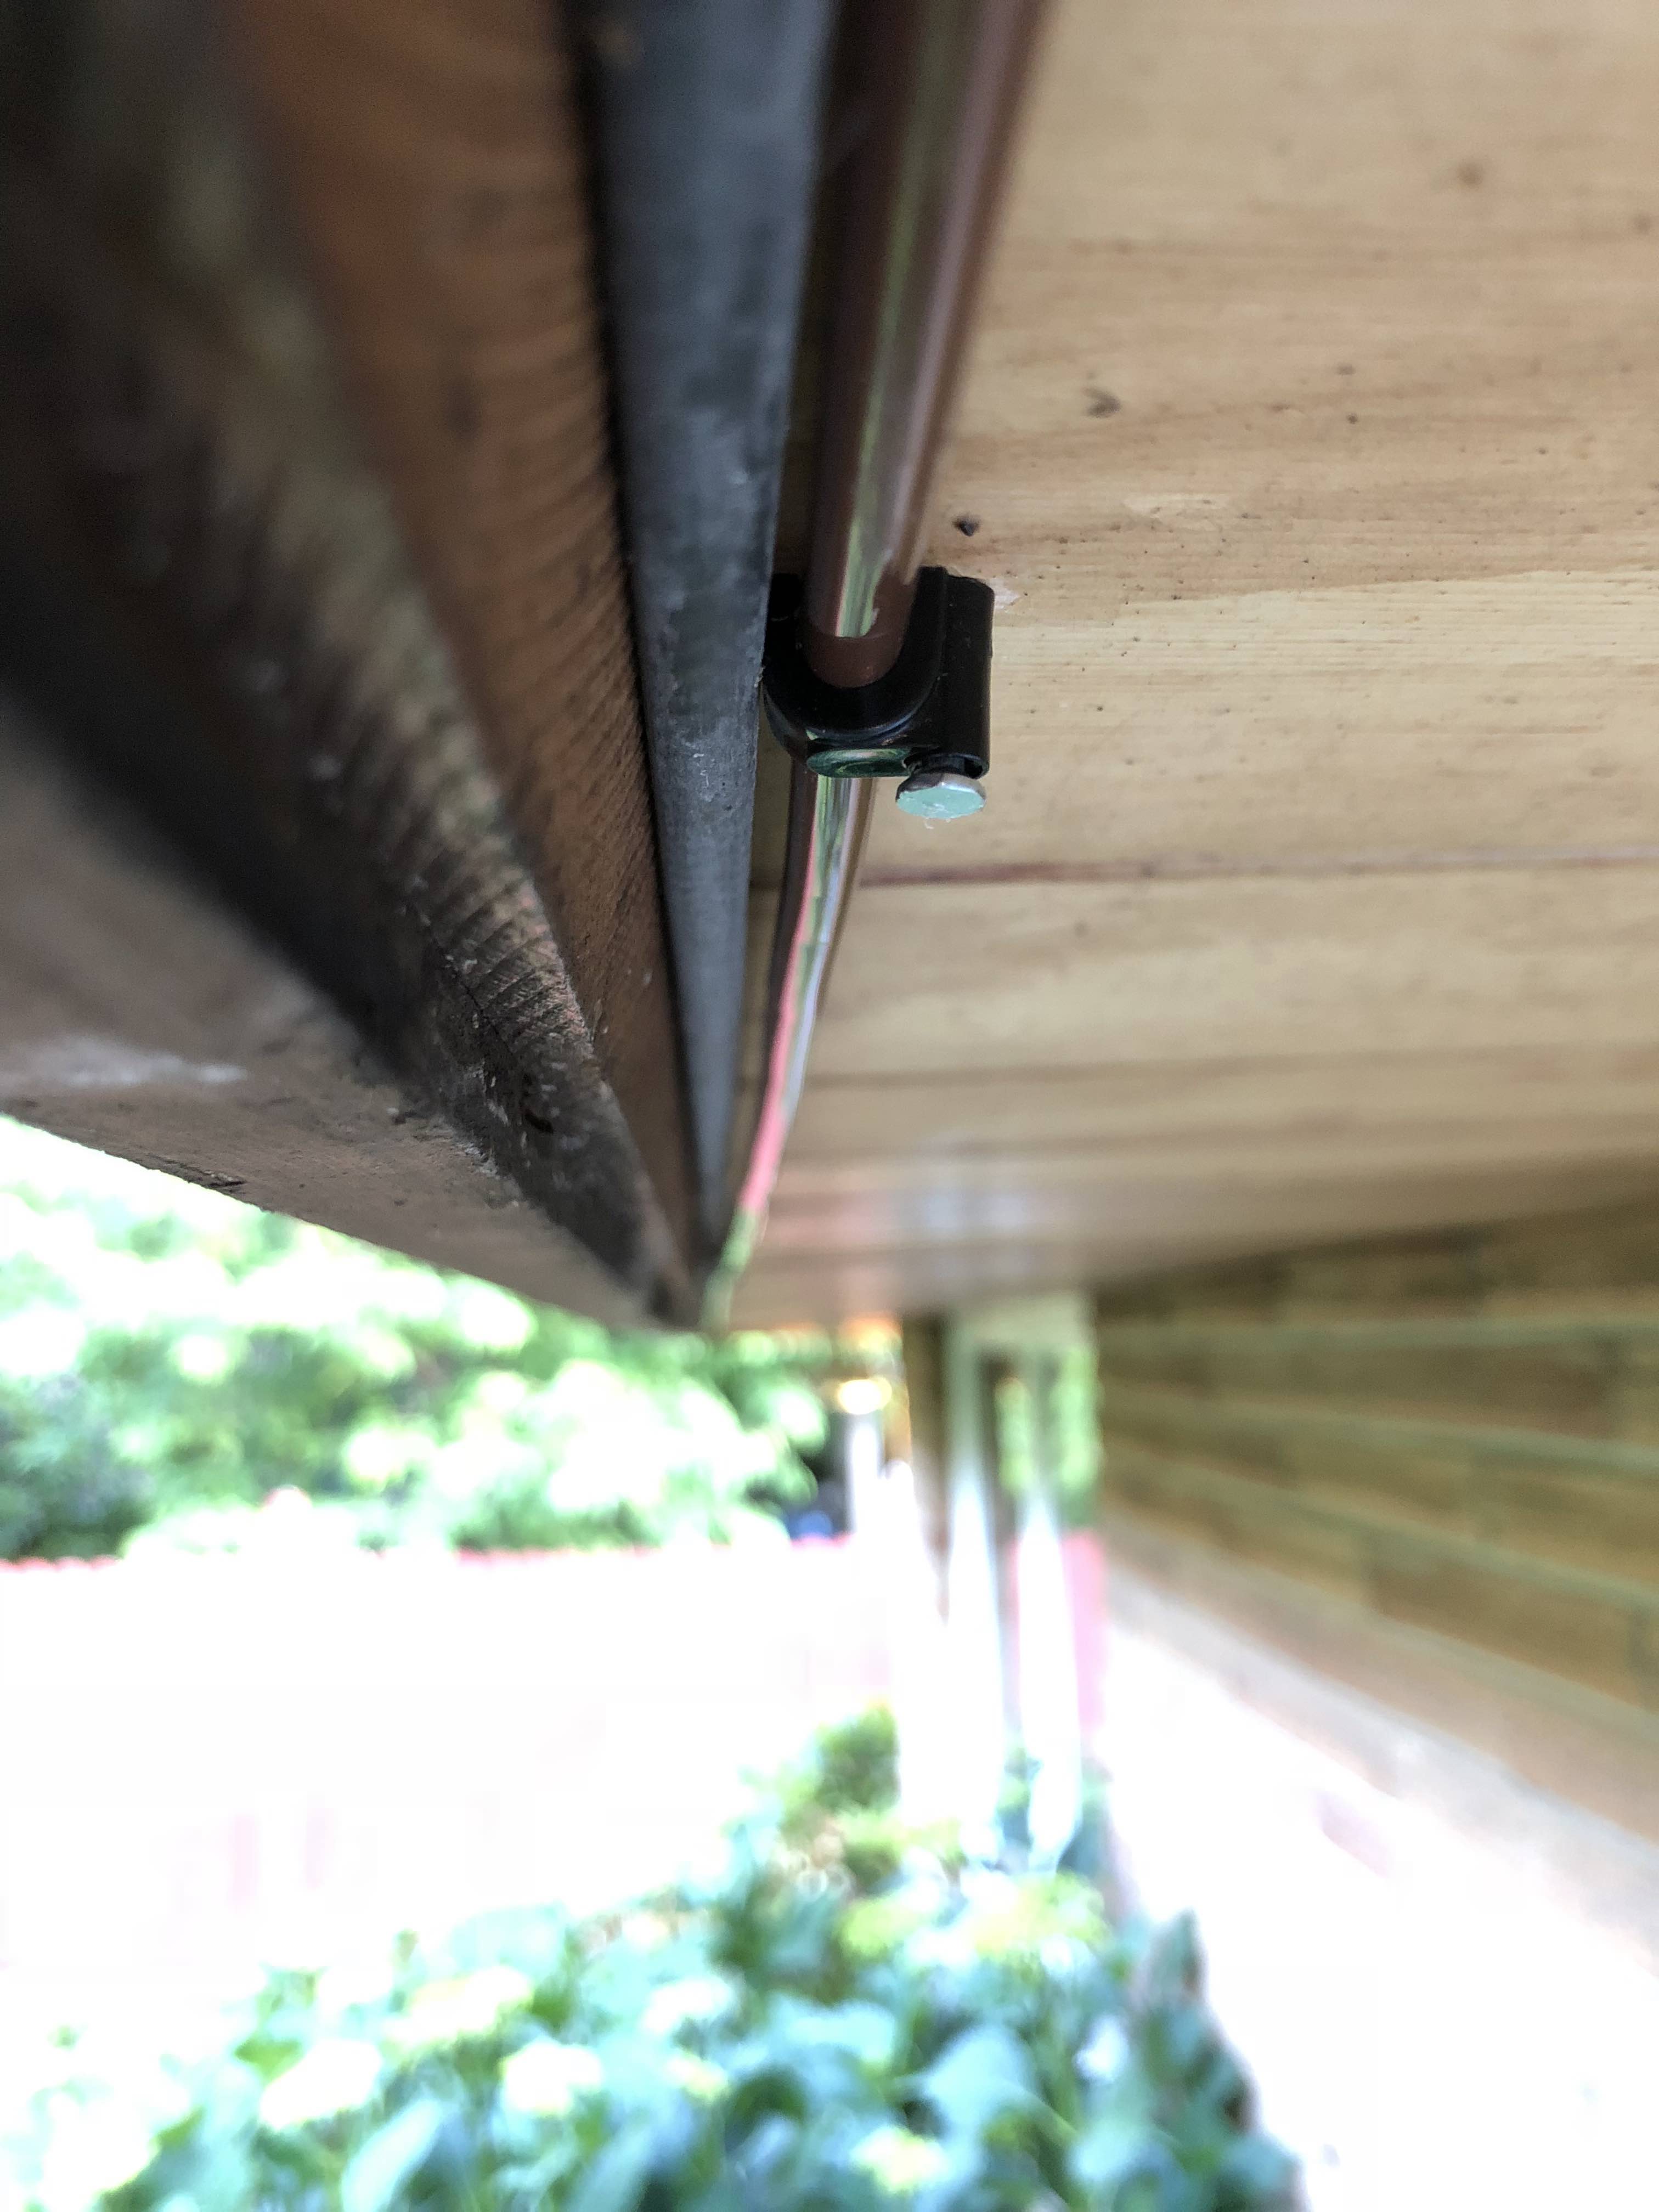
How much work that is involved in installing a drip system really depends on how many plants you have, how far they are away from the faucet, and how you choose to get the water line there. Since my plants are scattered to all four corners of my property, I designed a plan to run the water line along the eaves of my roof and drop it down where ever it was needed. I got the idea by the way my coax cables were installed, and it seemed like a pretty genius way to get the system to reach all the way around my property, while keeping it out of sight.
Part 2: Installation
In Part 2 of this blog post, I’ll walk through my drip irrigation installation, some of the issues I ran into, and some creative solutions I tried to fix them. Spoiler alert, there were a lot of problems, but the result was worth it.
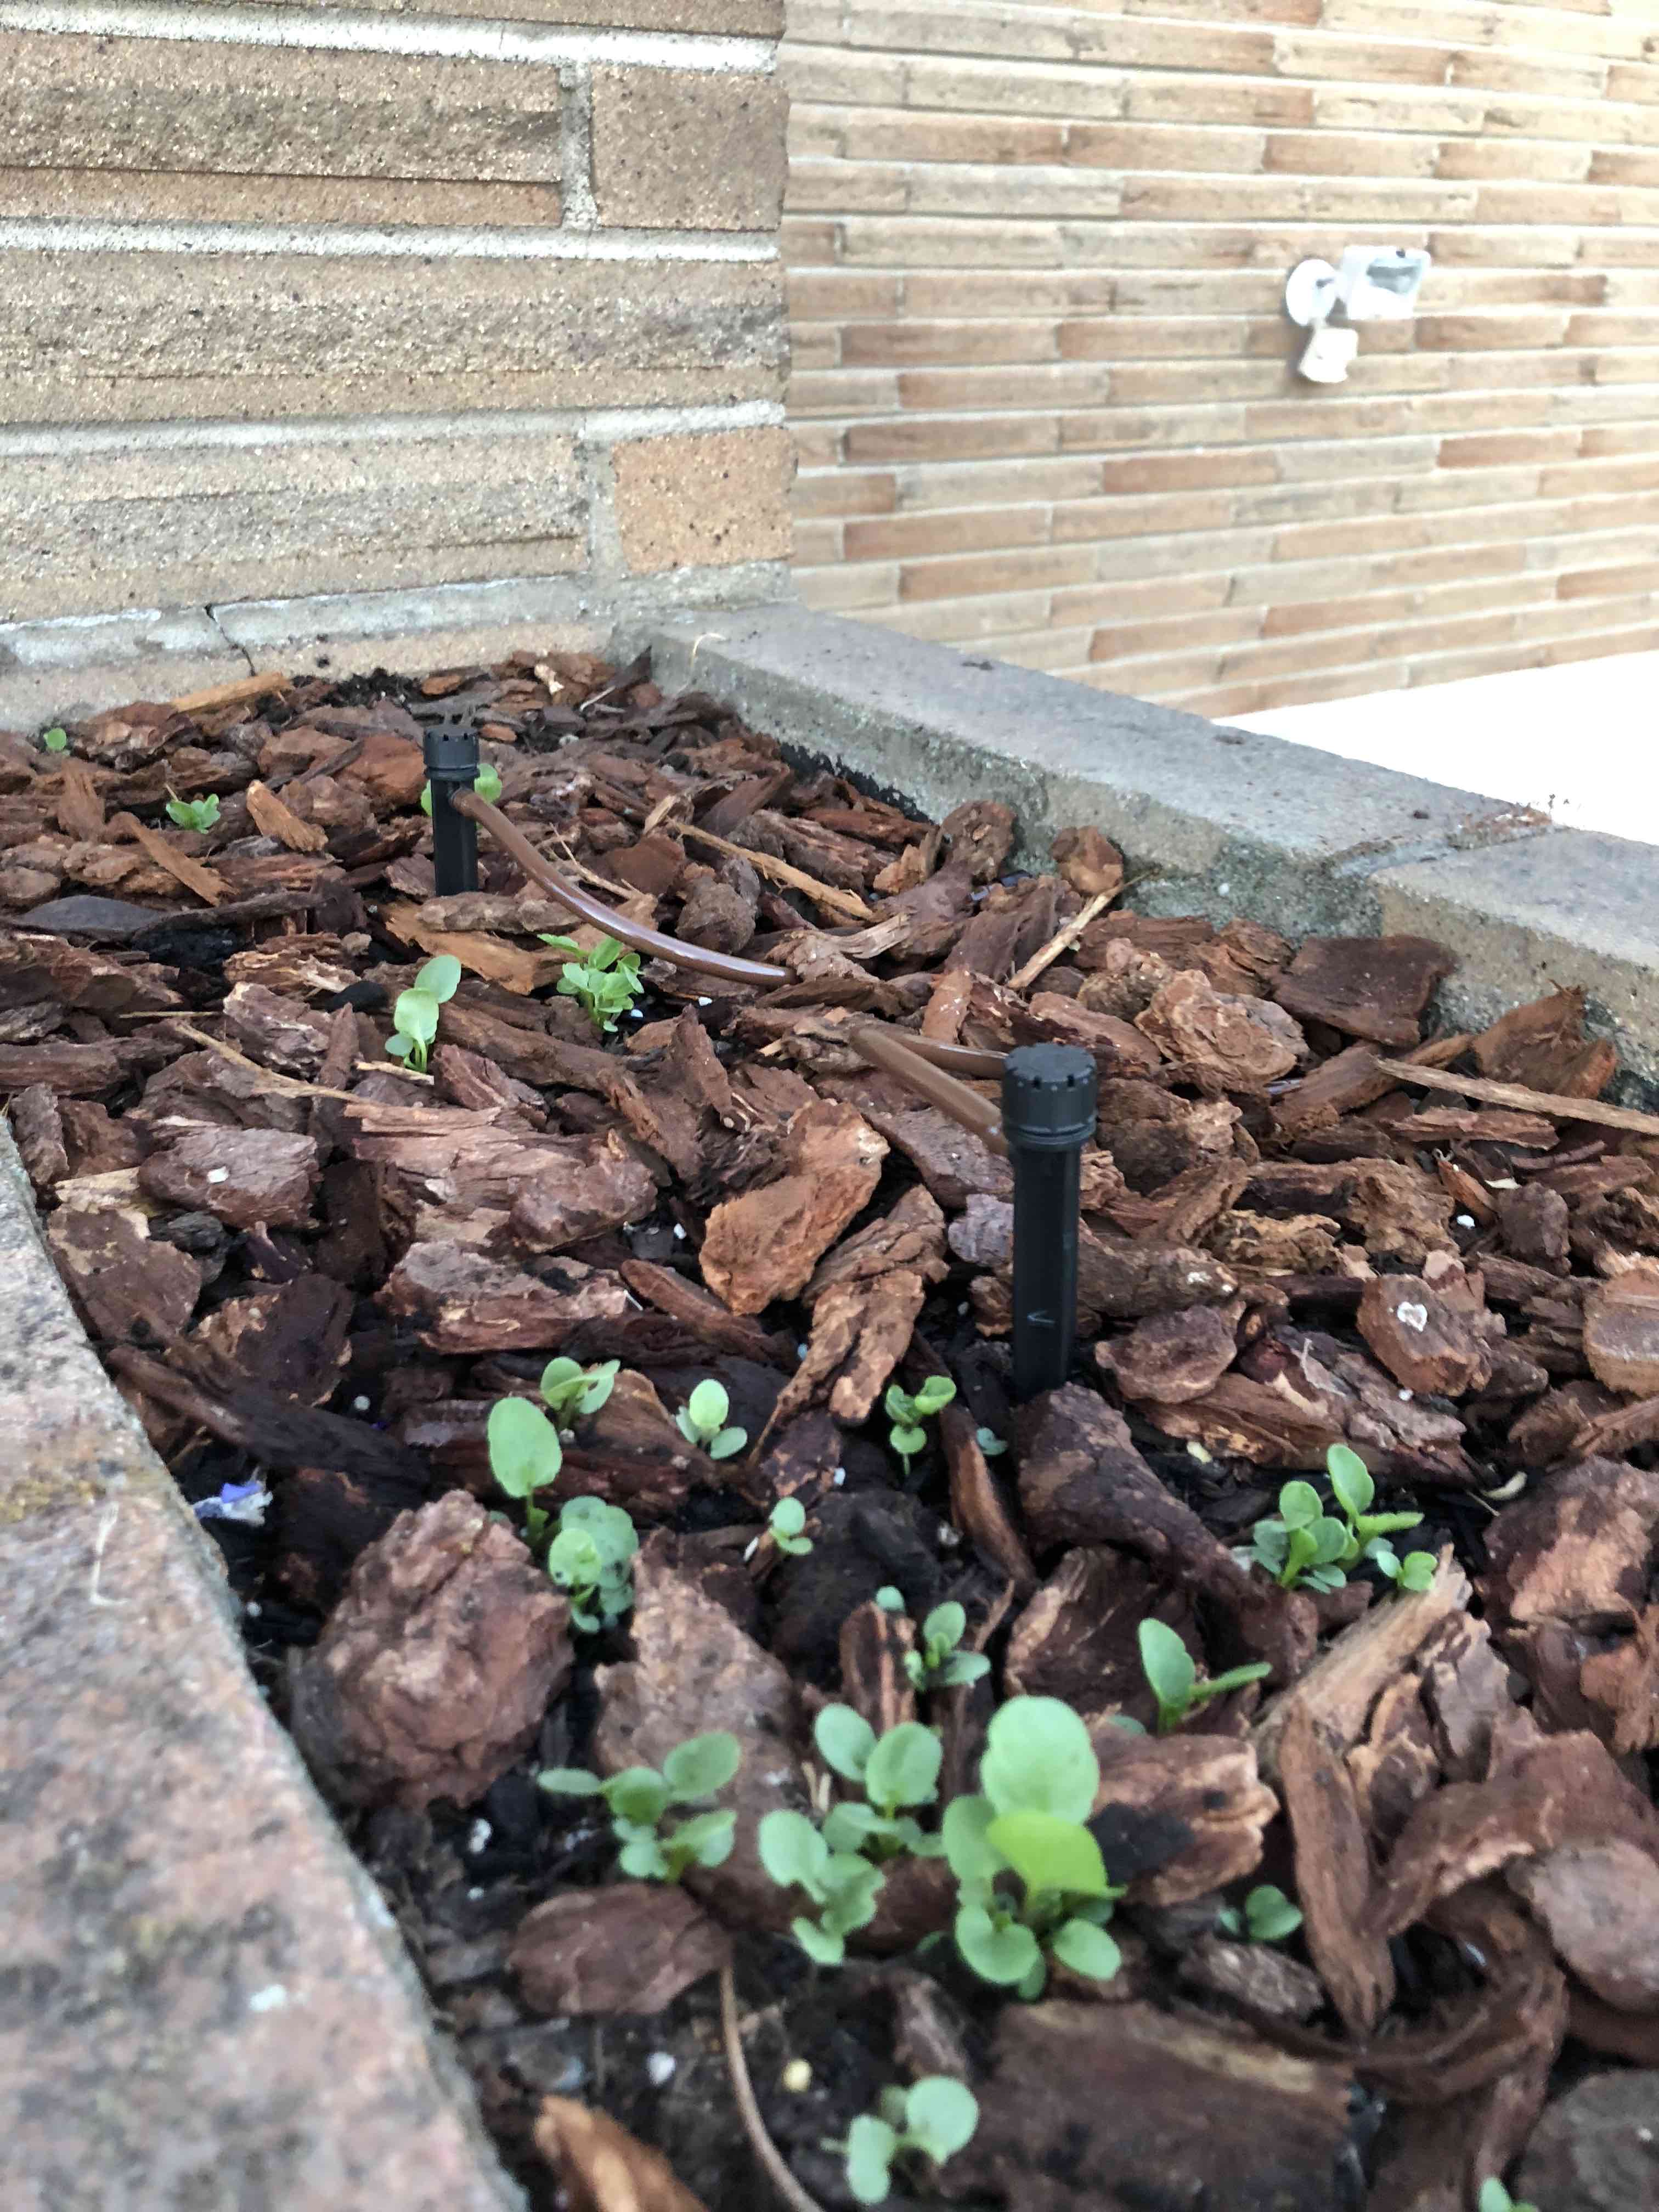
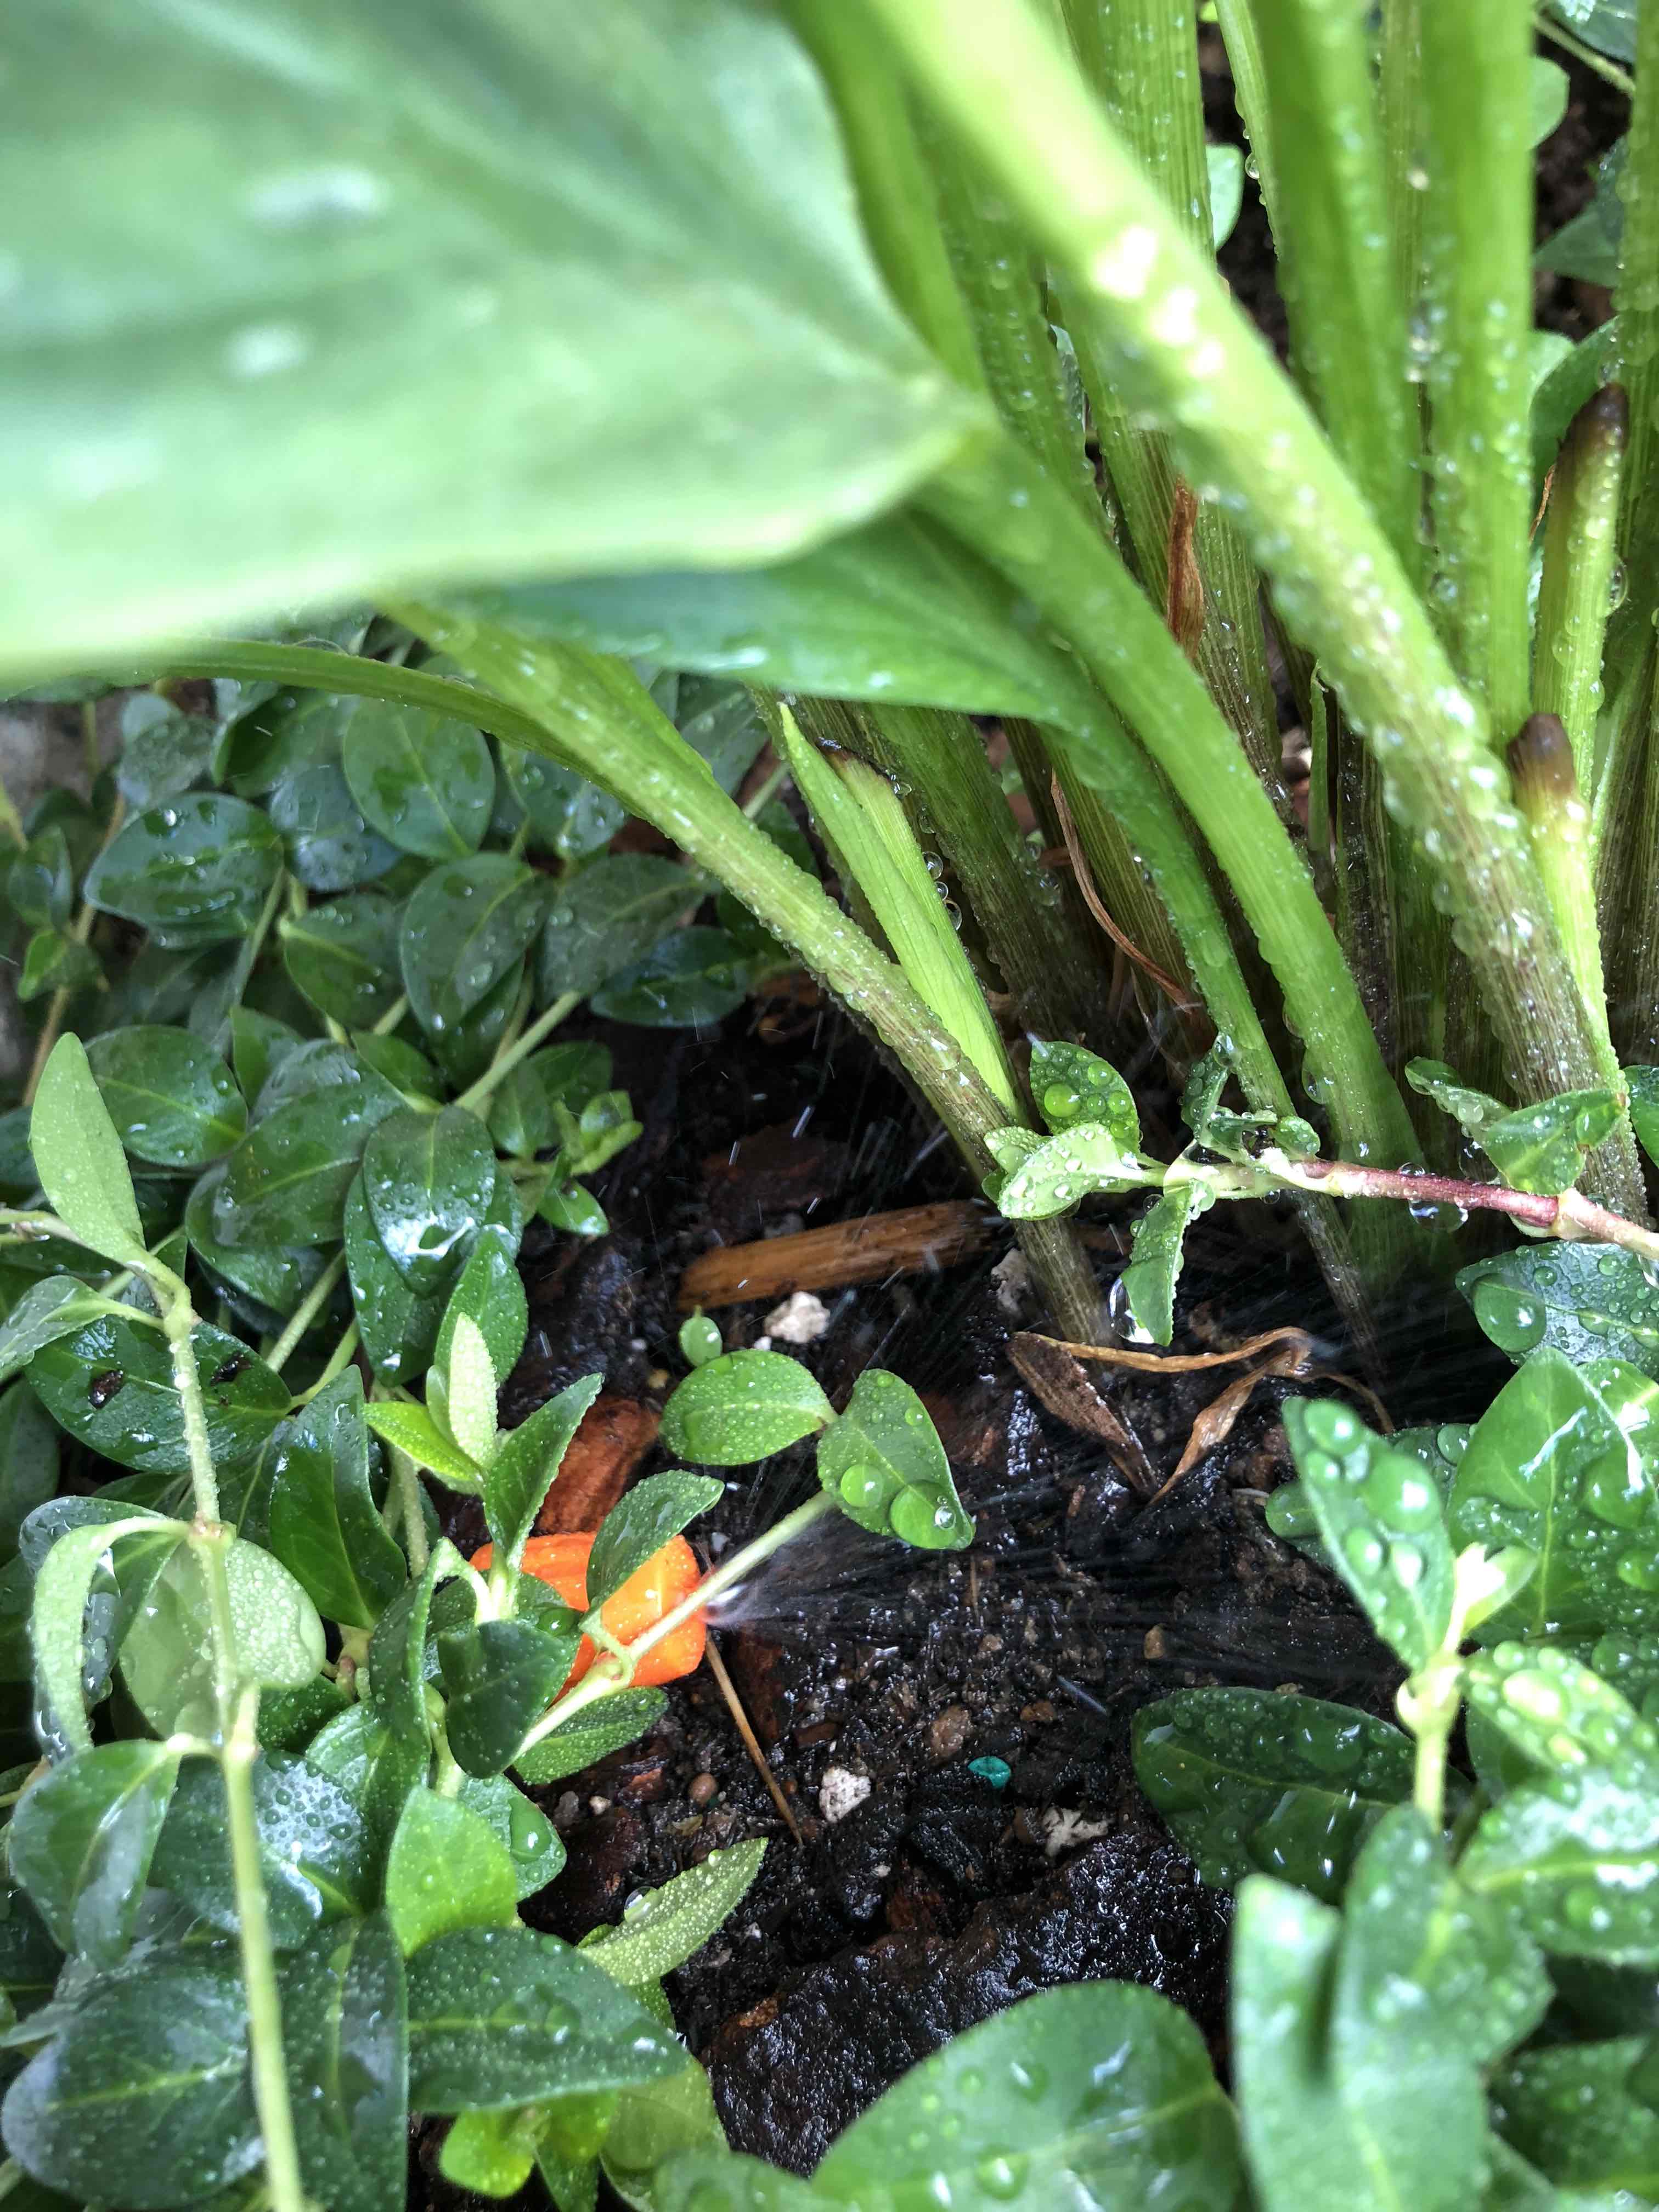
Here’s a preview in pictures!