A Drop of Drip Irrigation
Part 2

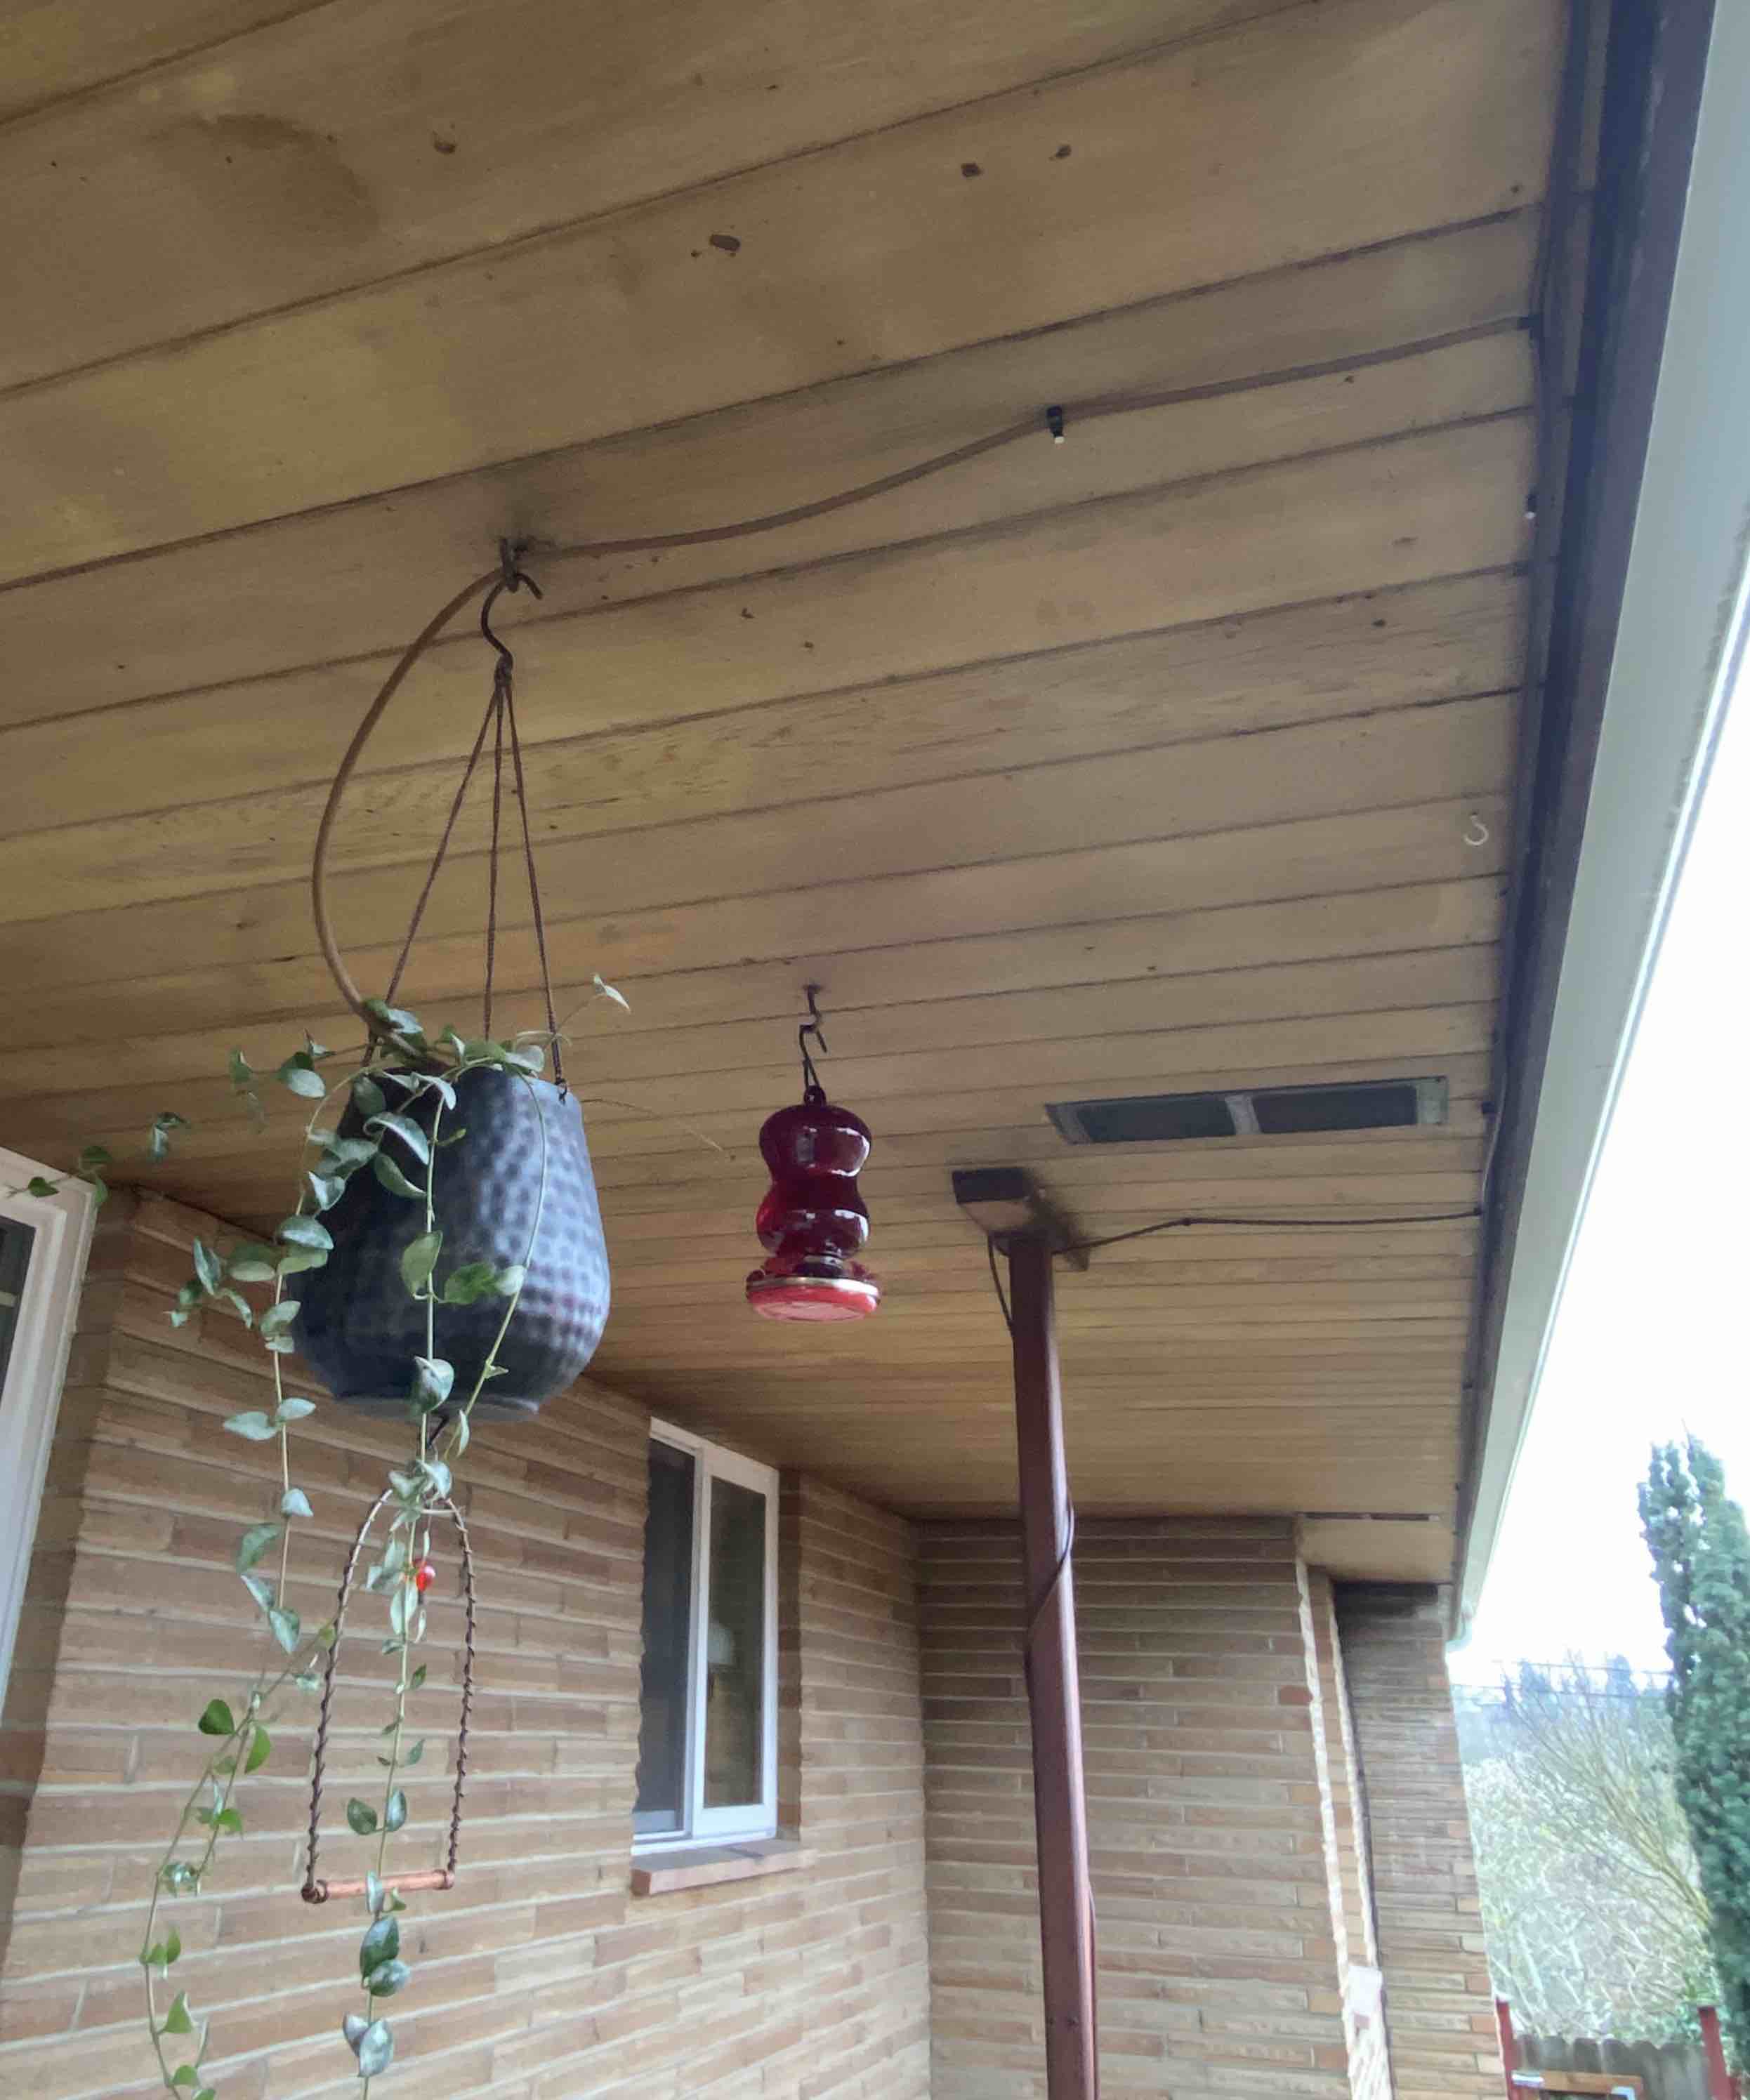
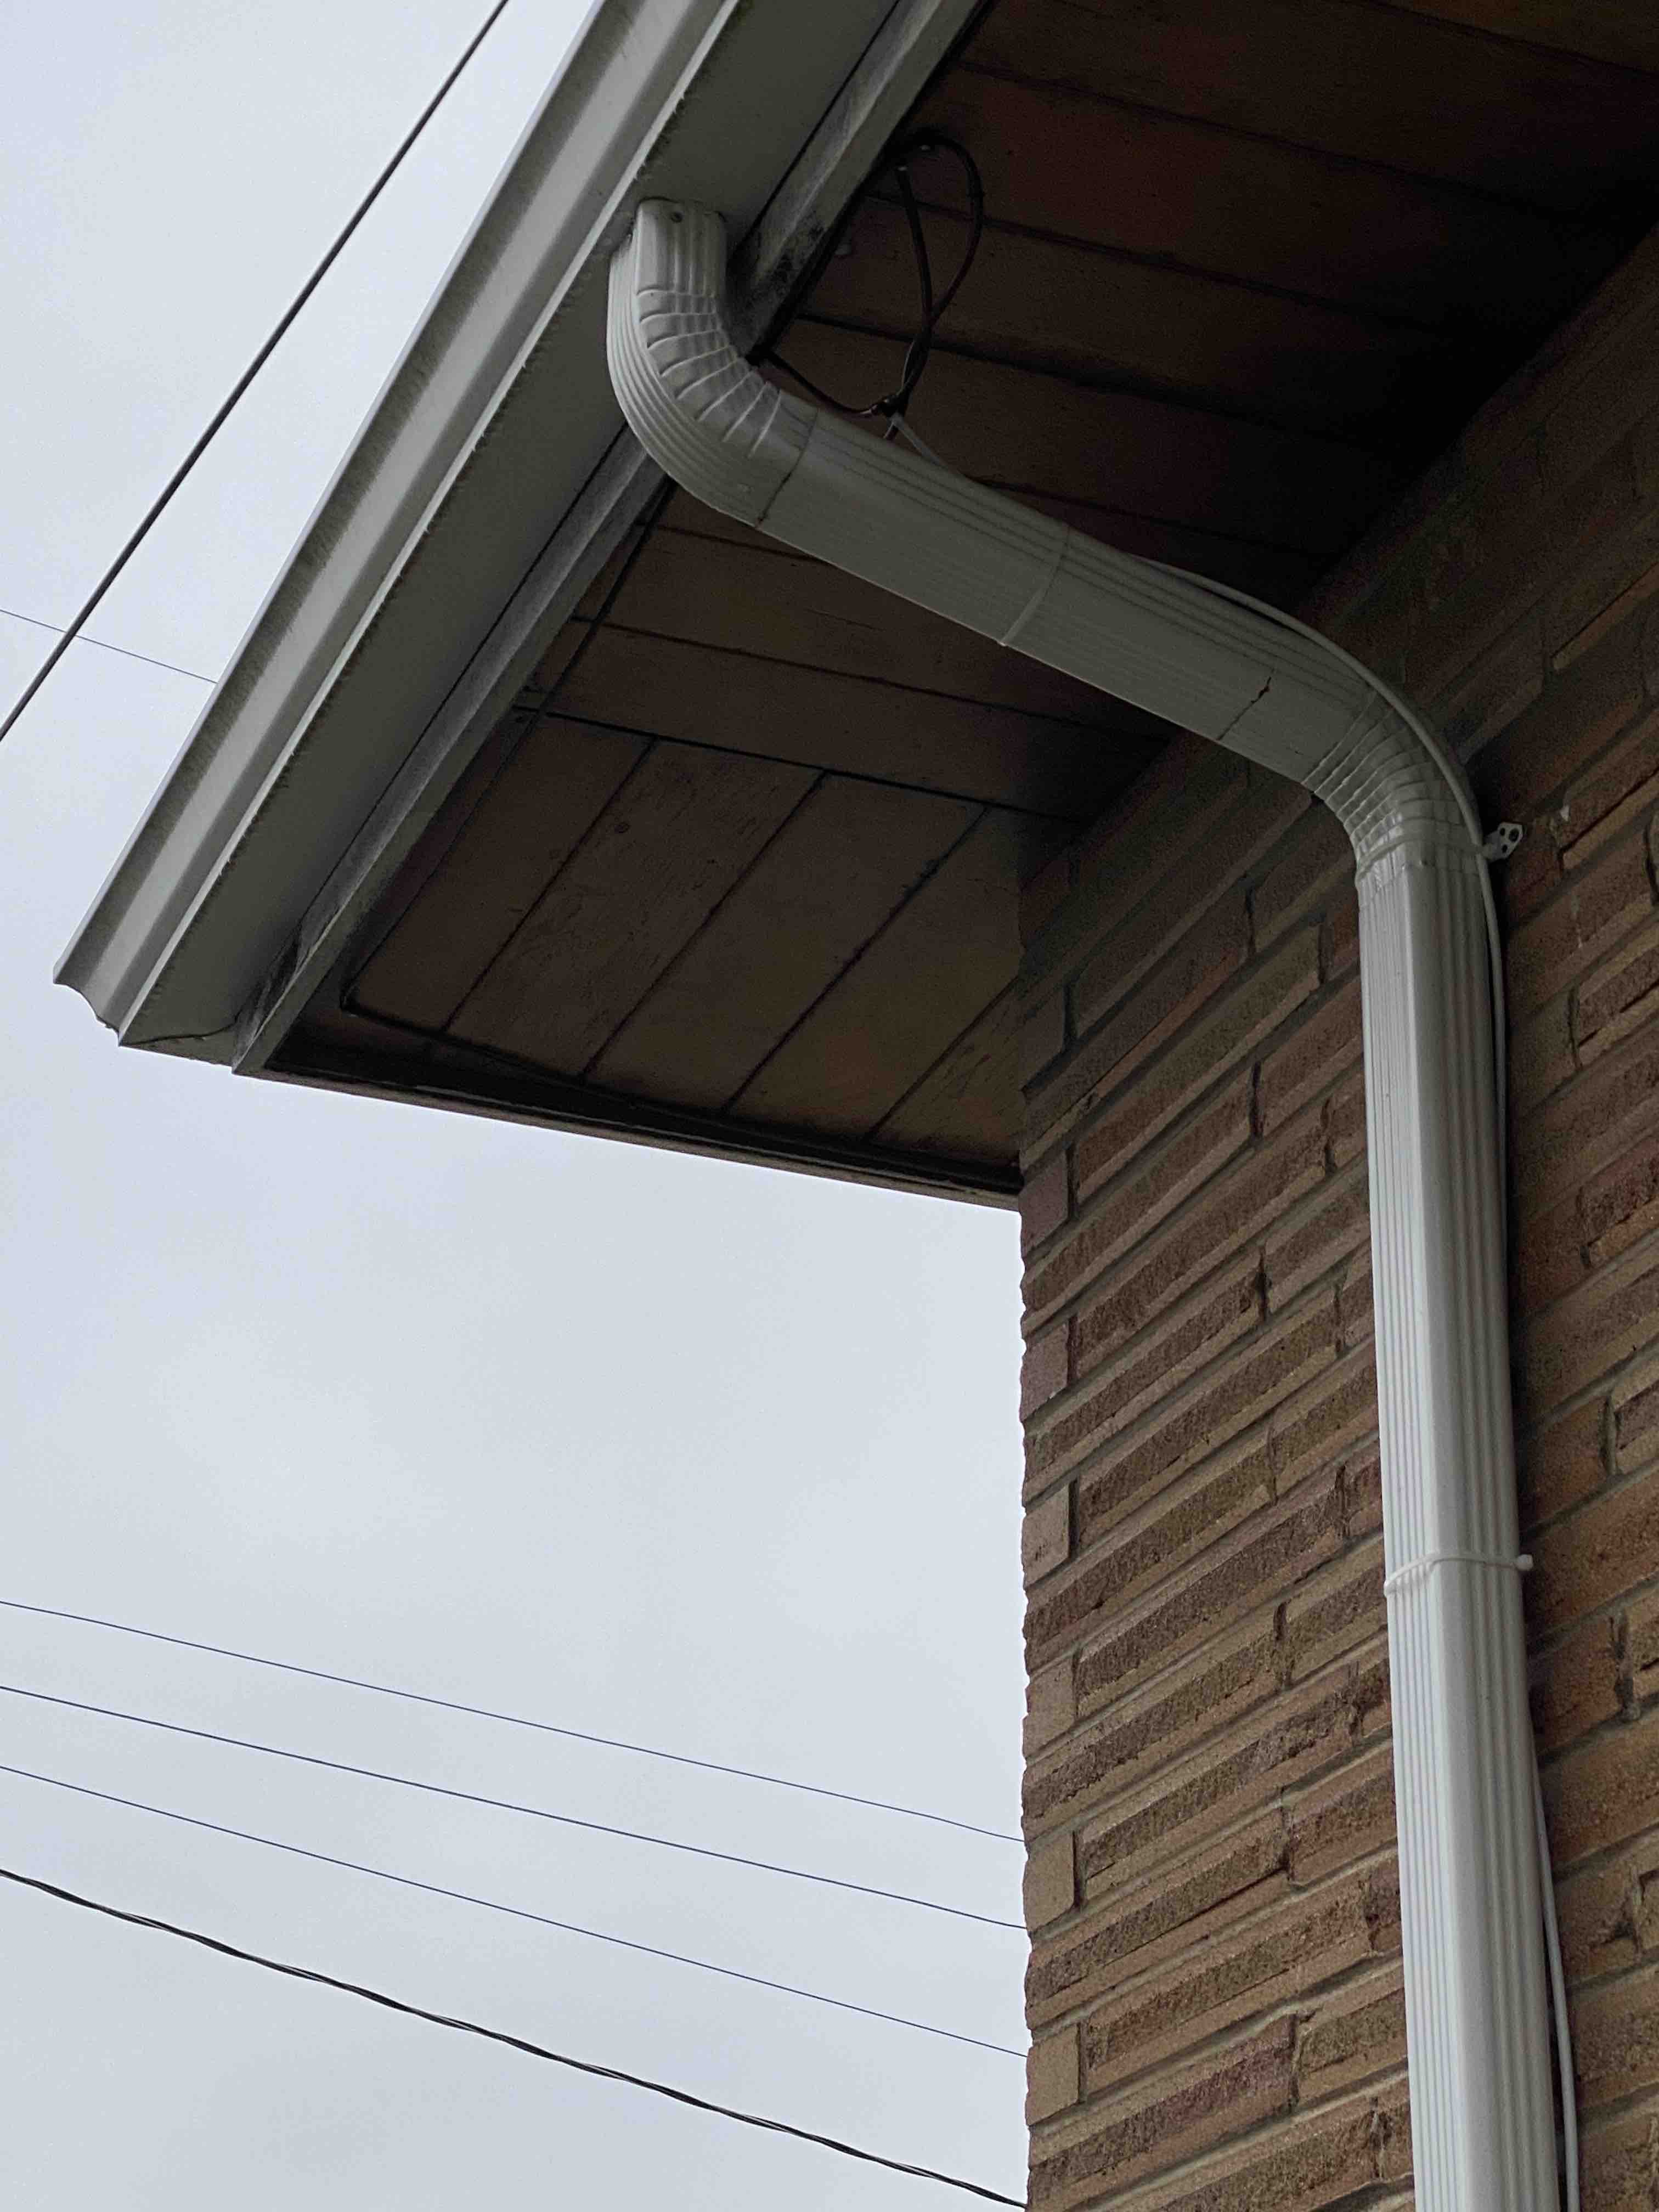
Alright, let’s dive into my particular drip irrigation installation. As I mentioned at the end of the last post, I decided to try to extend my drip irrigation system across my entire property by mounting the irrigation tubing under my house’s eaves. Once mounted, I planned on dropping forks of the tubing down to plants and gardens near the ground via the downspouts and wrought iron columns that are (some what) consistently spaced around my house. I came up with this idea after seeing my coax cables following the same discreet route along my eaves and recalling vivid memories of tripping over hoses and sprinklers my entire life.
The Basics
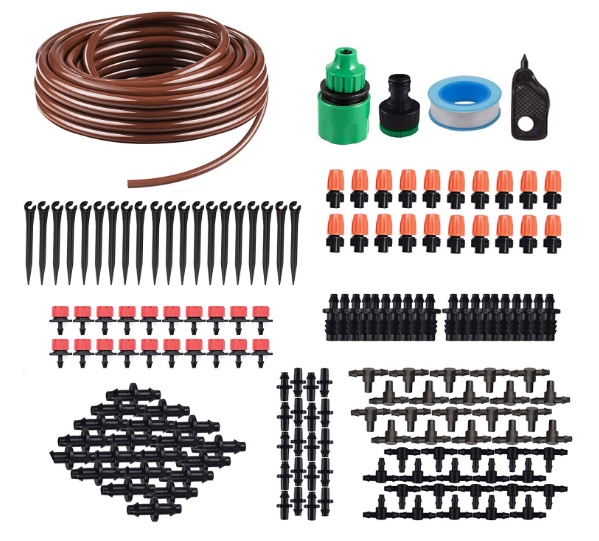
So with that idea in mind, I started out by purchasing a KORAM drip irrigation kit. This kit included 2 types of emitters (spray and variable drip), a connector for my outdoor tap, various useful bits for staking, combining, and forking lengths of tubing, and 50ft of flexible brown 1/4" drip tubing.
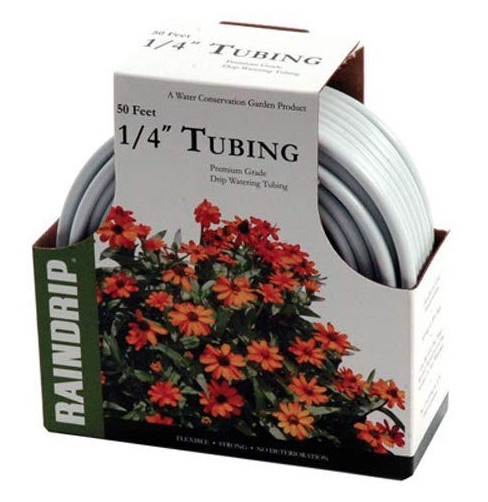
Brown tubing was slightly more expensive and harder to find than other colors at the time, but it blended in with the wood on my eaves which made it worth the extra expense. I also purchased some Raindrip white tubing for attaching to my downspouts and wrought iron columns, both of which are painted white.
One issue I had with the Raindrip tubing was it was nowhere near as flexible as the KORAM tubing. I have since bought several more brands of tubing and have not once seen any information on the flexibility of the tubing I was buying. Rigid tubing is annoying, and you are likely to buy some, so let’s talk about that.
PROTIP: Rigid Drip Tubing
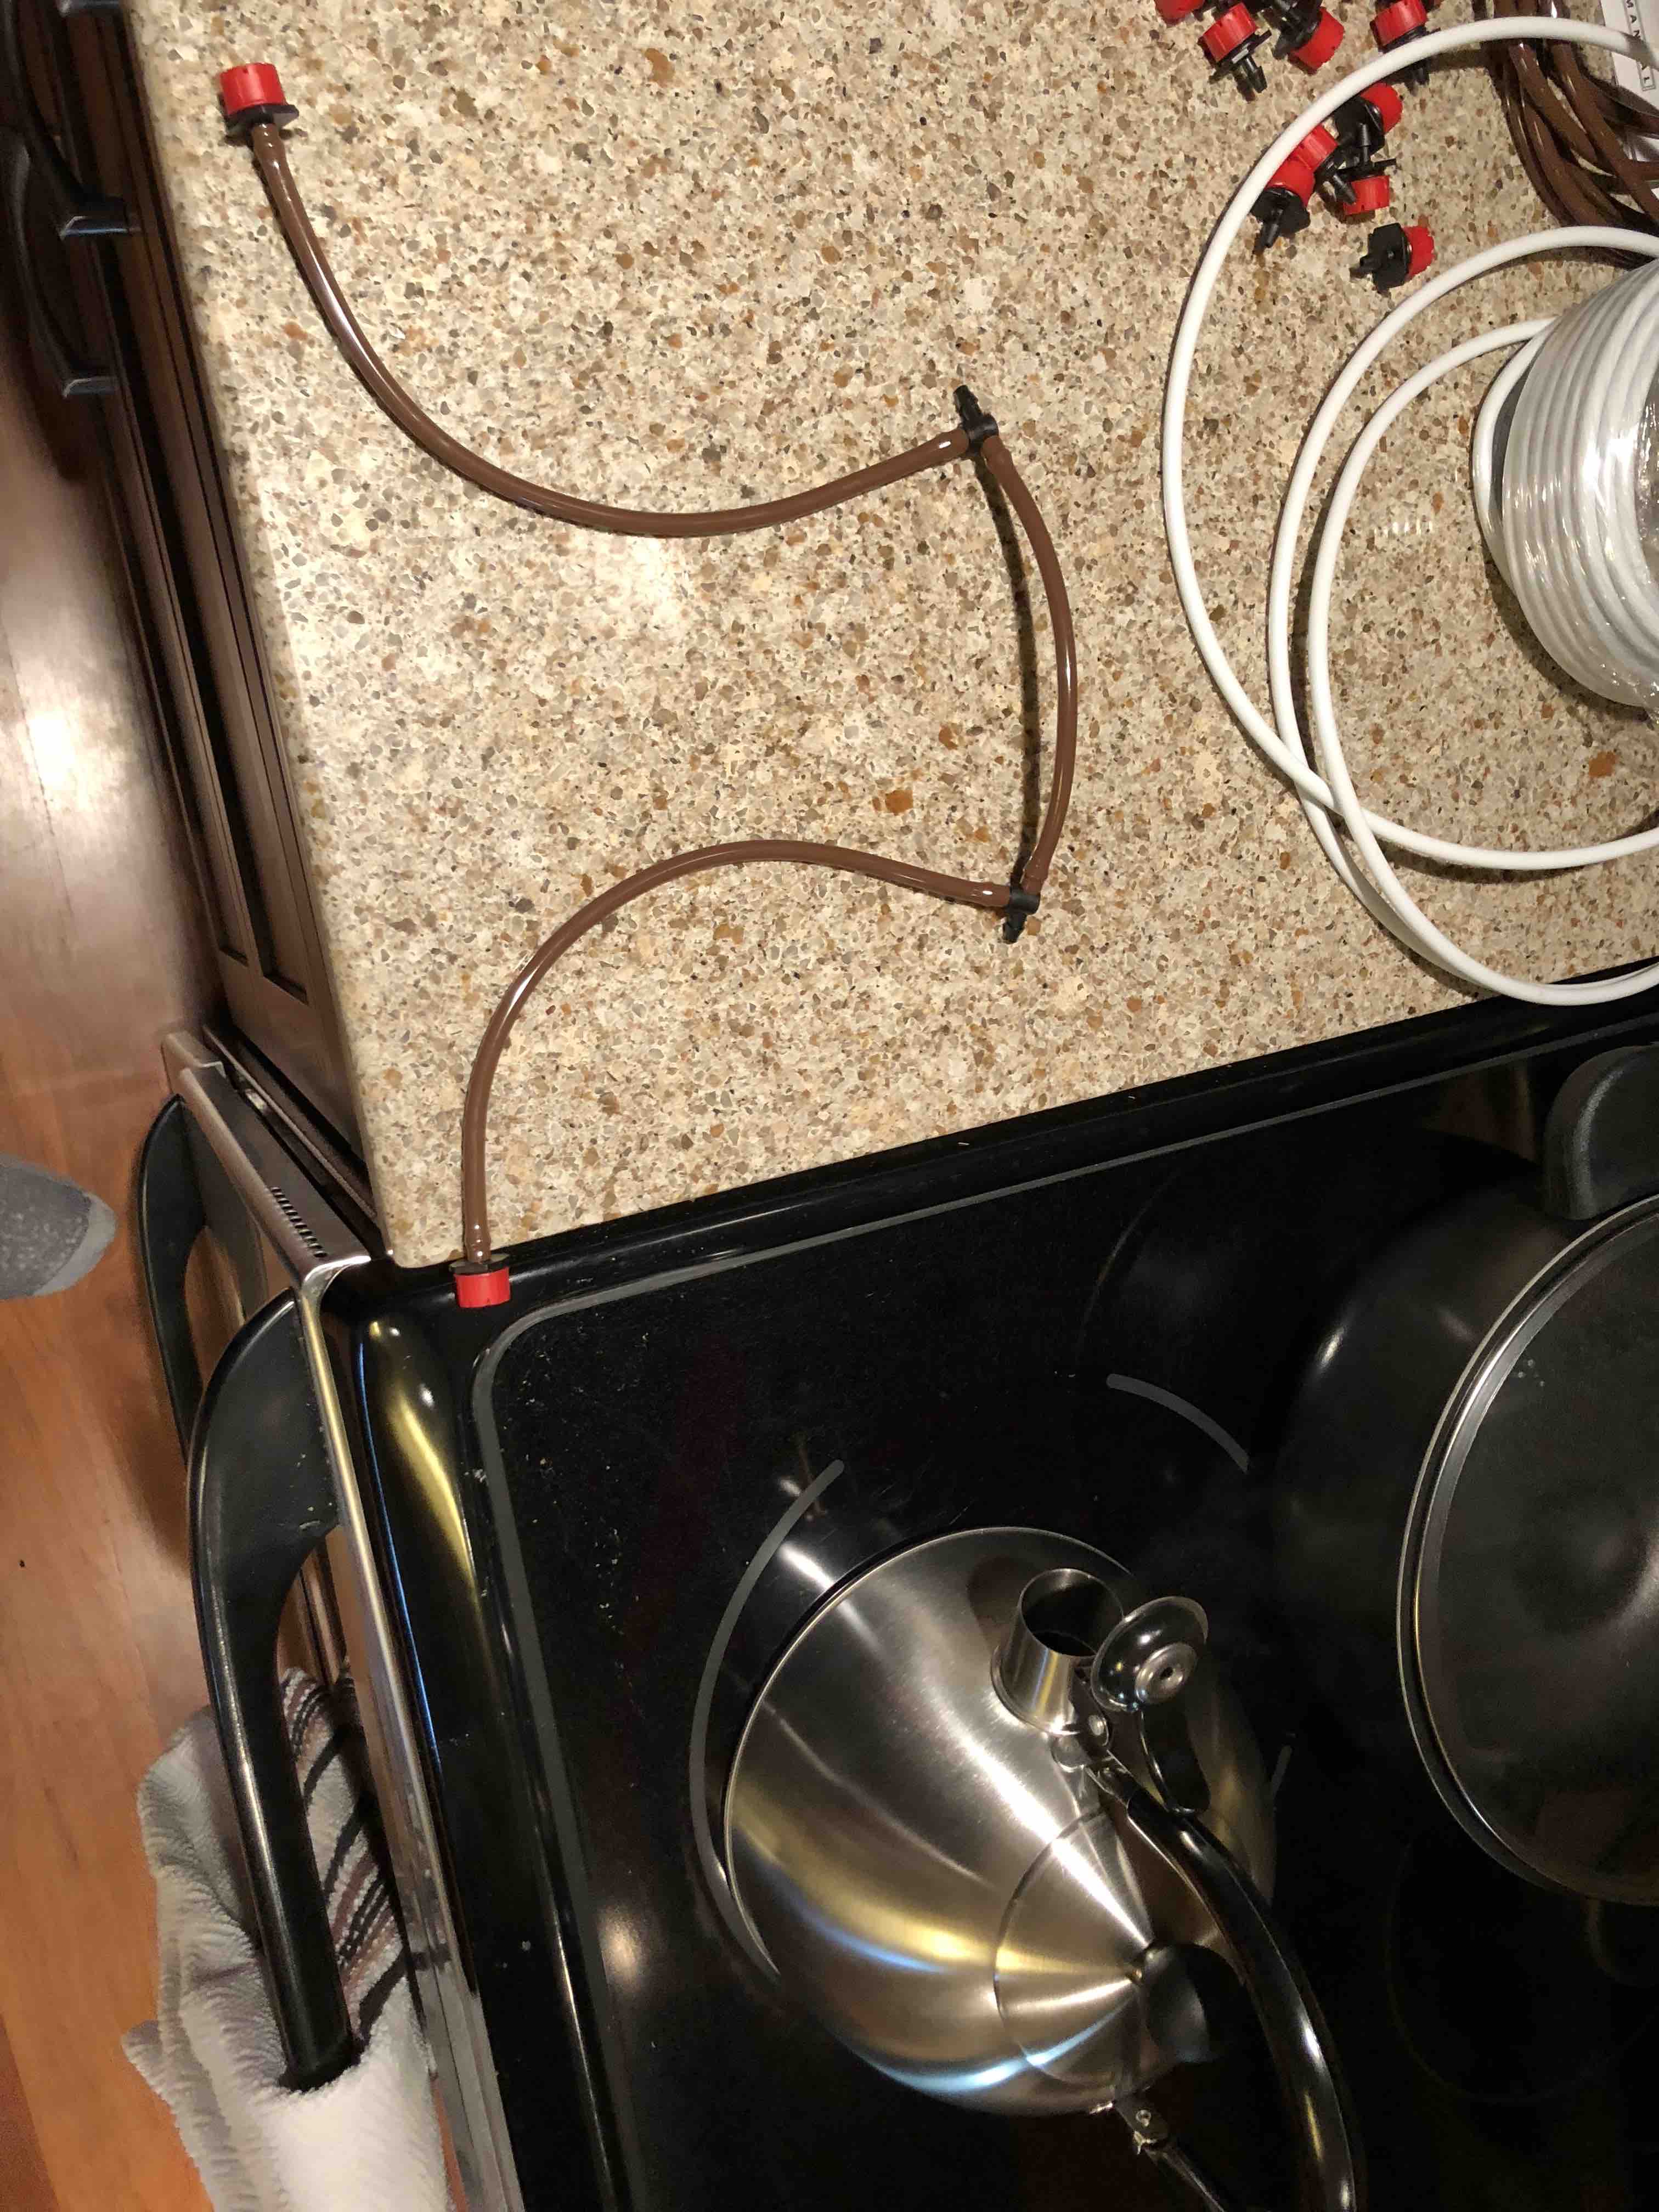
The flexibility of various brands of 1/4" drip tubing is absurdly inconsistent. Some will be as soft and malleable as a rubber chicken, while others will be as stiff and rigid as a plastic coat hanger. This is undesirable since you will likely want some stretches of your installed tubing to go in a straight line, and not a spiral as it was likely packaged. After some trial and error, I found the secret to dealing with rigid tubing is bringing a kettle or pot of water almost to boiling, dipping a section of the tubing in the water for a few seconds, and then stretching it out and letting it cool. Using this method, was able to salvage even the most ridiculously rigid tubing I have come across.
Mounting
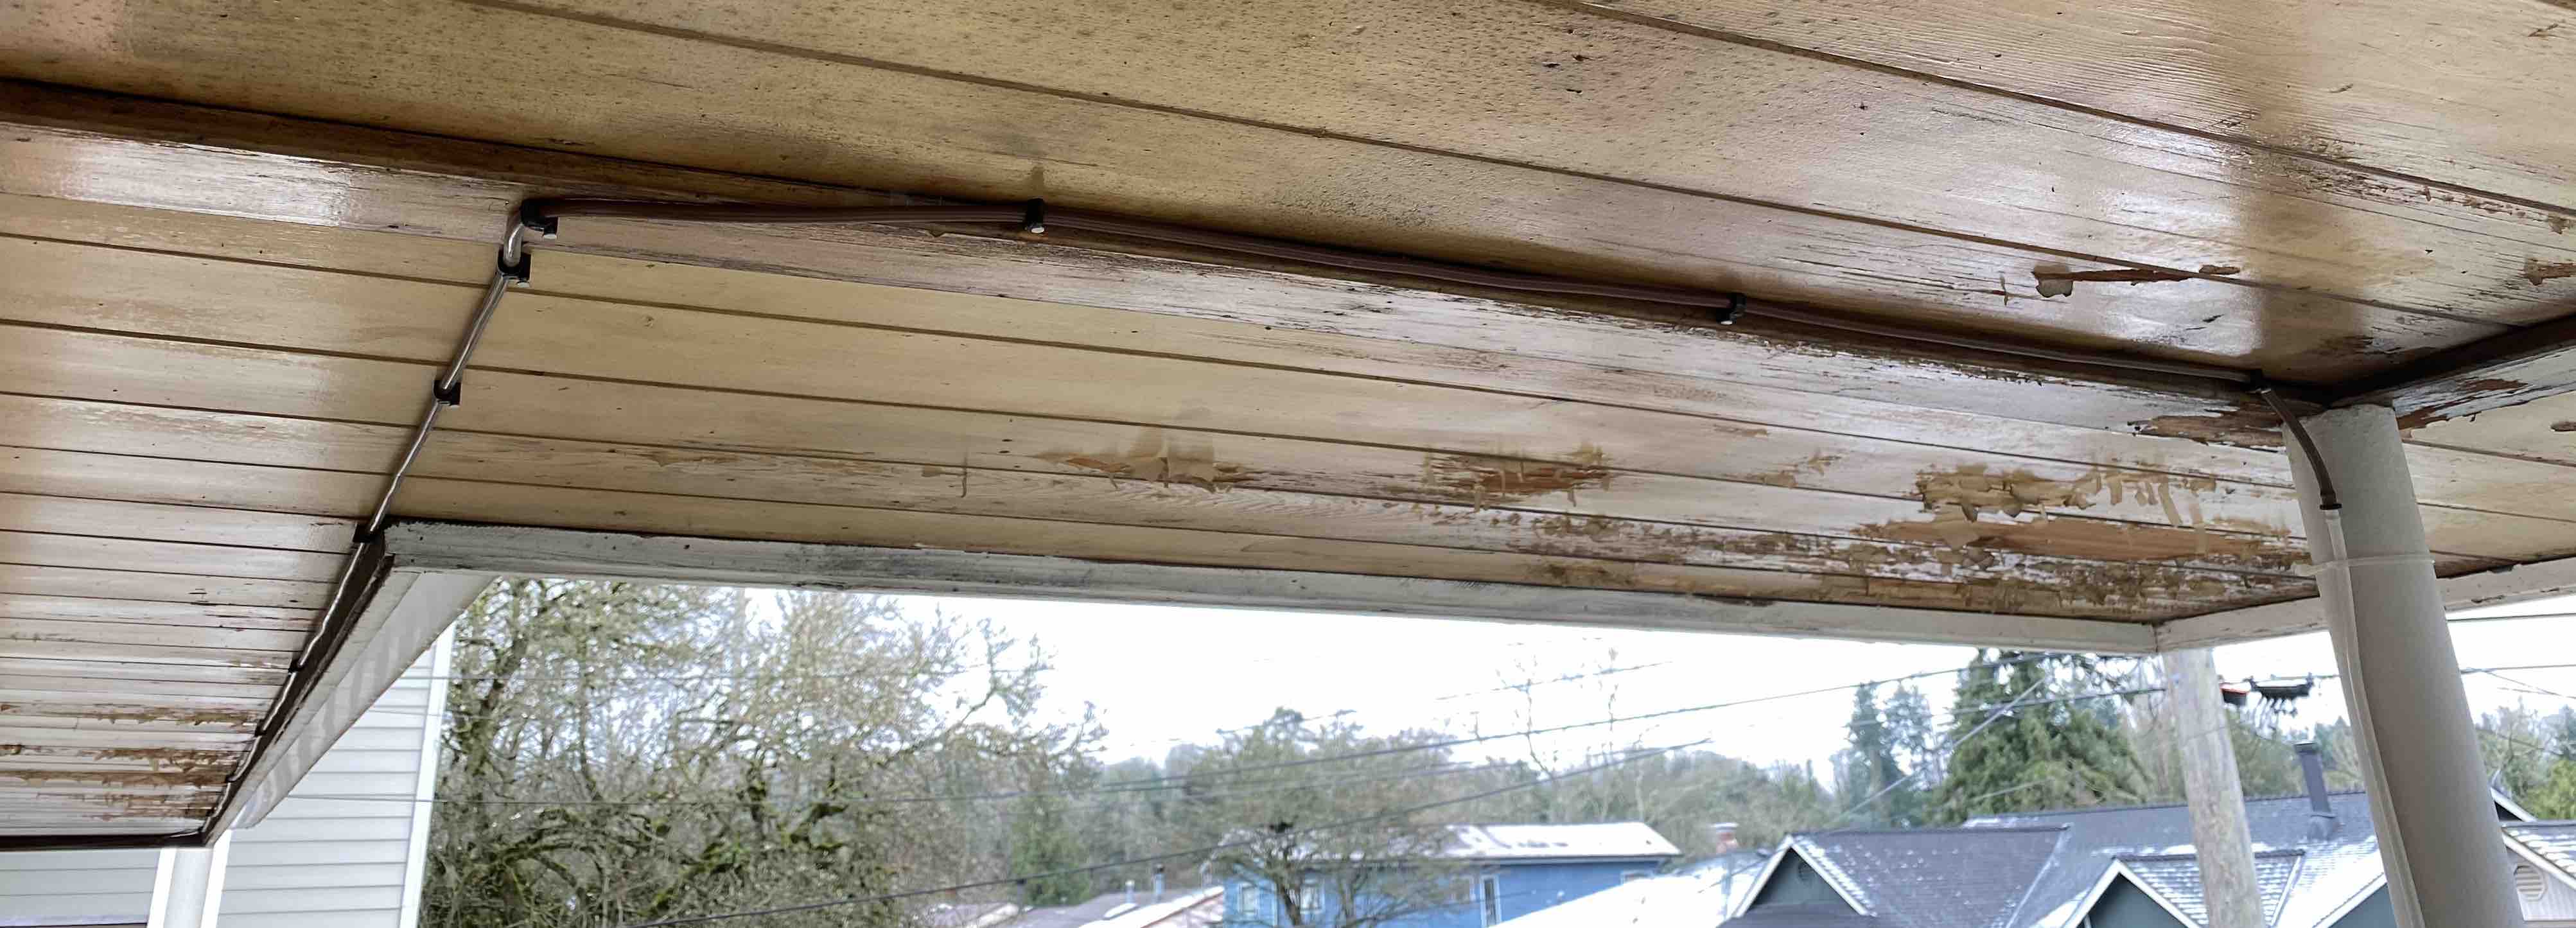
I still had to determine how I was going to attach the brown 1/4" tubing to the underside of my eaves. Like I said before, the idea of putting the irrigation line under my eaves came from a coaxial cable. So I just bought the same single nail clips that were holding up my 1/4" coaxial cable. To be honest, I wasn’t sure the clips would work… but they do, they are very easy to use, and they look pretty good!

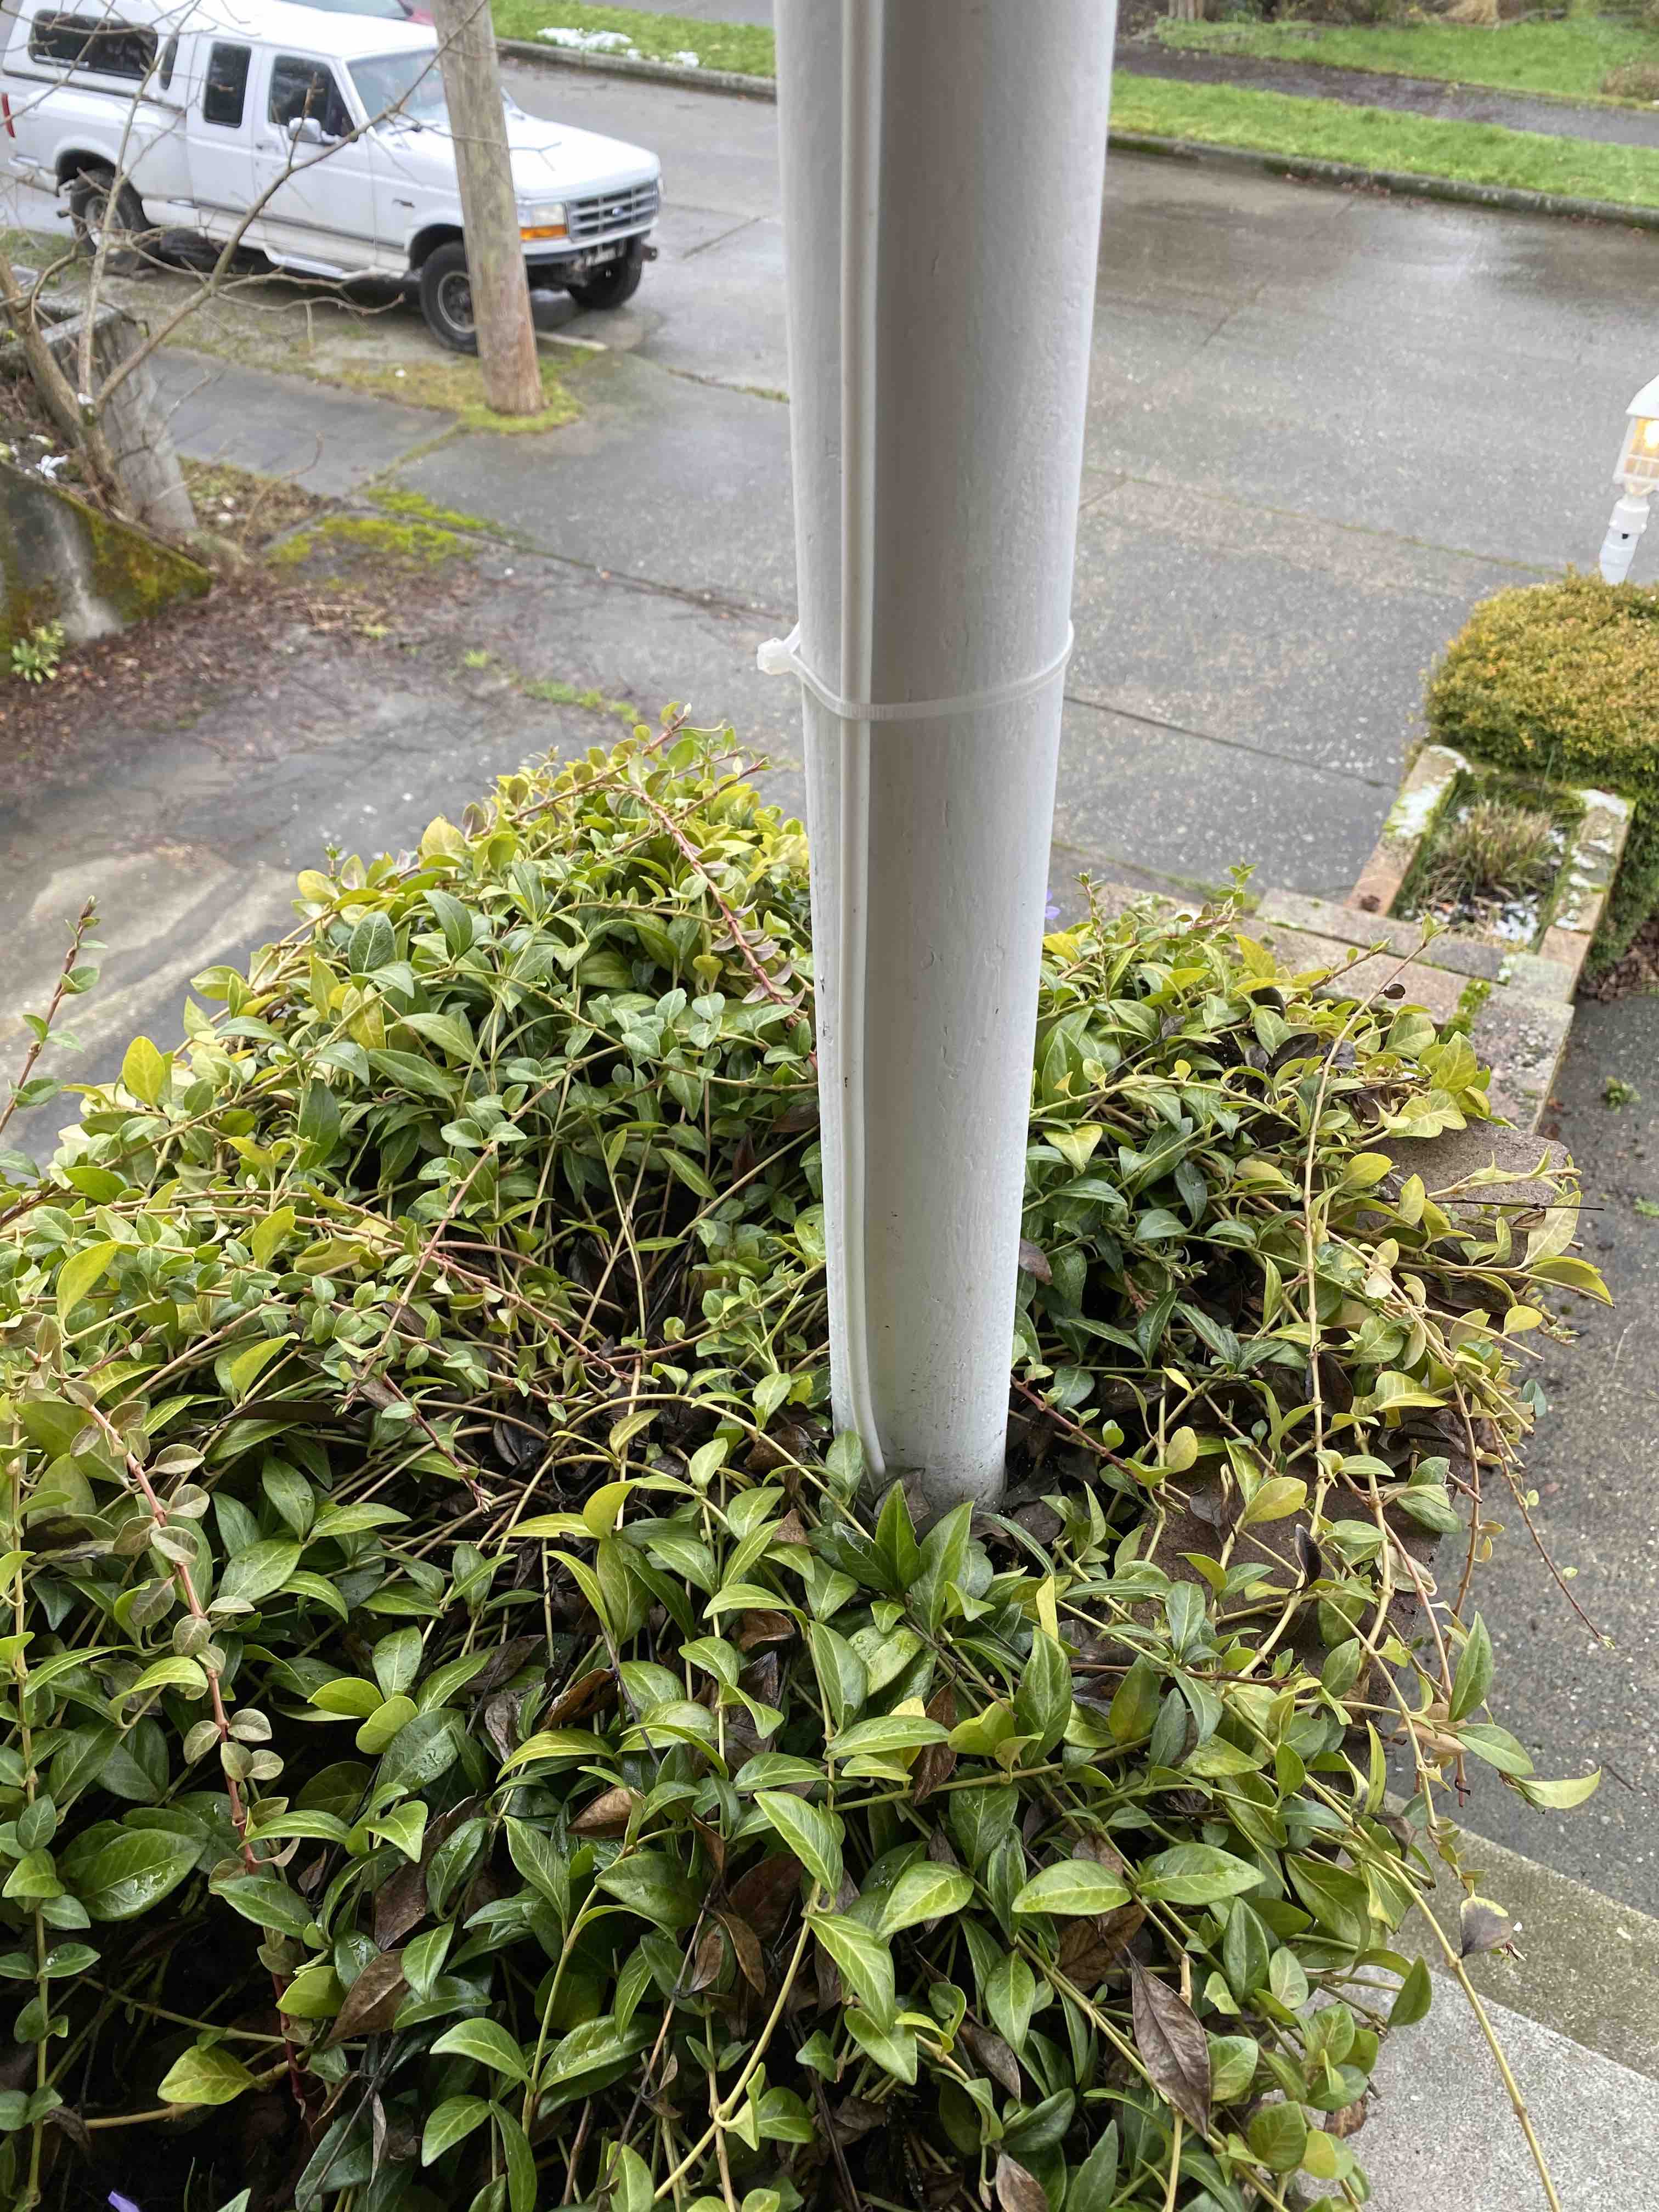
For mounting the tubing to my downspouts and columns, I used simple white zip ties and cut off the excess.
The Tap
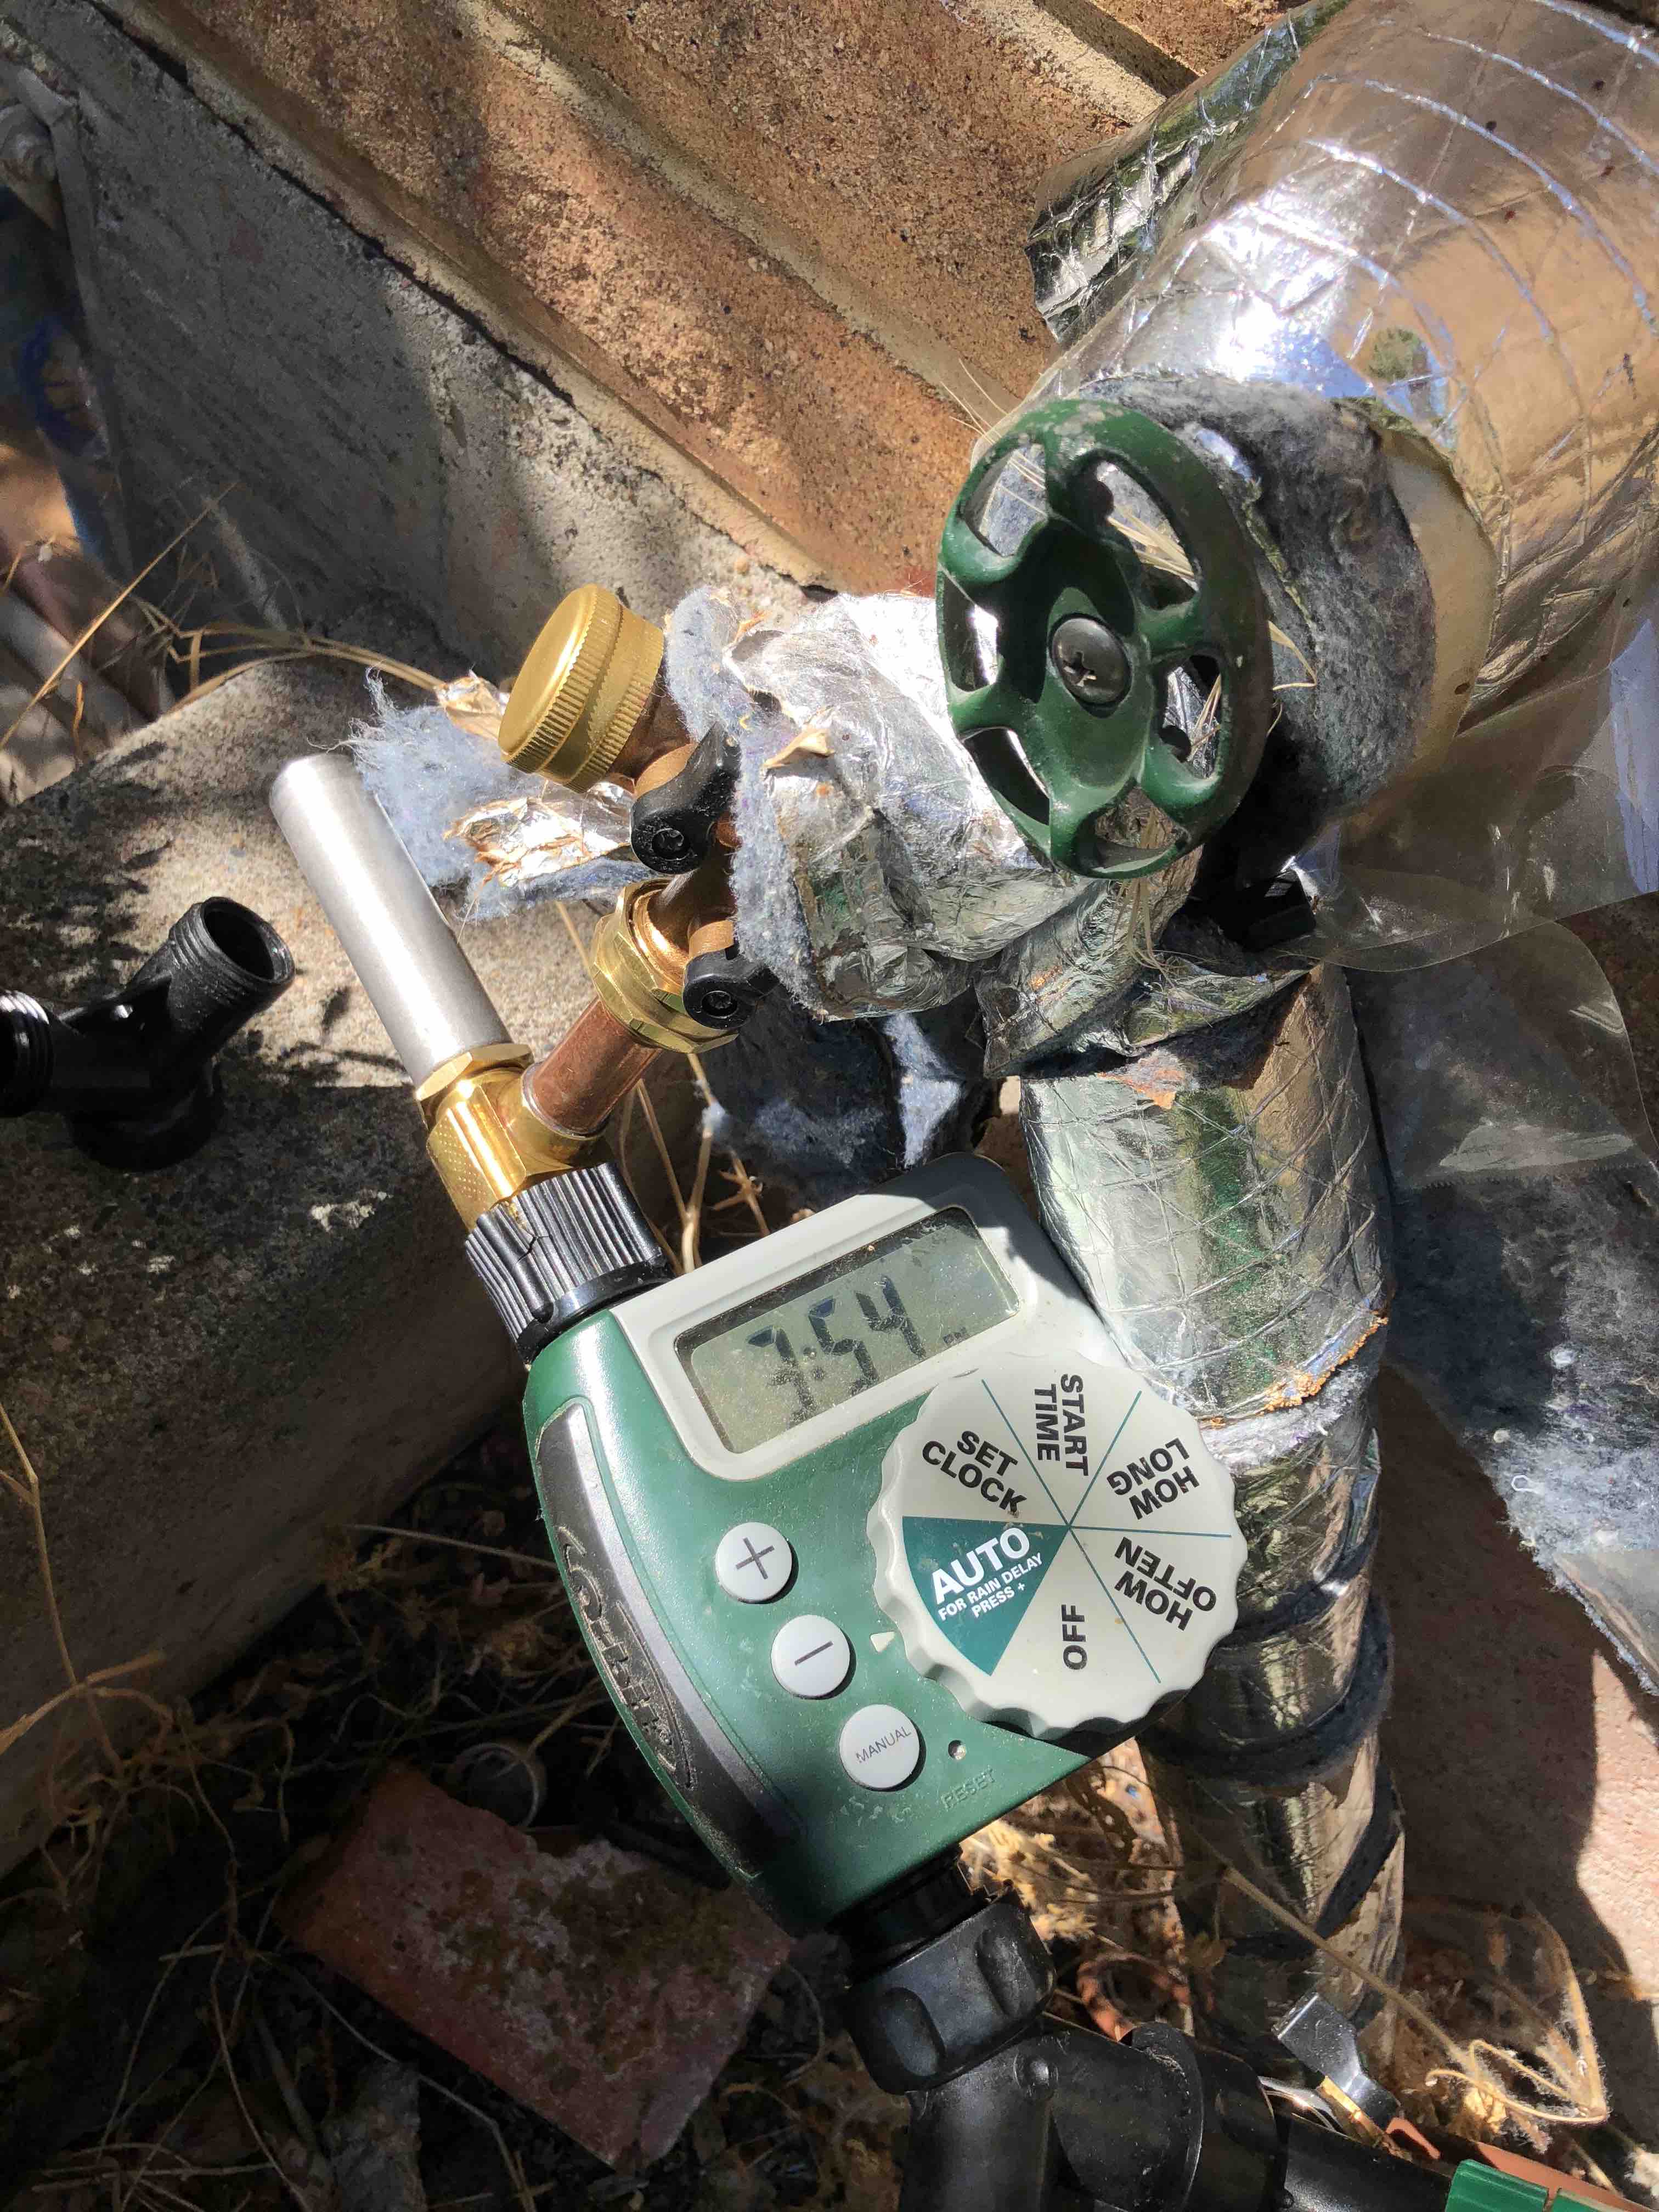
When I first installed my drip irrigation system, I started with some Y splitters and a digital timer at the tap. The timer is great and allows me to set the system to turn on at a set time, for a set number of minutes, with some interval. (For example, in the summer I may water for 30 mins, every other day, at 7am.) This is actually my second digital timer of this model because I stupidly left my first one outside during a winter freeze and it cracked the casing. I’m stupid. Don’t be like me. Disconnect and bring these things inside in the winter.
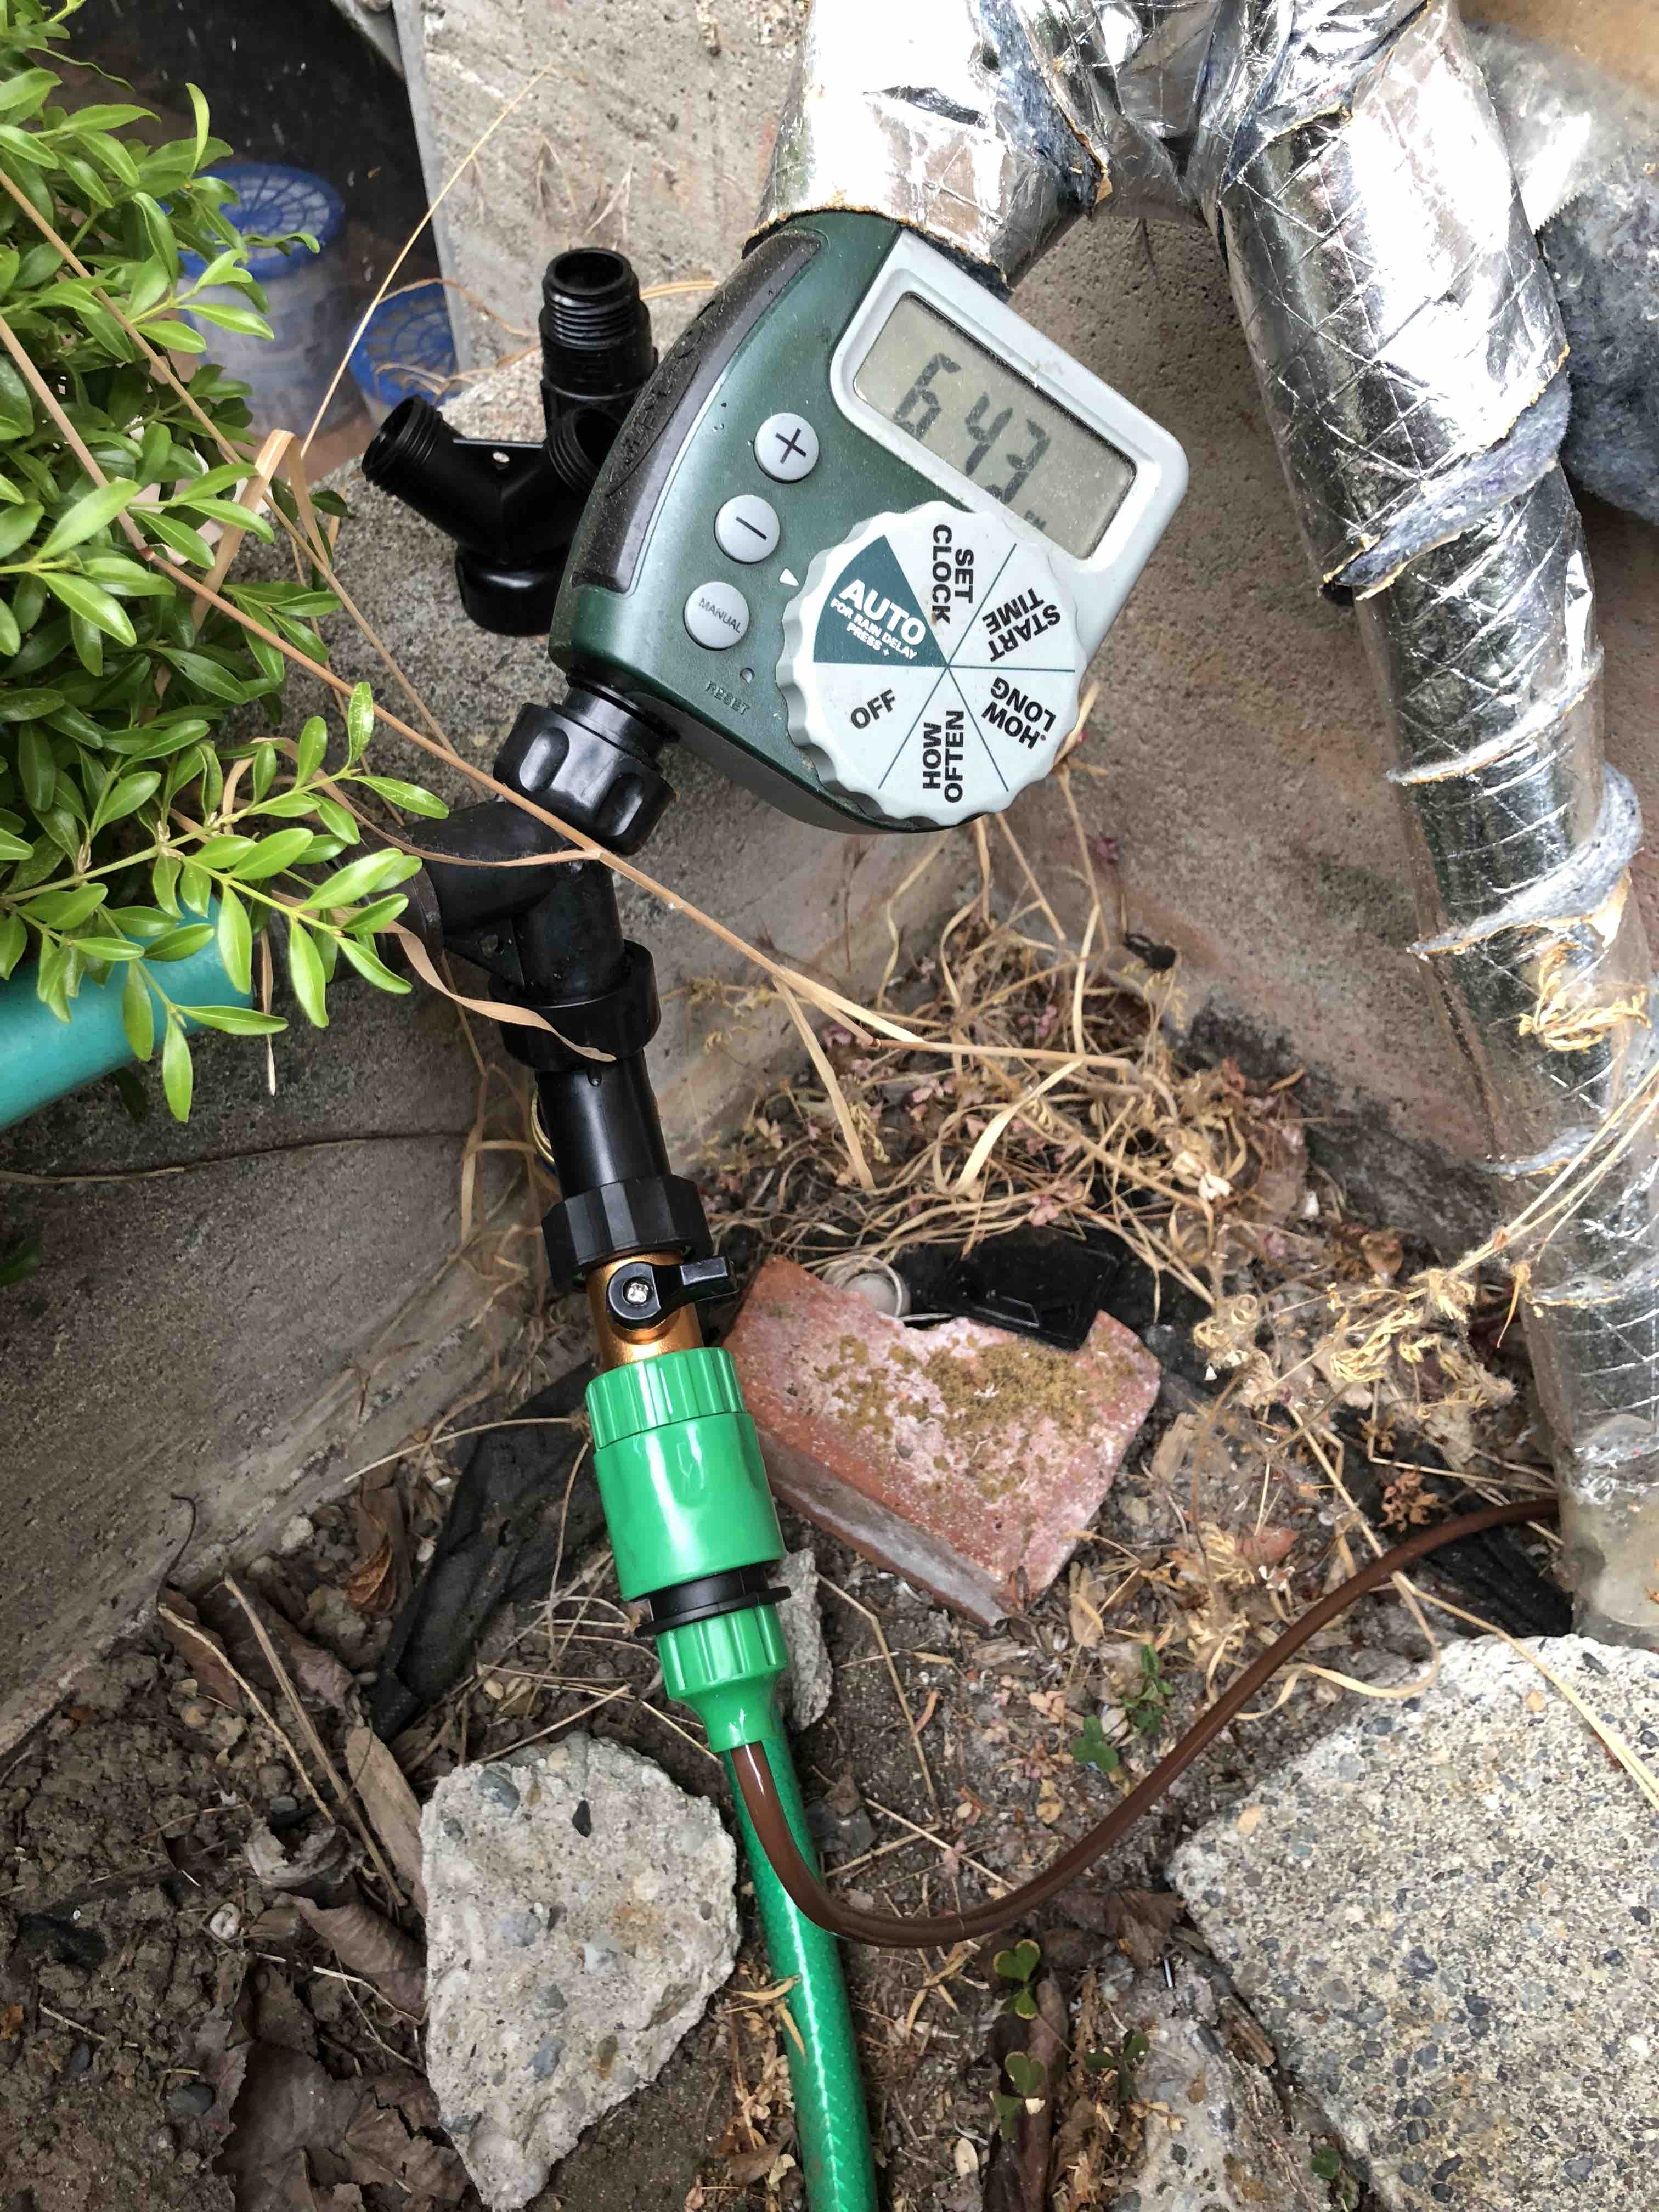
After using this timer for a few days, I noticed it opened and shut very abruptly, causing a banging sound to come from my pipes whenever it shut off. This is something called “water hammering” and can apparently damage your pipes, if internet people are to be believed. So to combat this, I bought and attached a mini hammer arrester which you can see in my updated tap image below. It has definitely reduced the banging. I saw a few other amazon purchasers of this timer post pictures with hammer arresters attached so the water hammering is probably a common problem.
Built-in Planters
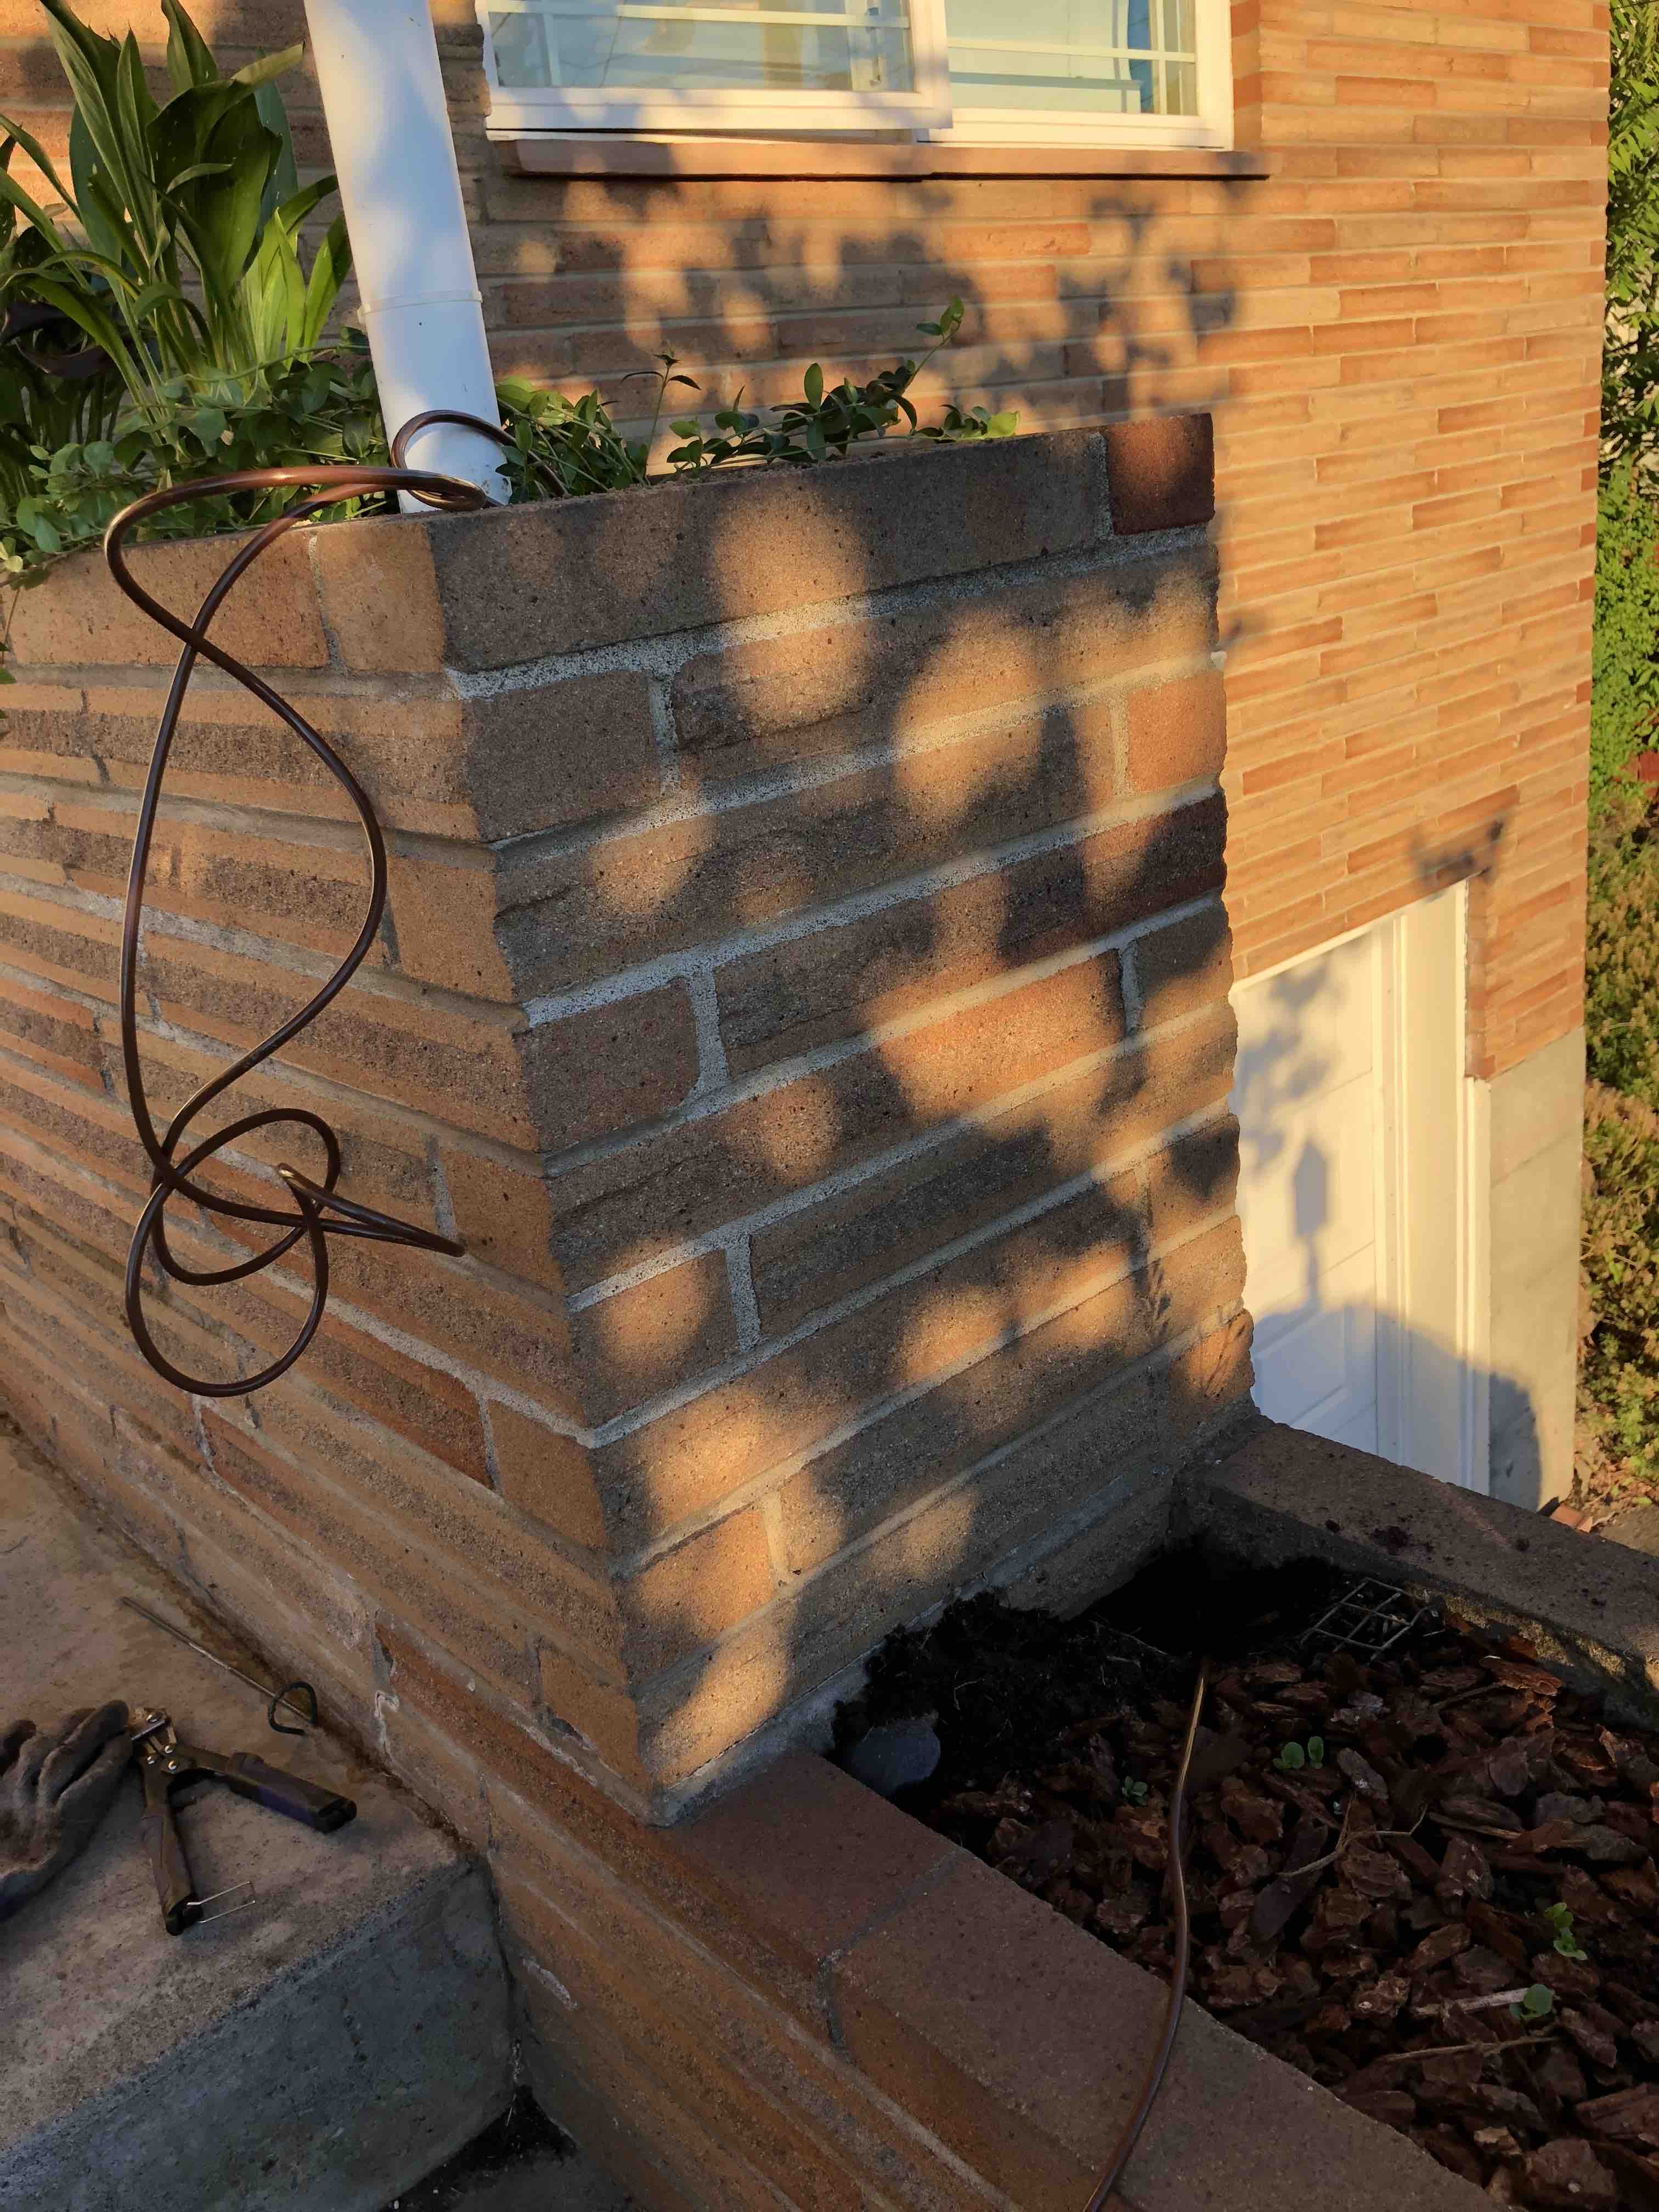
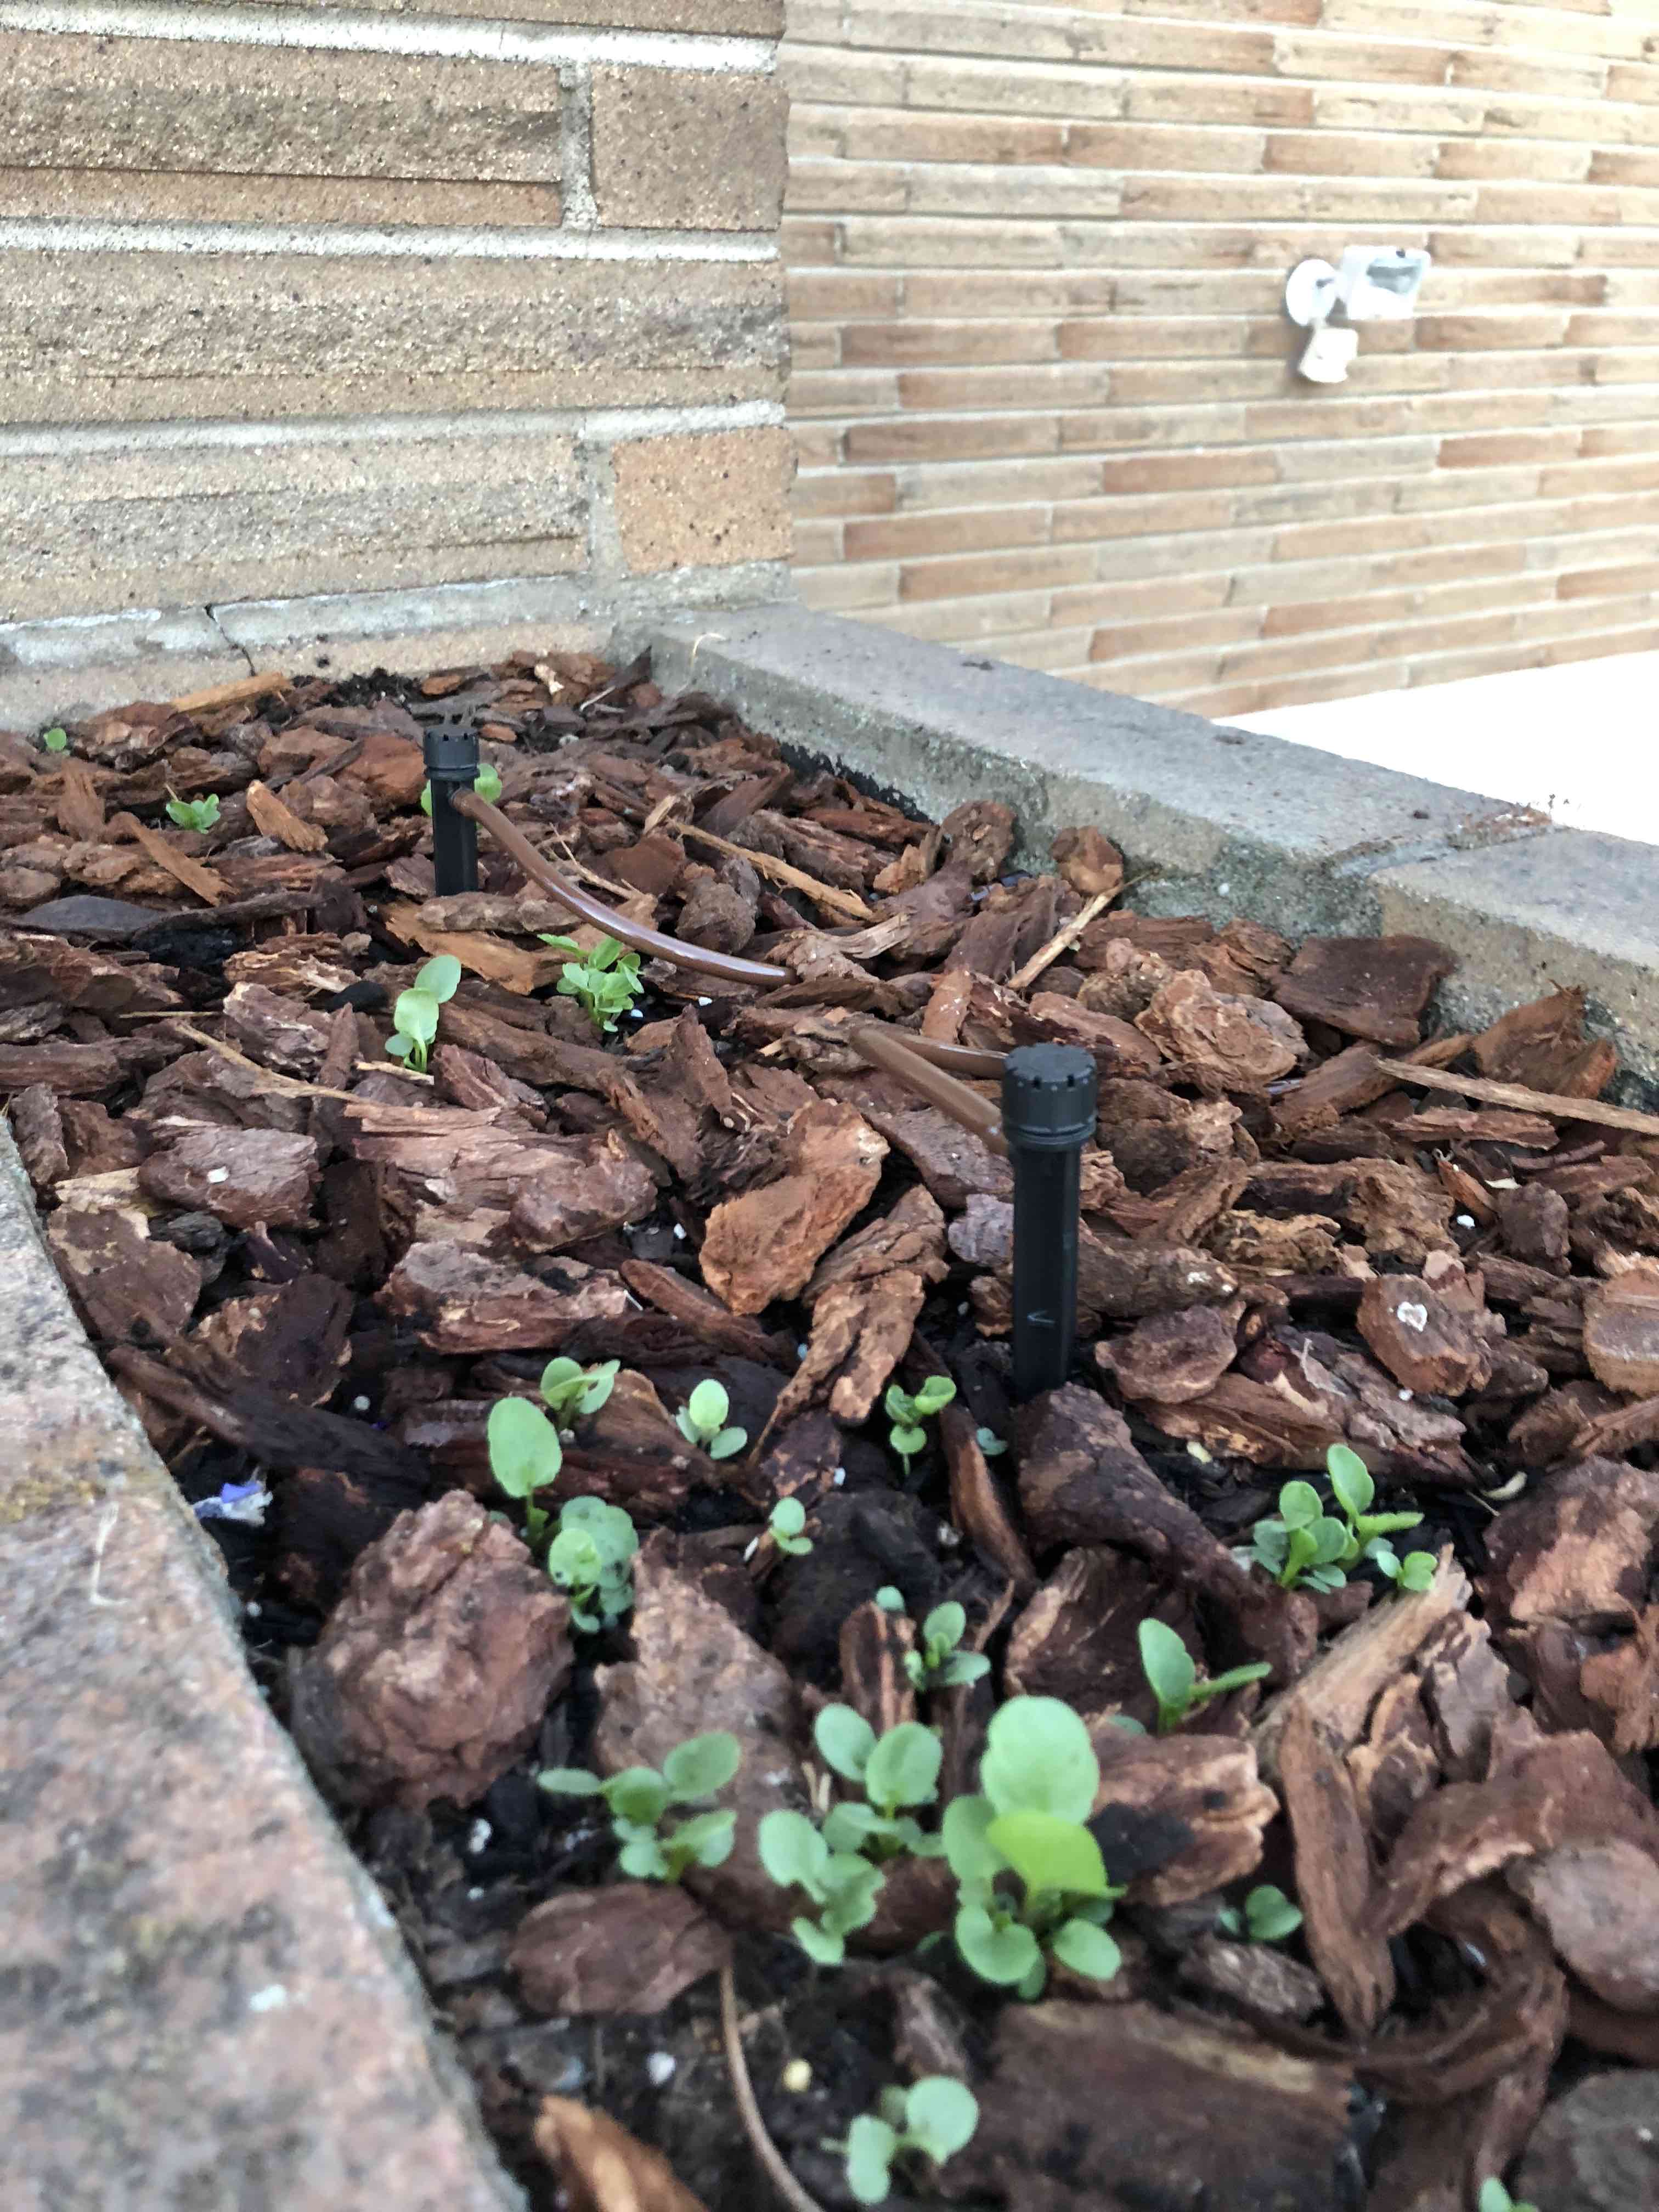
I have a set of four brick 🧱 planters built into my front porch. They are so well integrated into the structure of my house that I consistently forget to water the plants in them. That’s my excuse and I’m sticking with it. The drip irrigation system was their only hope. Luckily I had a pole that came straight down from the eave into the first planter. Easy peezy right? Well... take a look for yourself.
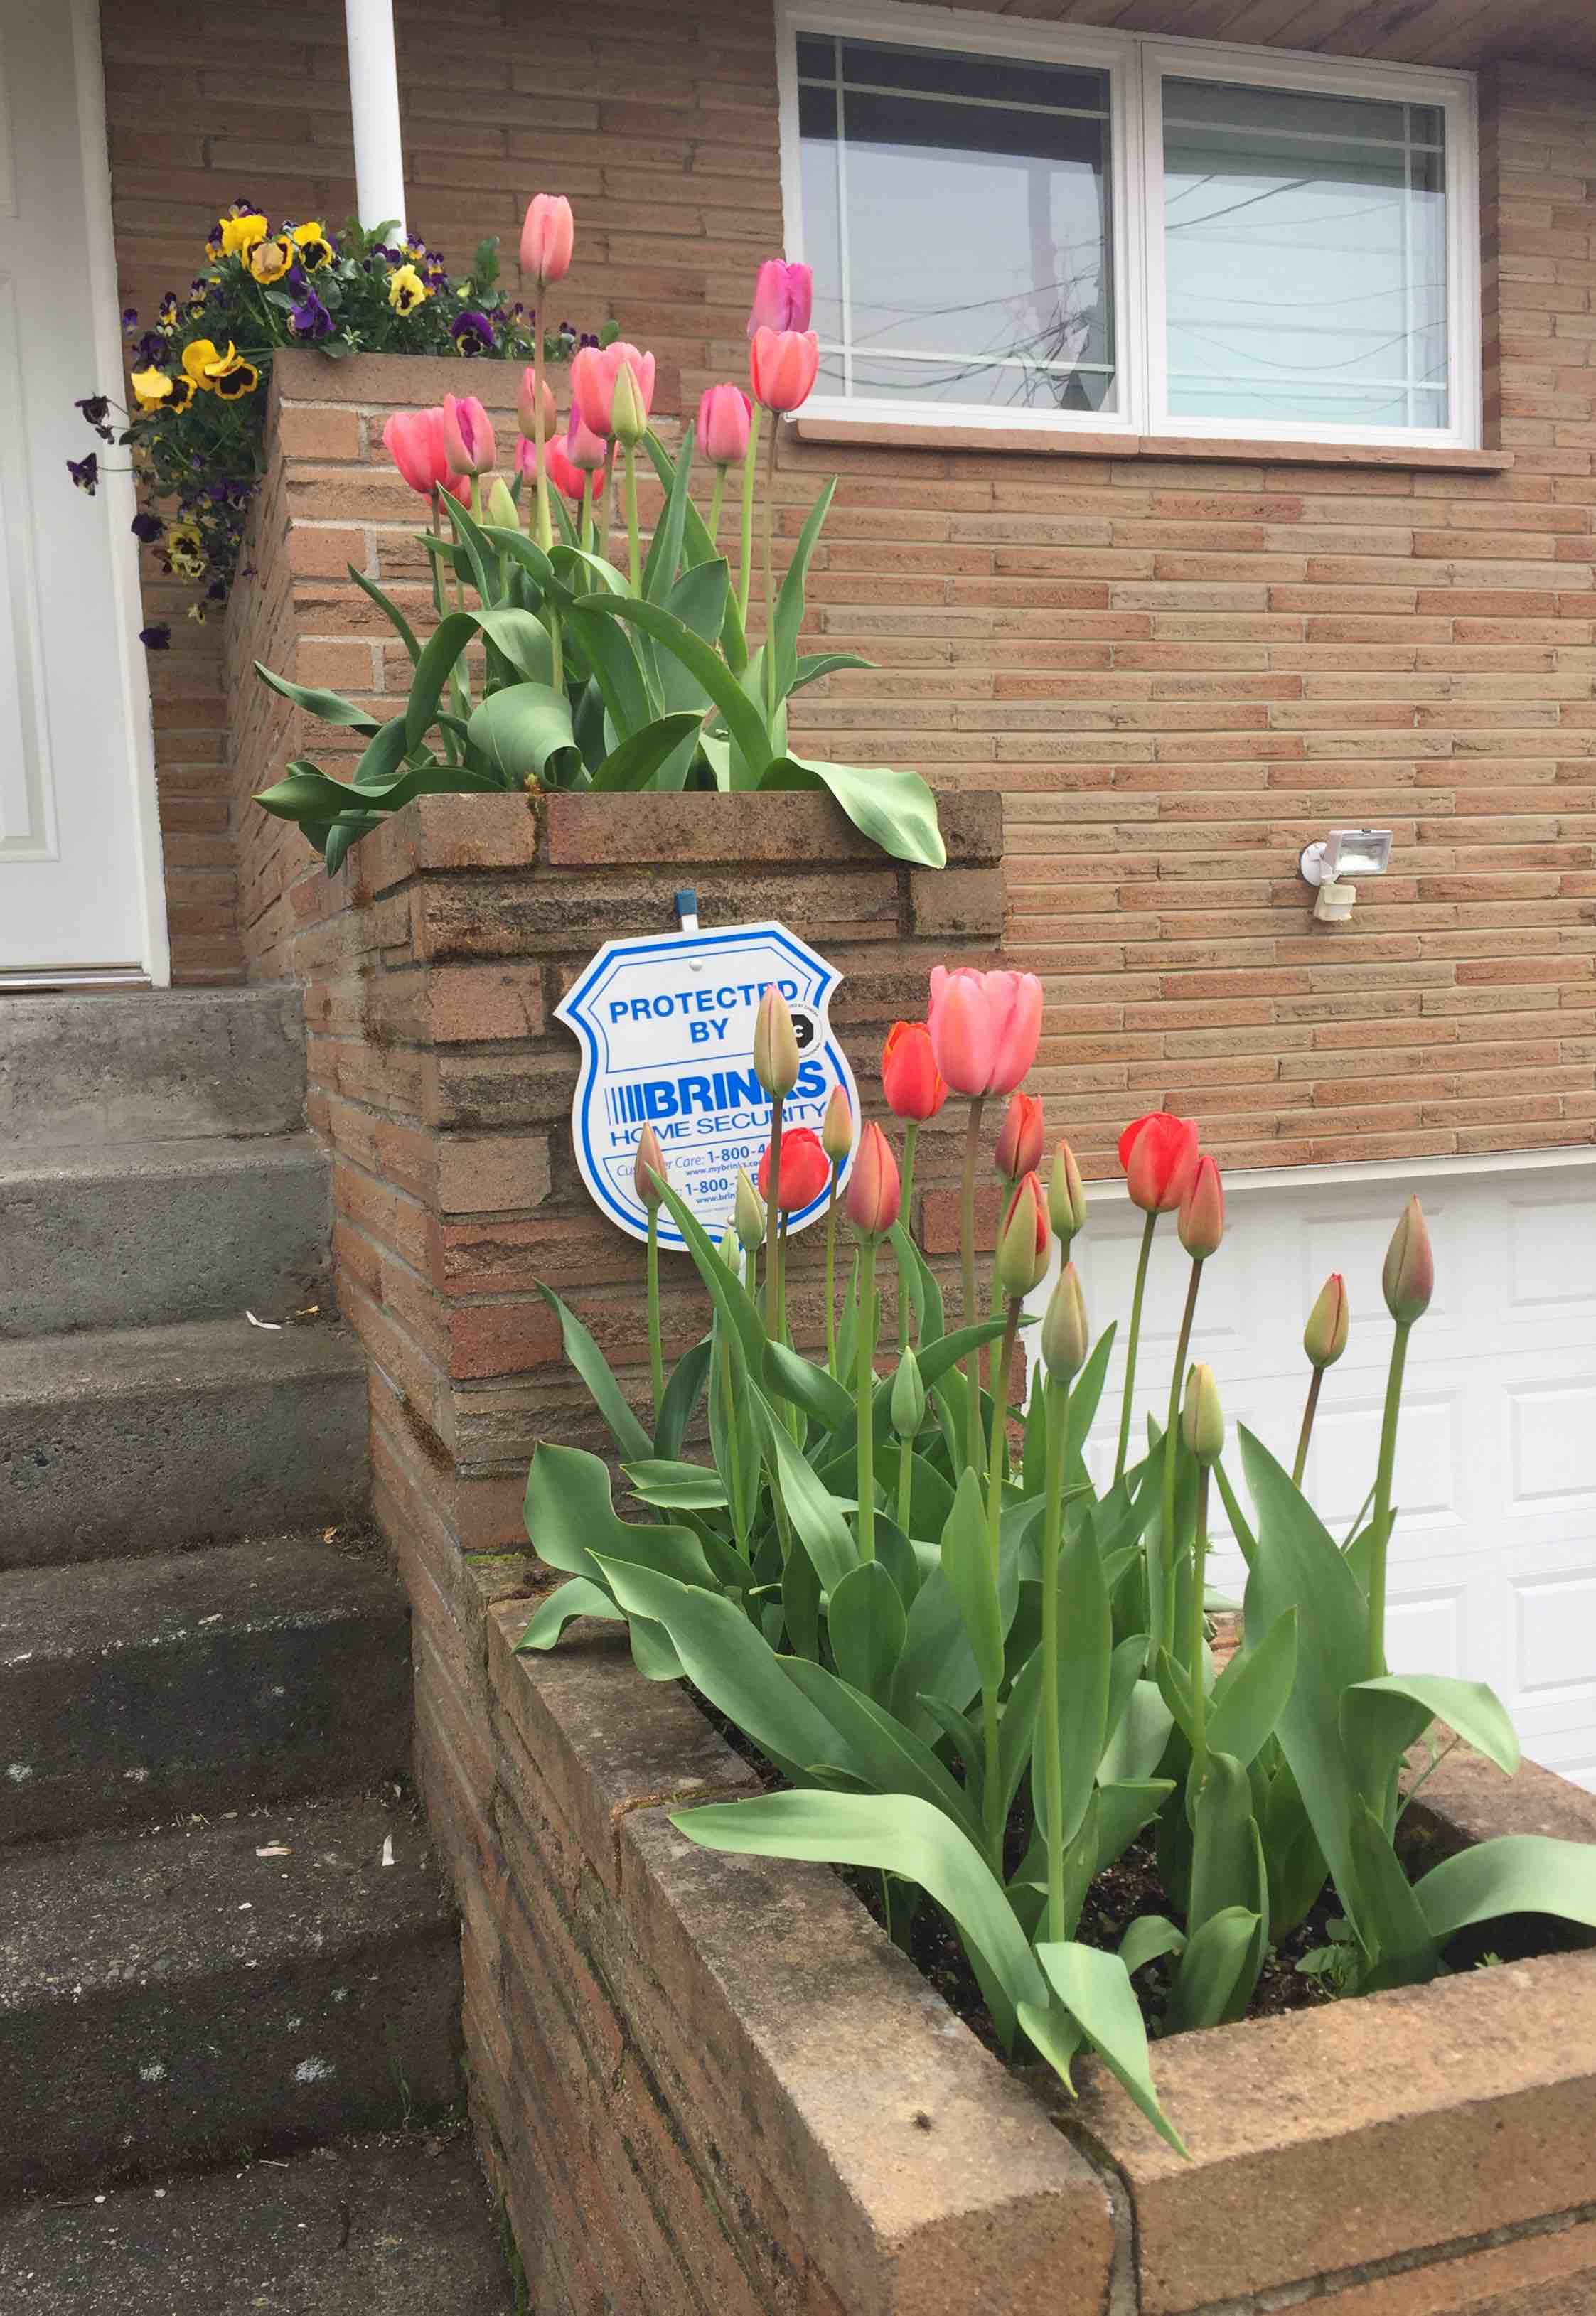
The step-like structure of the planters created a problem for my irrigation tubing. I could have let the tubing cascade over the edge of each planter, and into the lower ones, but… that would be ugly! Everyone would see these weird hanging tubes as they walked up to my door. Not good enough. My only other option was to bury the tubing into the bottom of each higher planter and pop it out onto the top of the next lower one. Since the tubing would be buried, it would look like it was popping up out of each individual planter and avoid hanging over any of the planters.
Upon attempting this however, I ran into a few issues.
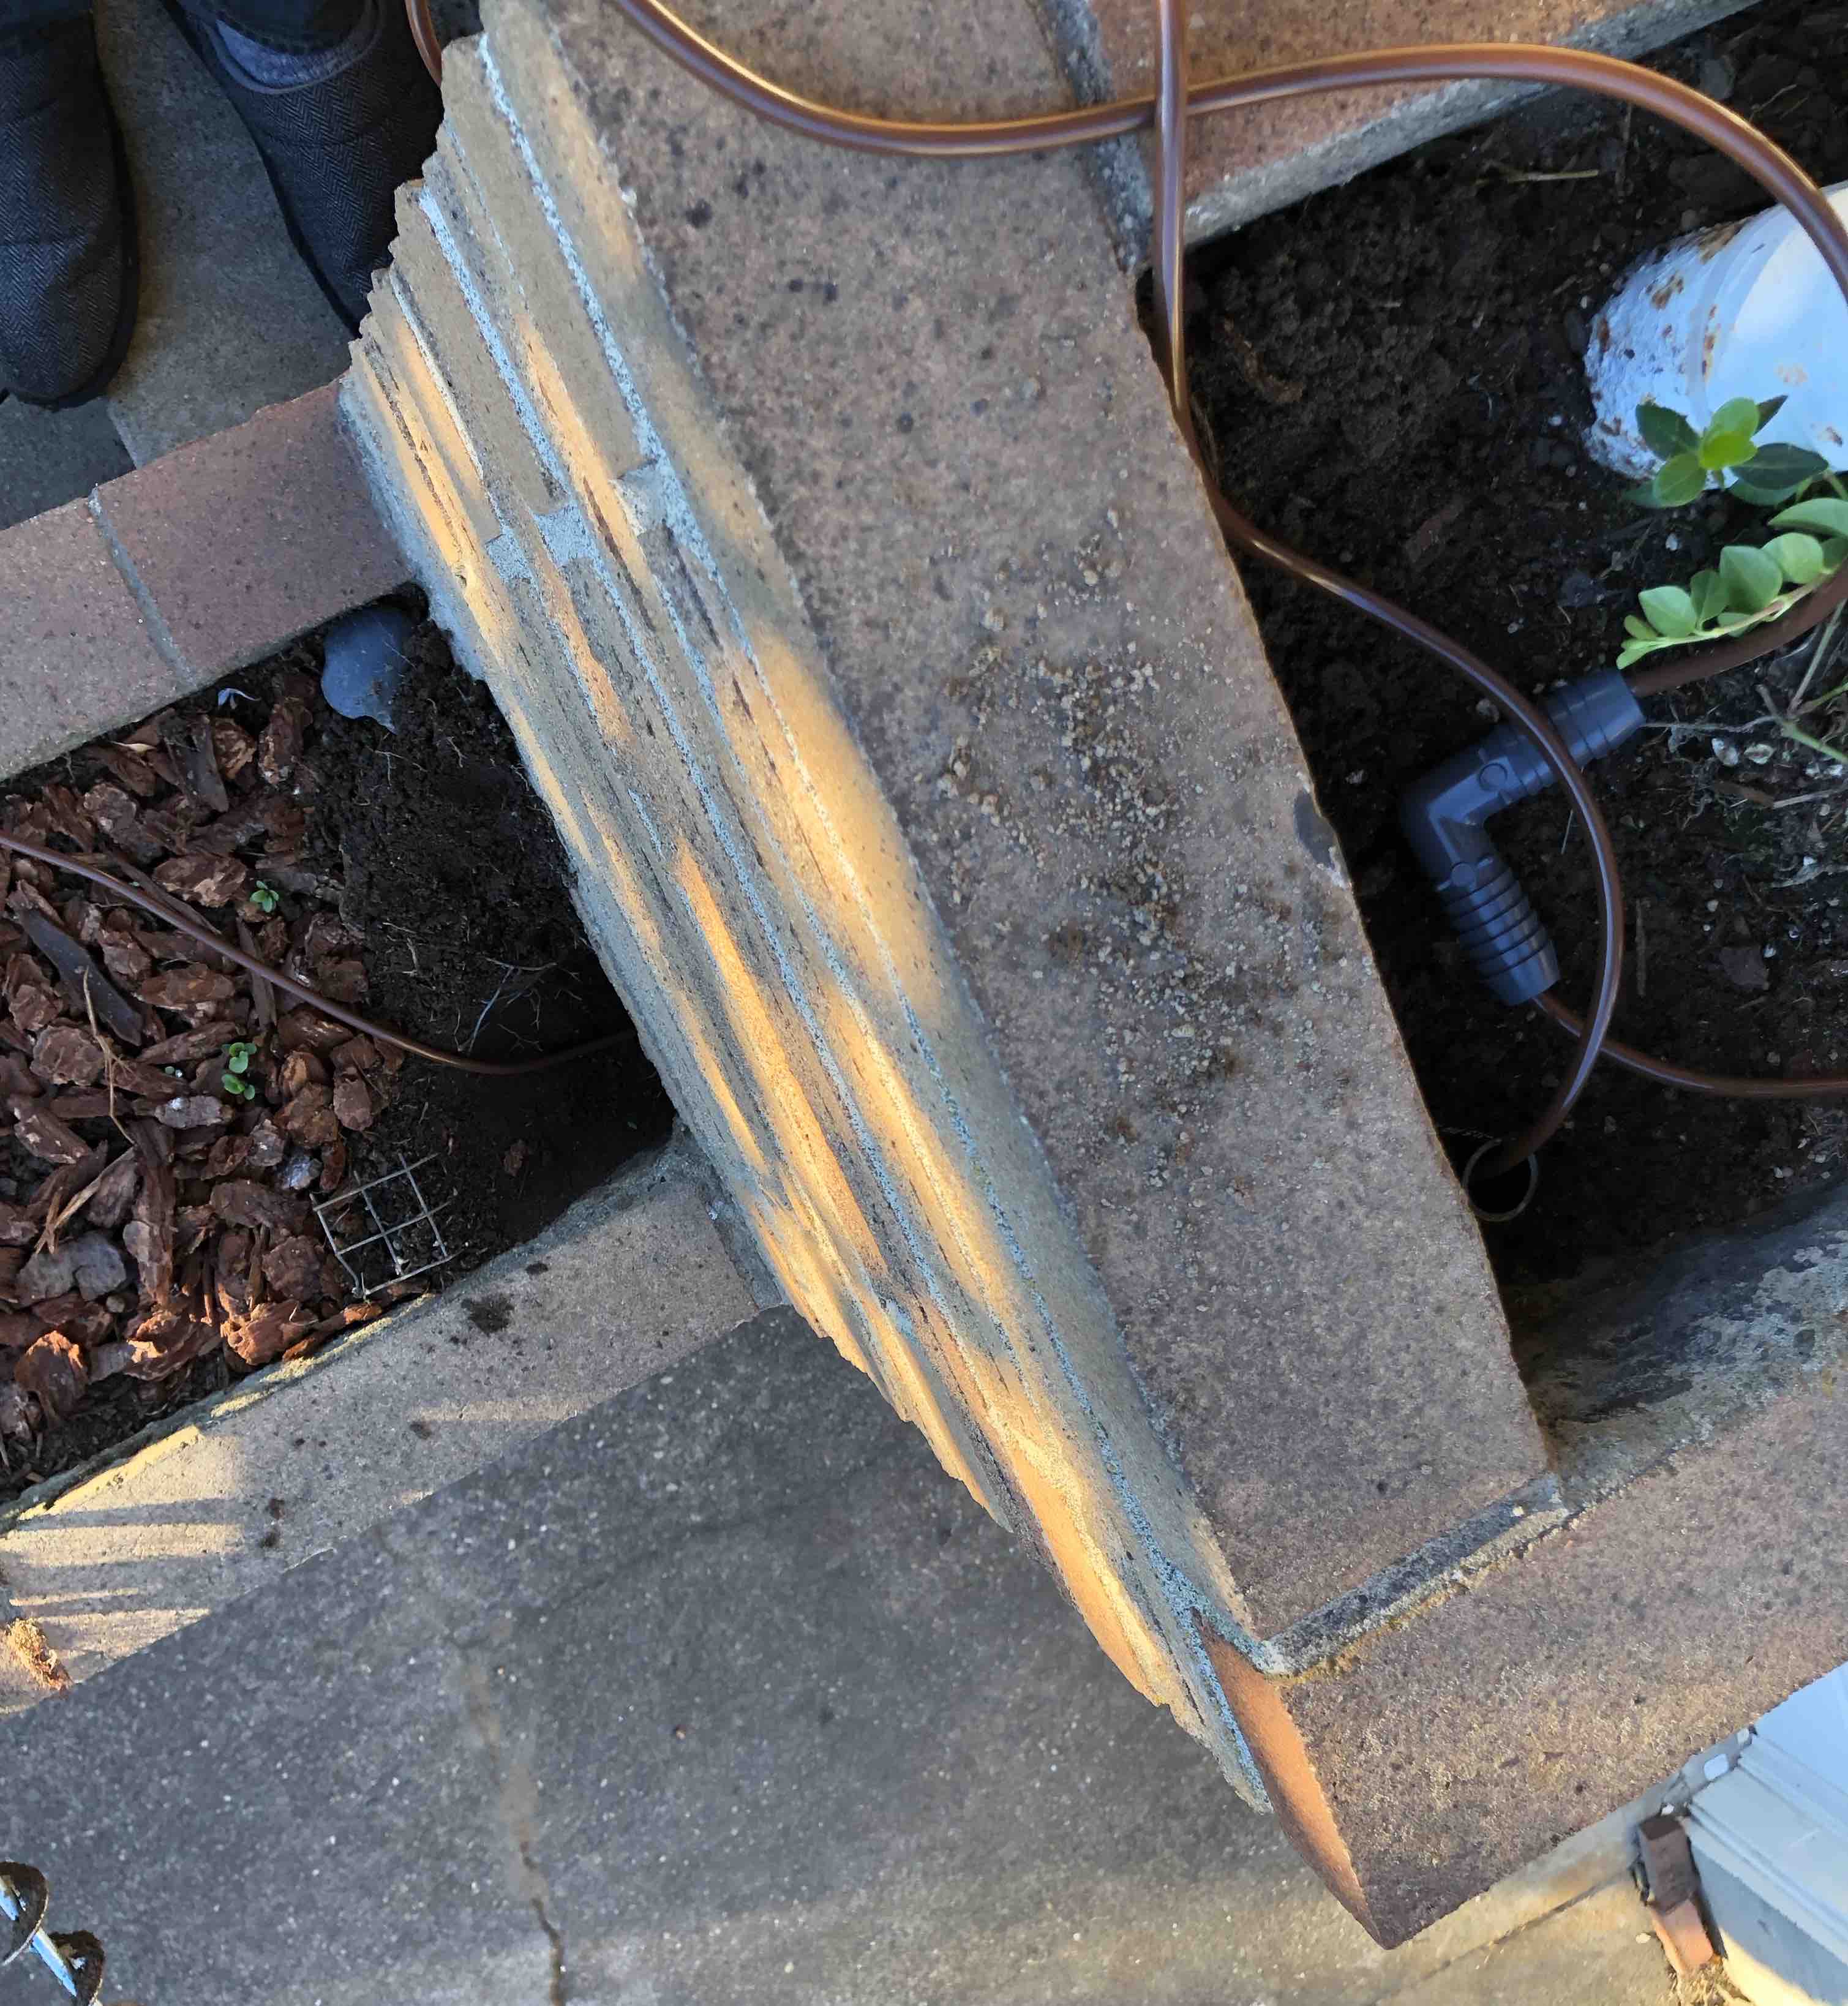
- Digging 2ft deep by 2” wide holes into skinny planters without disturbing the plants inside is difficult.
- The bottom of the planters were full of sharp 6”-24” rocks and broken bricks, blocking passage from the bottom of each upper planter to the next lower one.
I bought some tools and materials to solve both of these problems.
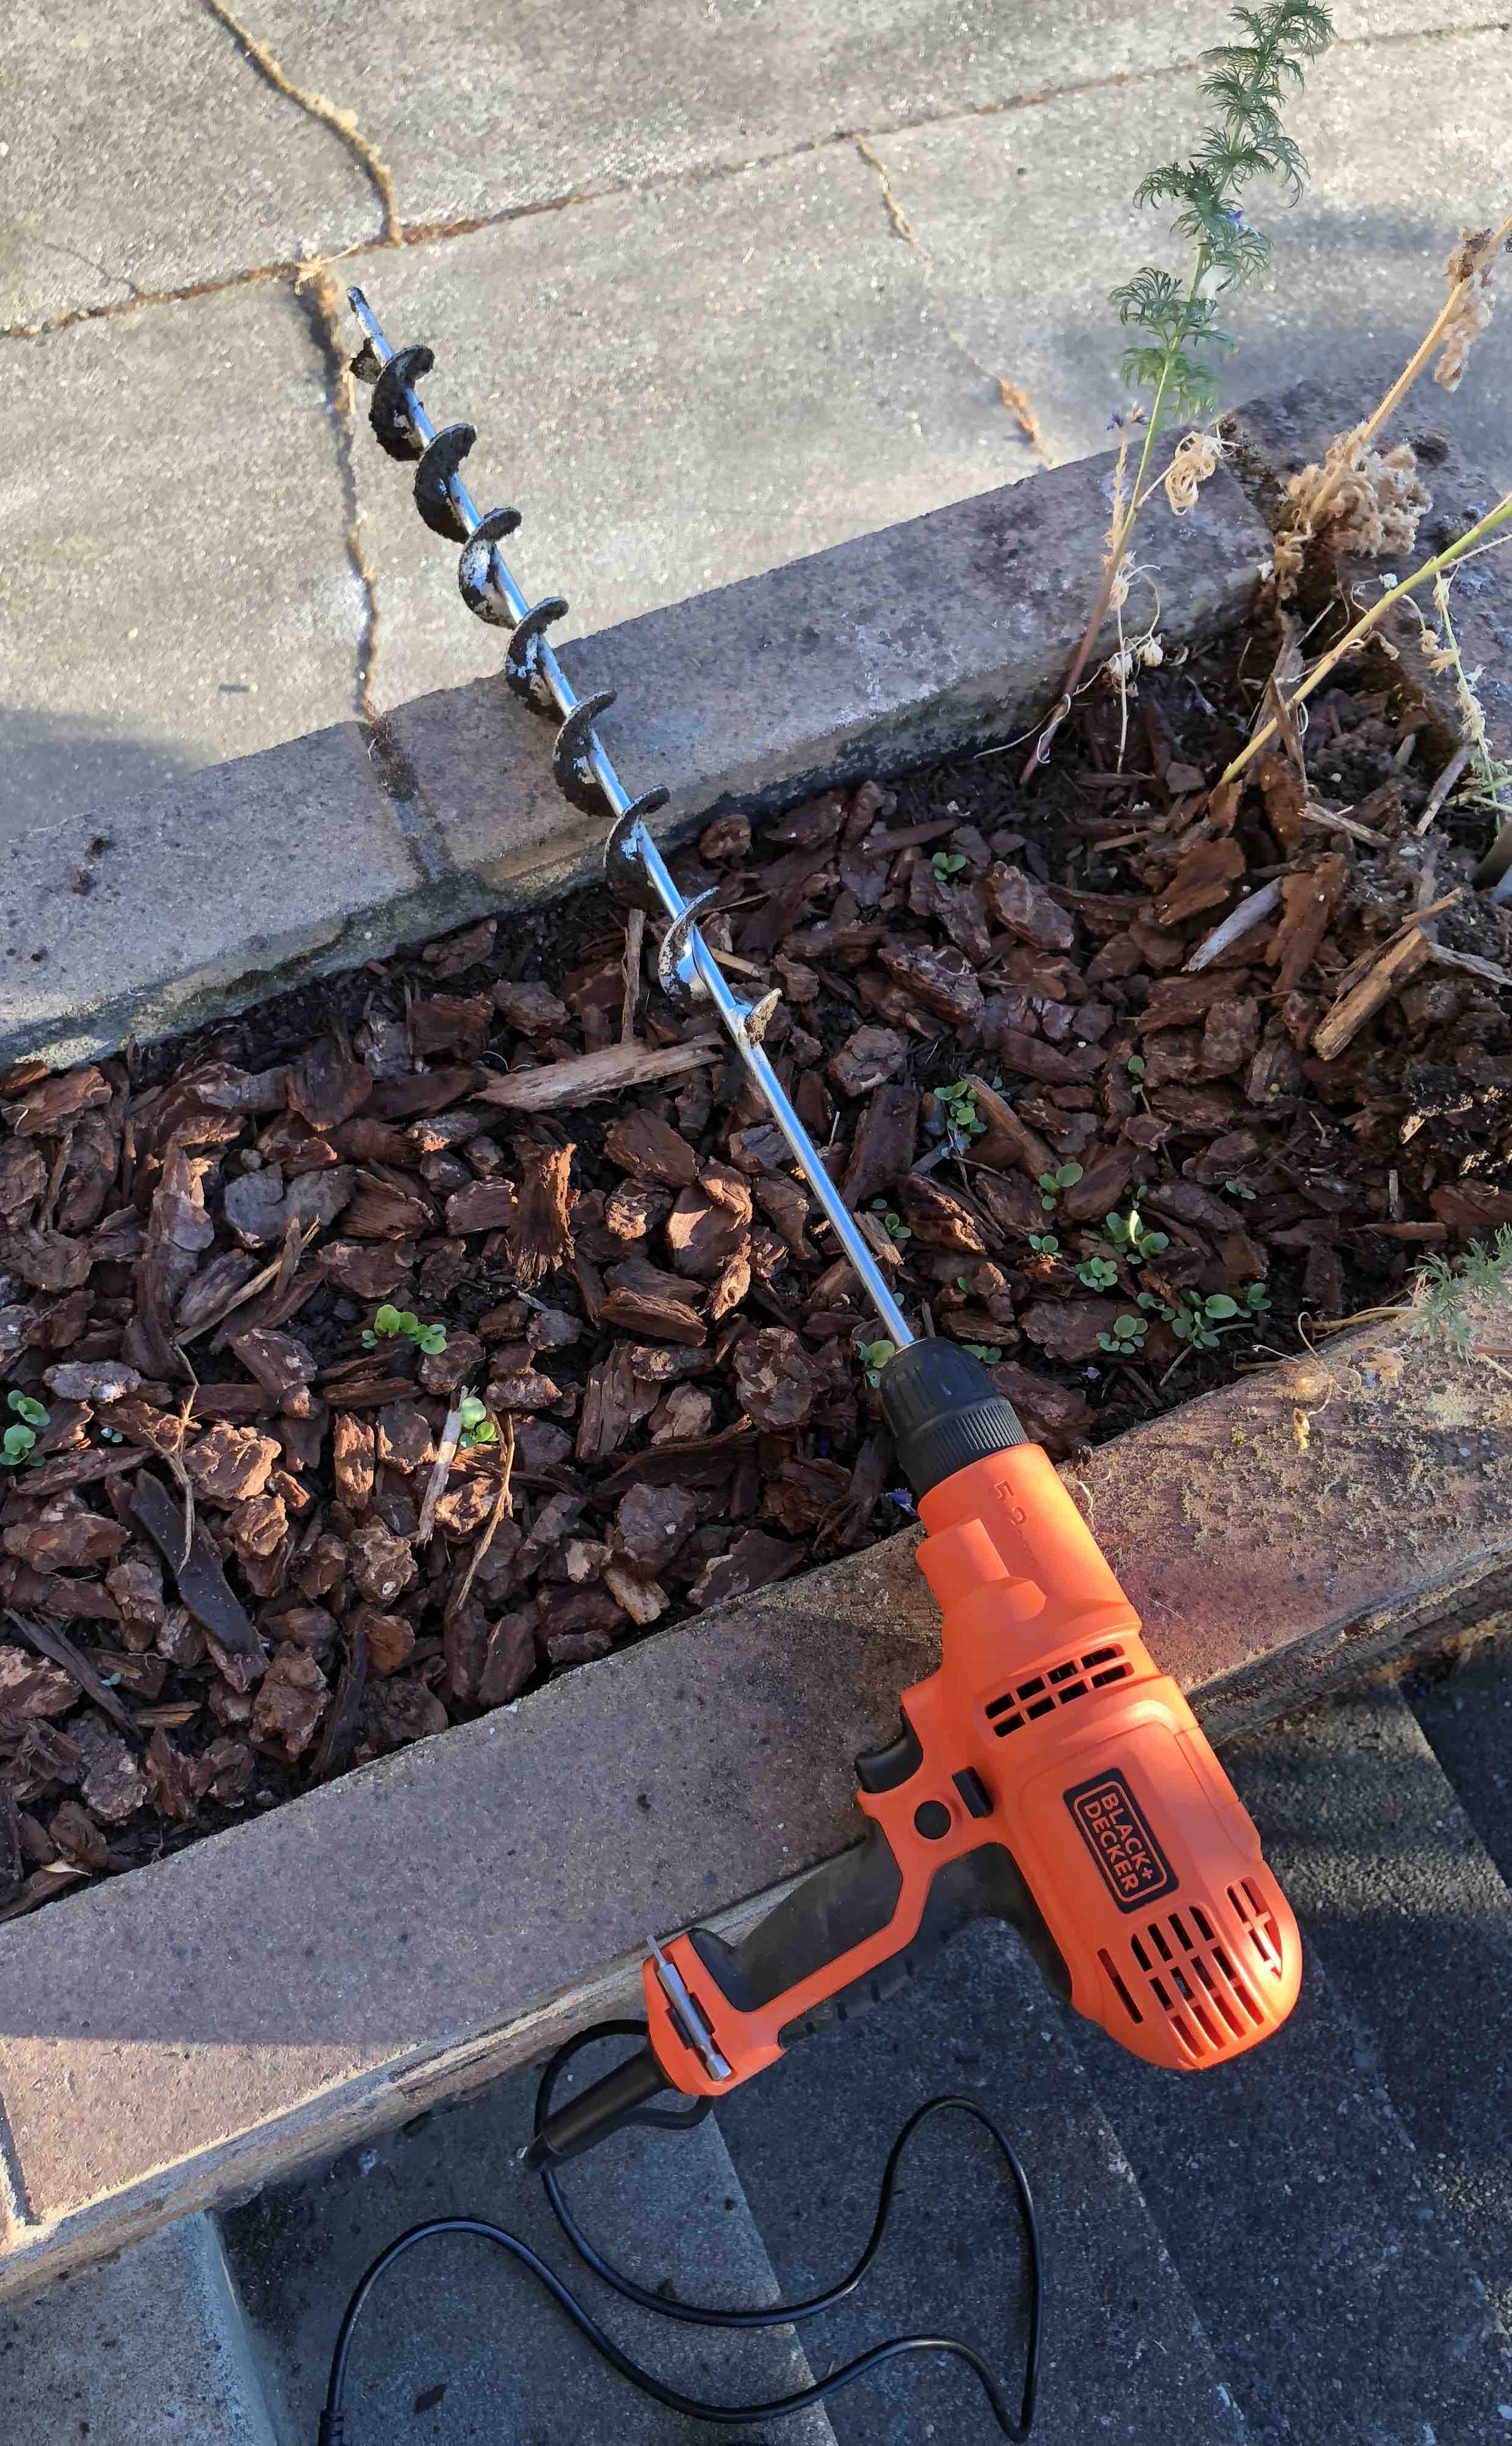
To help with digging the holes, I got a 1-3/4” by 24” long earth auger, which is essentially a huge dirt digging drill bit. Attached to a drill, this thing dug straight 2” wide by 2ft holes in seconds with little effort. Worth every penny.
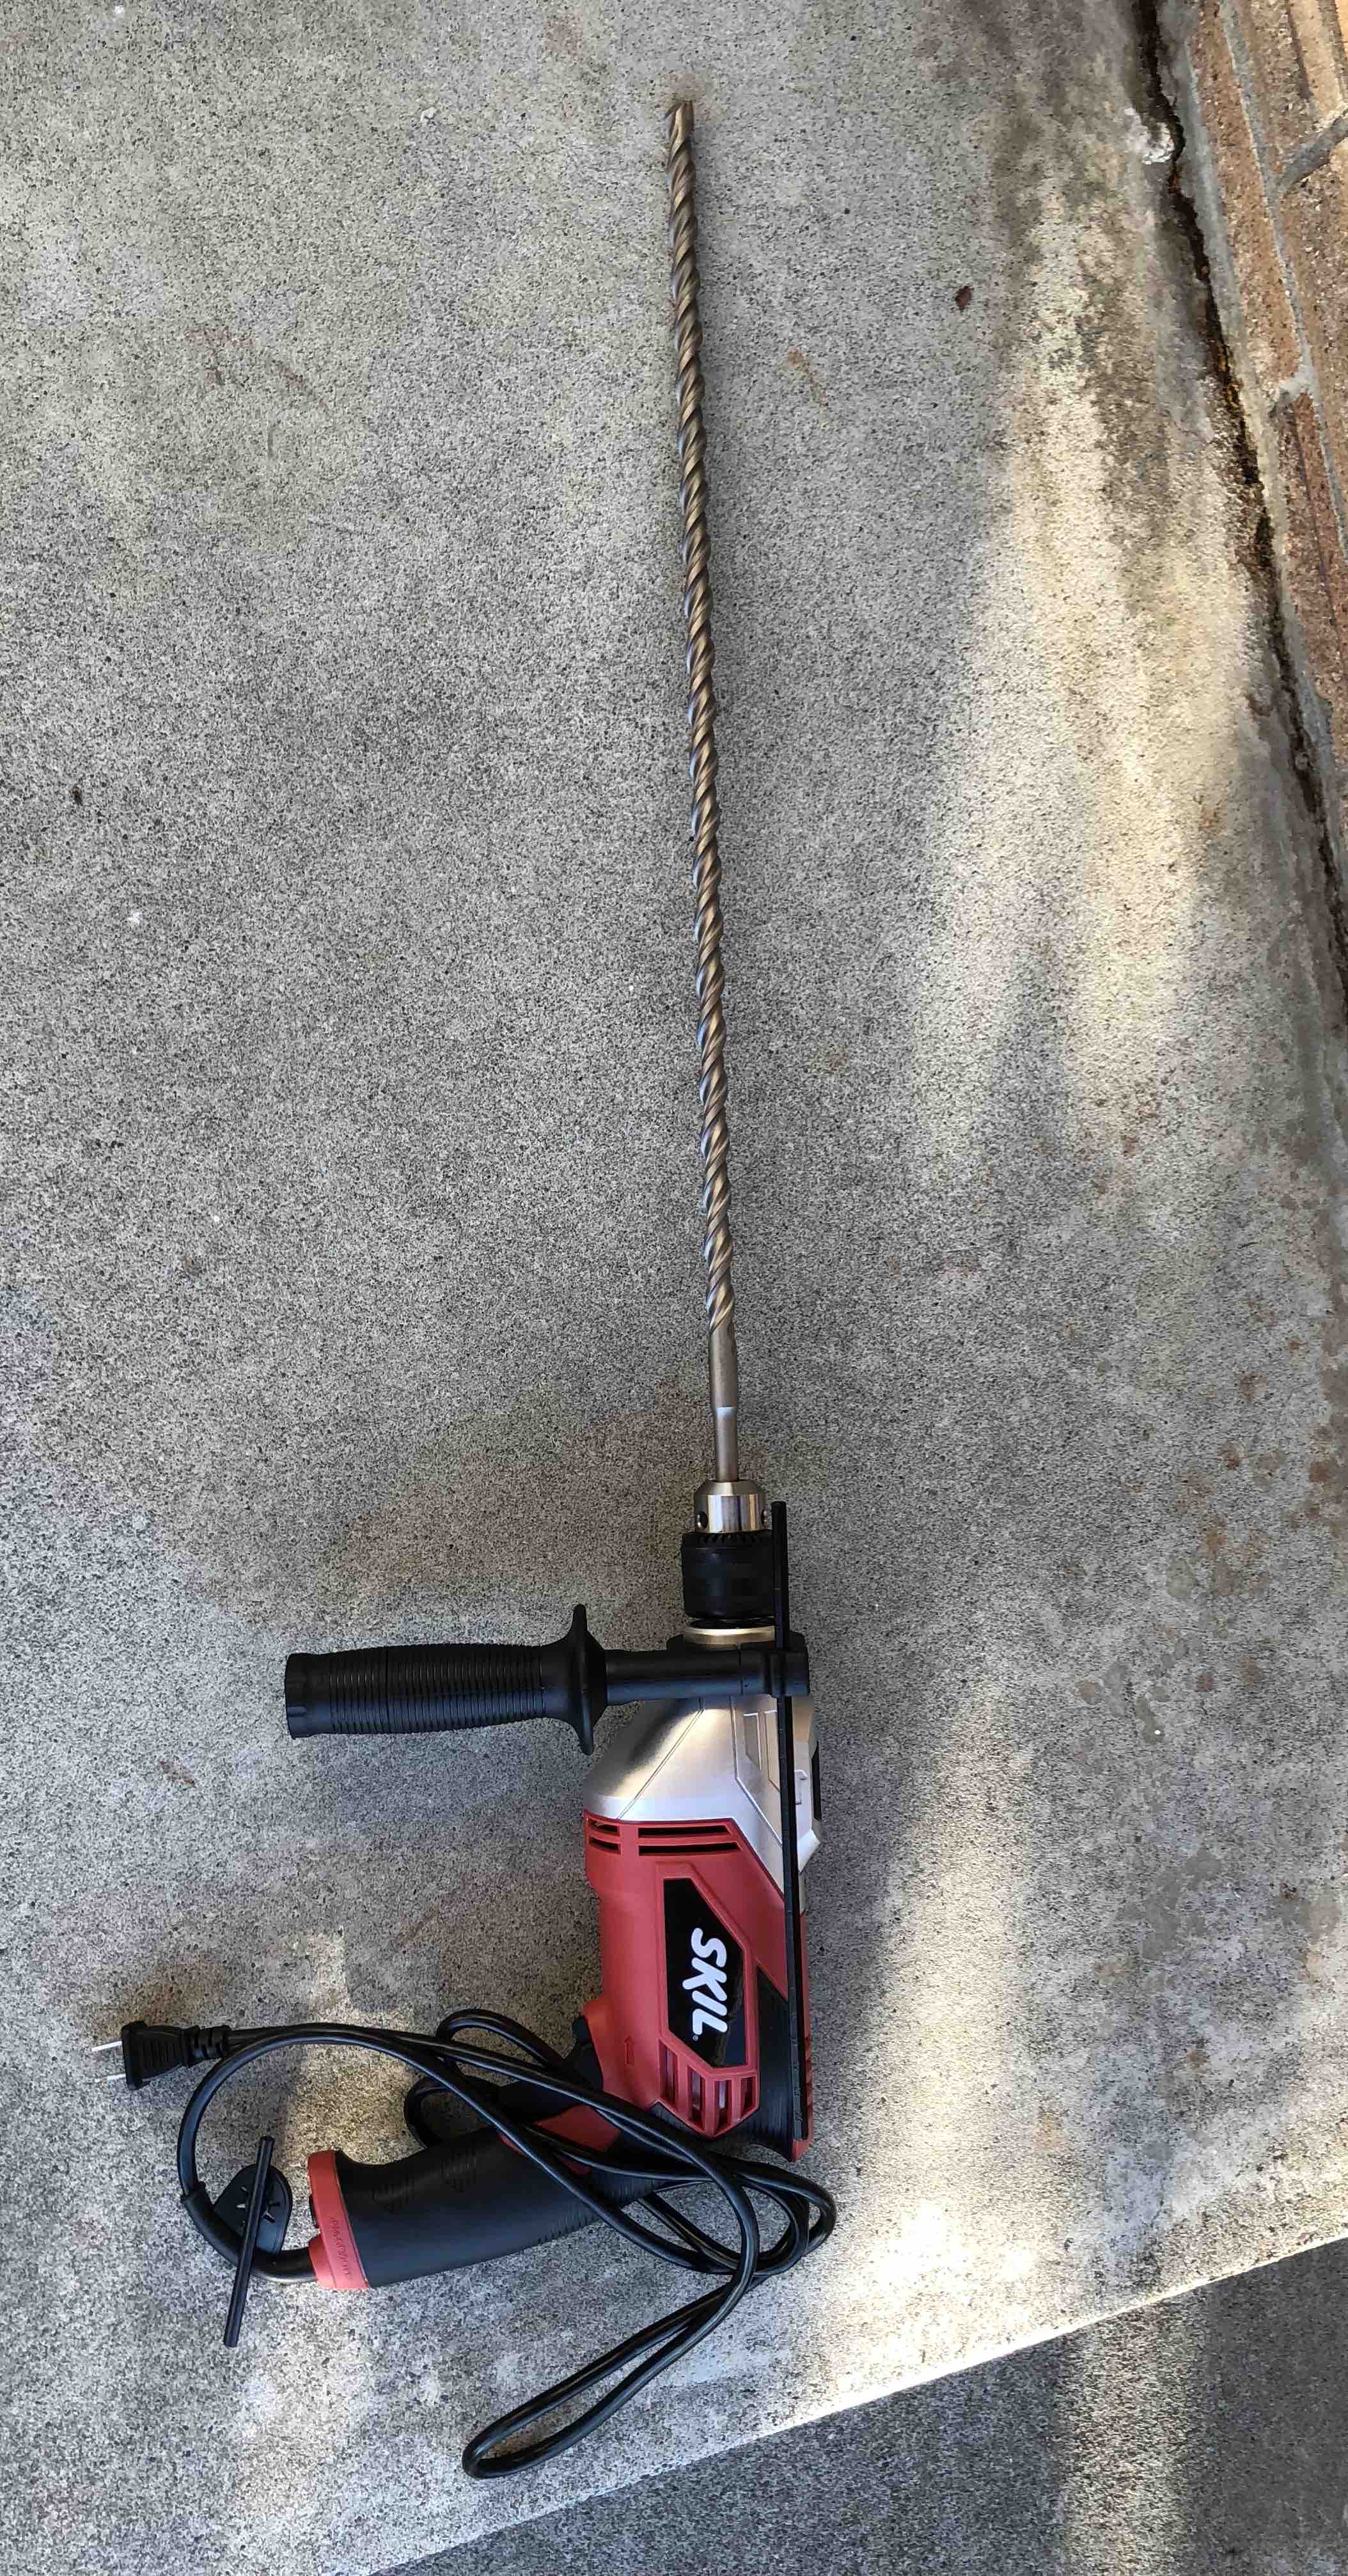
I had to get a bit more creative to solve my rock problem at the bottom of my planters. To punch a hole through the rock, I acquired an electric hammer drill and a 1/2” wide by 24” hammer drill bit suited for rock and concrete. With such a long bit, I was able to drill straight through my newly dug, 2ft deep dirt holes and through the rocks underneath. I now had access to the lower planters via the upper ones!
Once I had a clear path to string my drip tubing through all the planters I started to have some questions…
- There are a lot sharp rocks, bricks, and roots rubbing up against this tubing and I’m already seeing wear as I install it. Do I want to protect this stuff somehow?
and...
- If/When I do have to replace some of this tubing, will I have to re-dig all these holes?
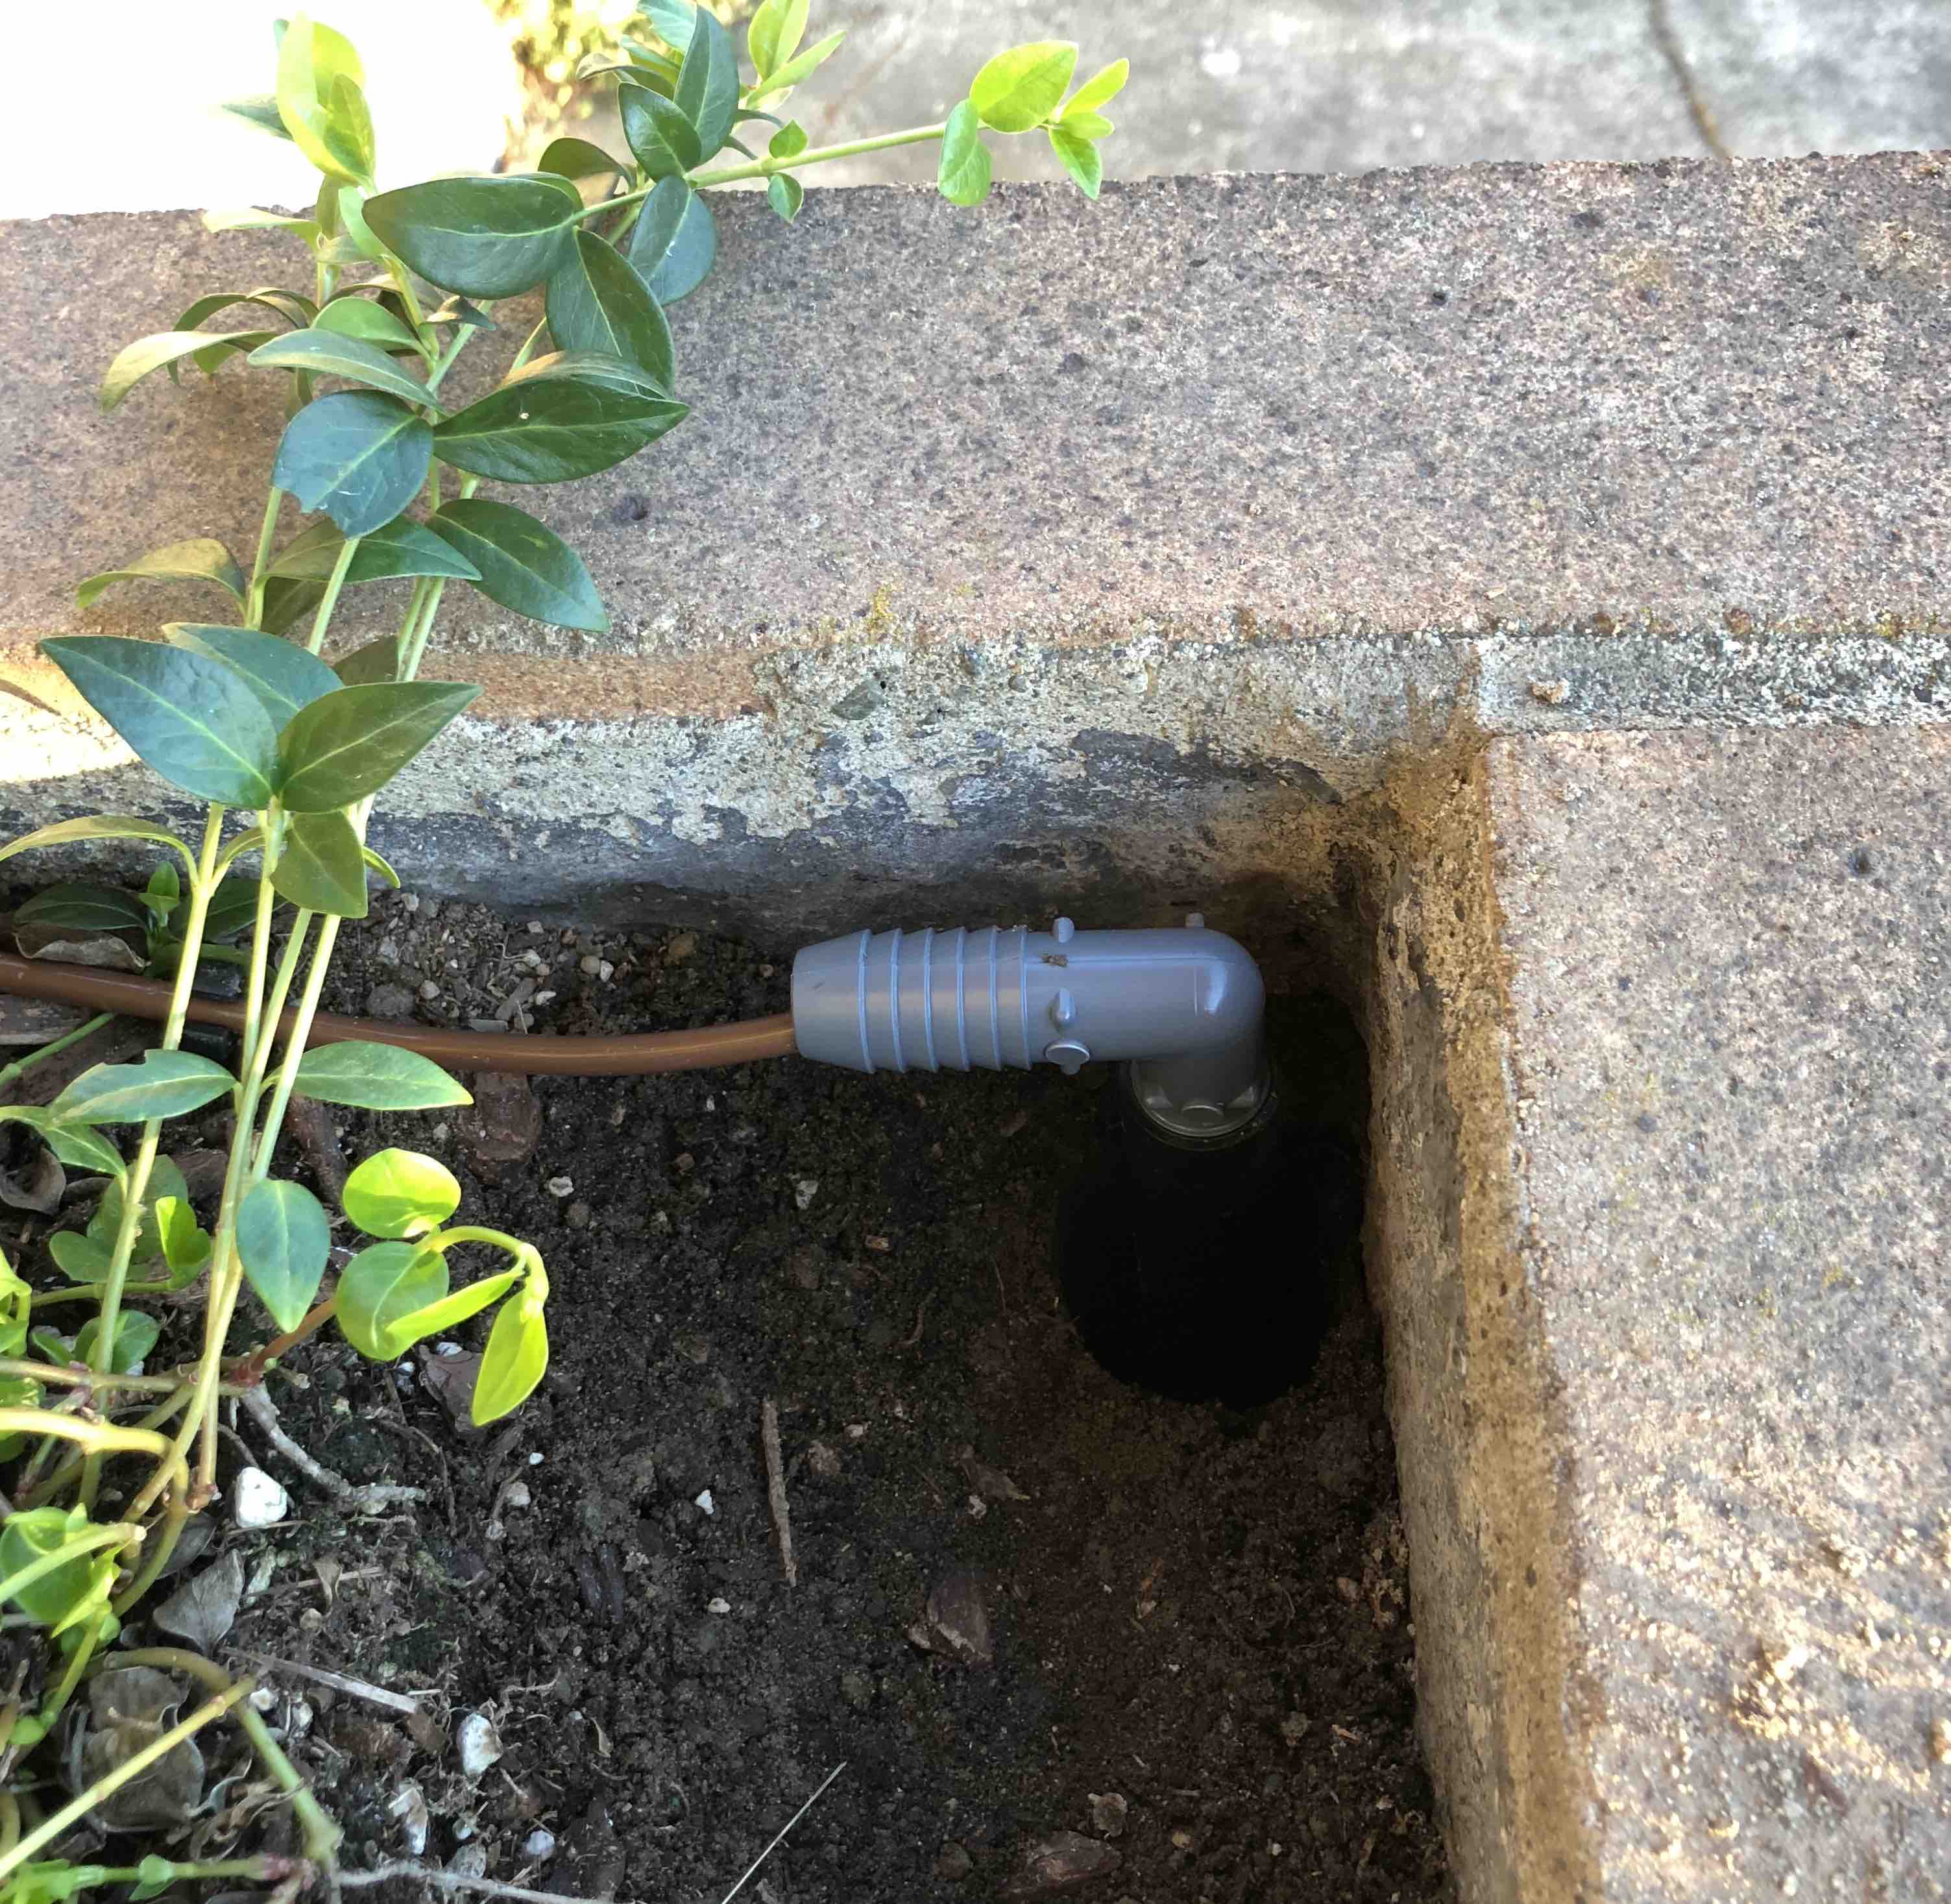
These questions bothered me enough that in an effort to never have to go through all this work again, even when replacing old drip tubing years from now, I did a couple more things before running all the tubing through the planters. First, I placed some 3/4” by 24” pvc pipes into the holes I made in the planters and second, I attached a 90 degree angle pvc joint connector on the top of each pipe. The pipes should make my life much easier when replacing or pulling tubing through my planter holes, and the joints keep dirt from accumulating in the pipes. All of this was easy to hide under a thin layer of dirt and mulch.


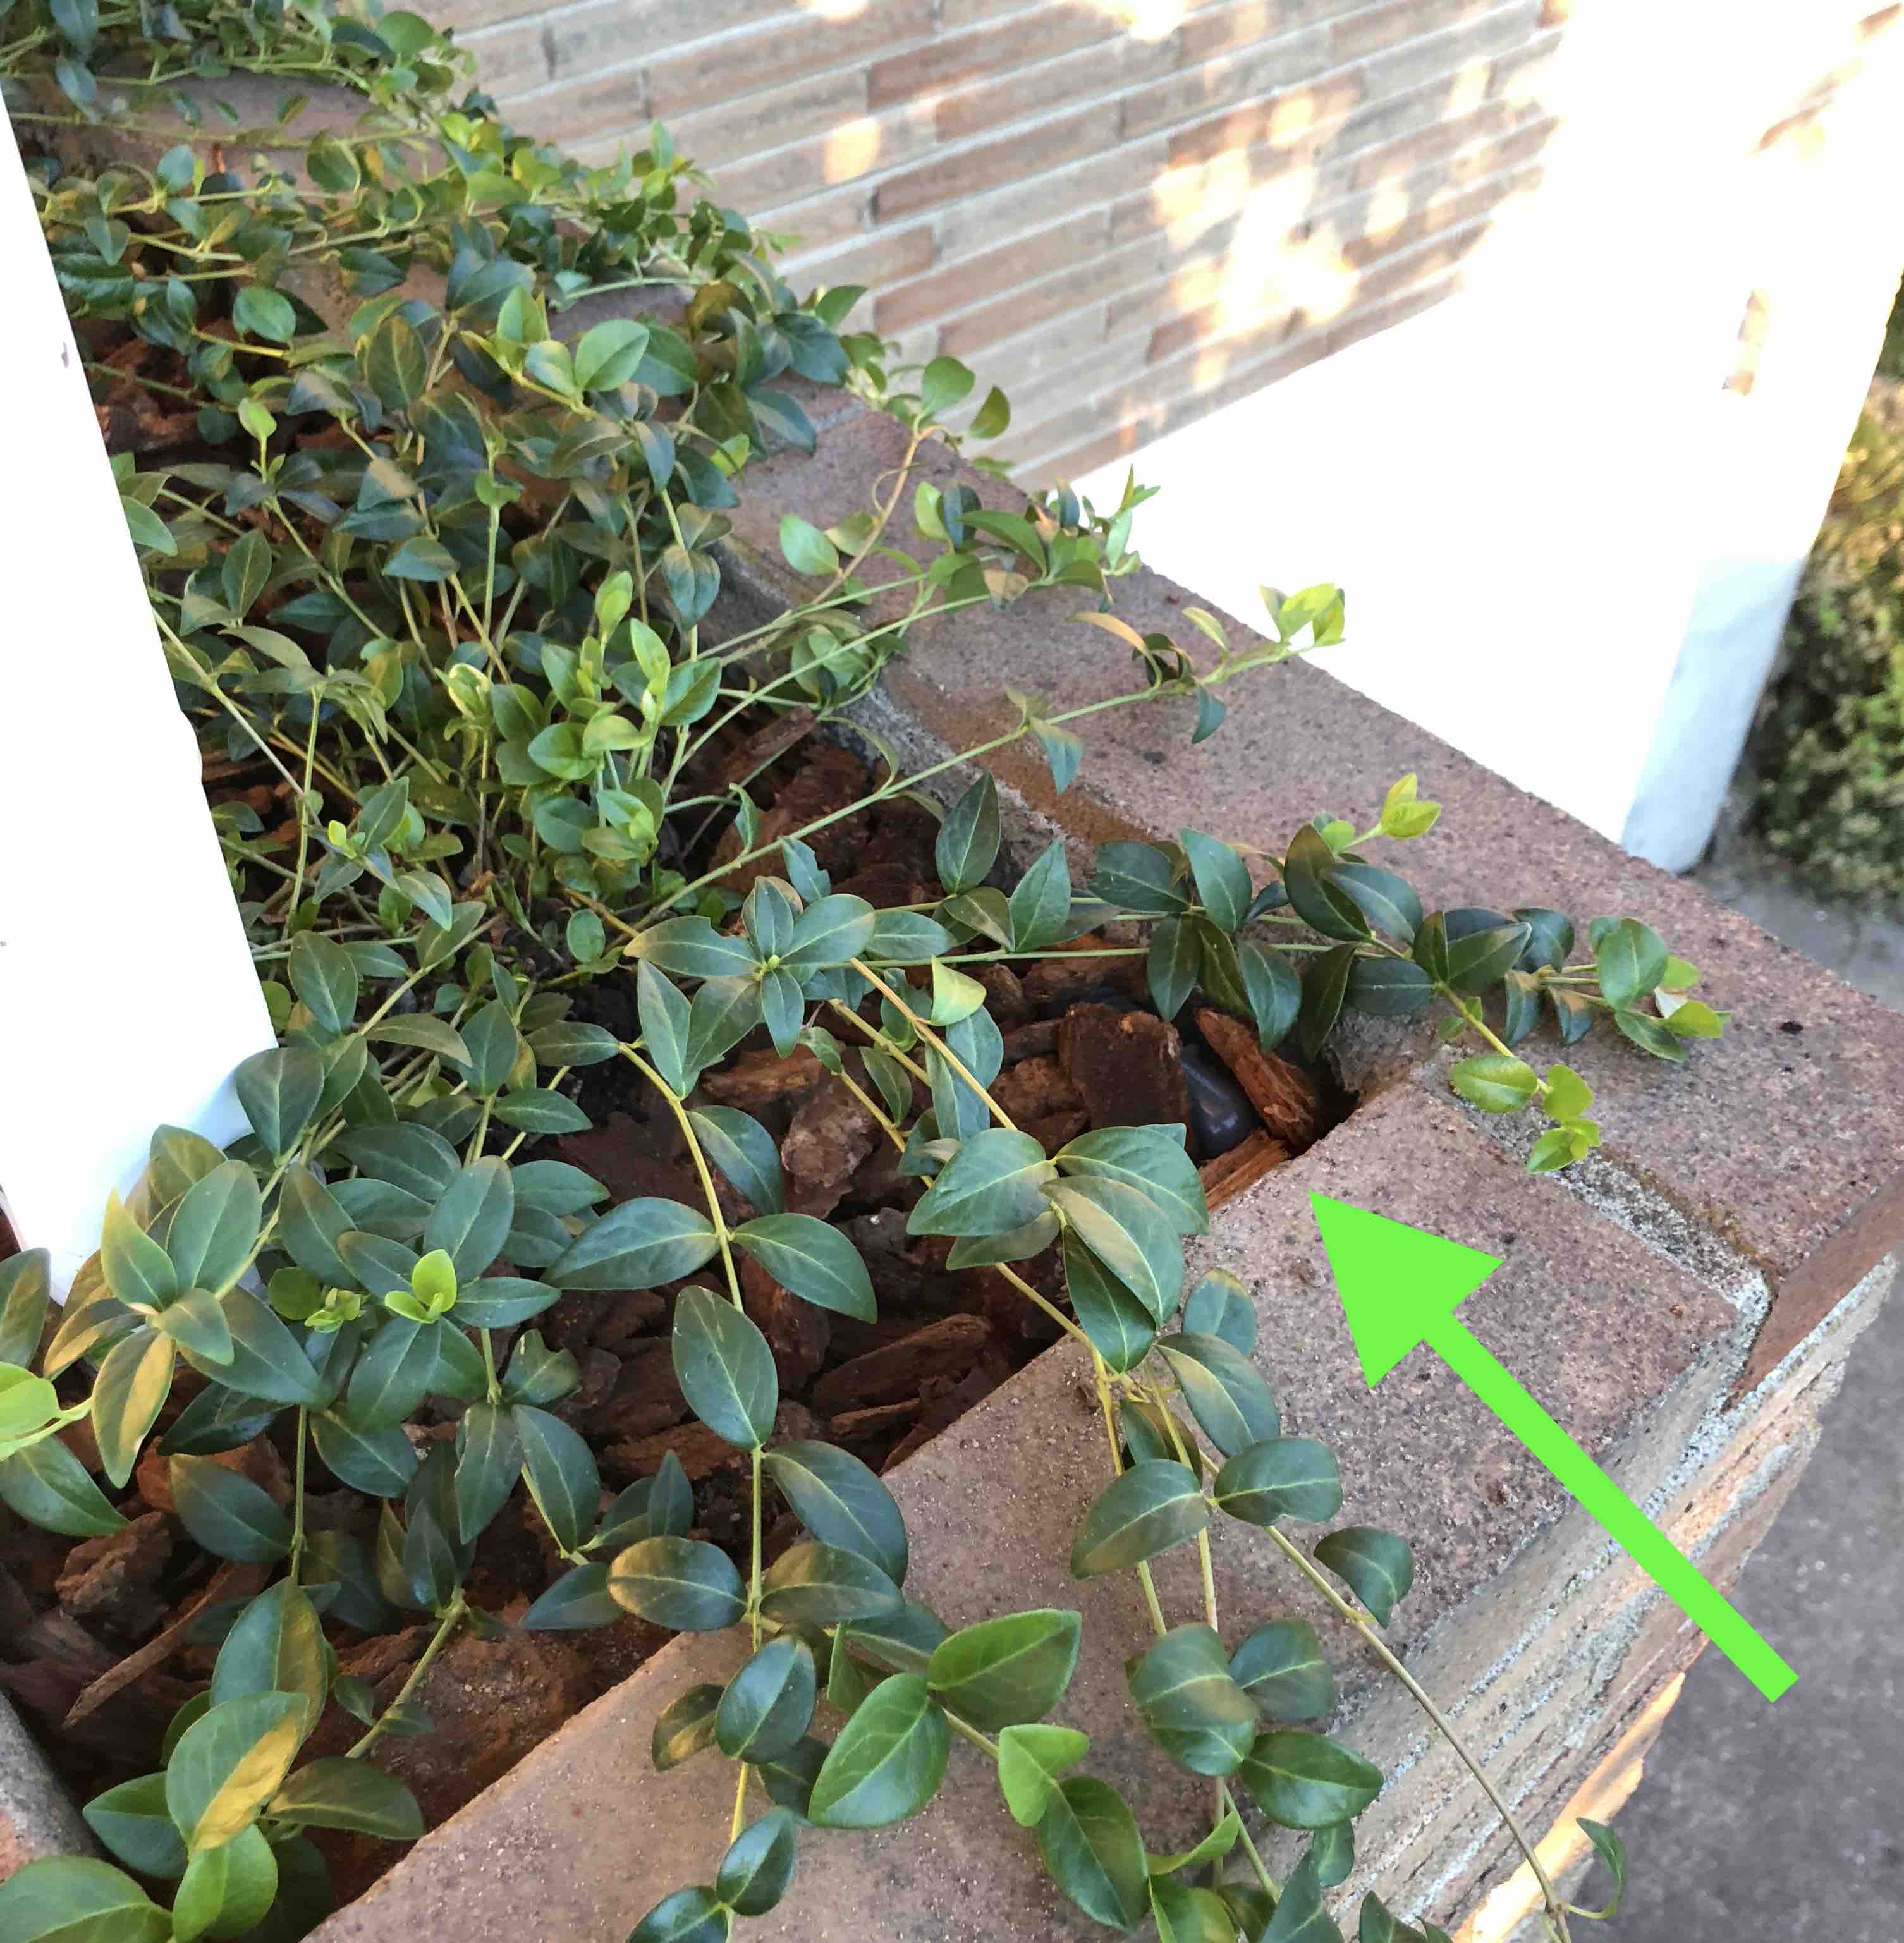
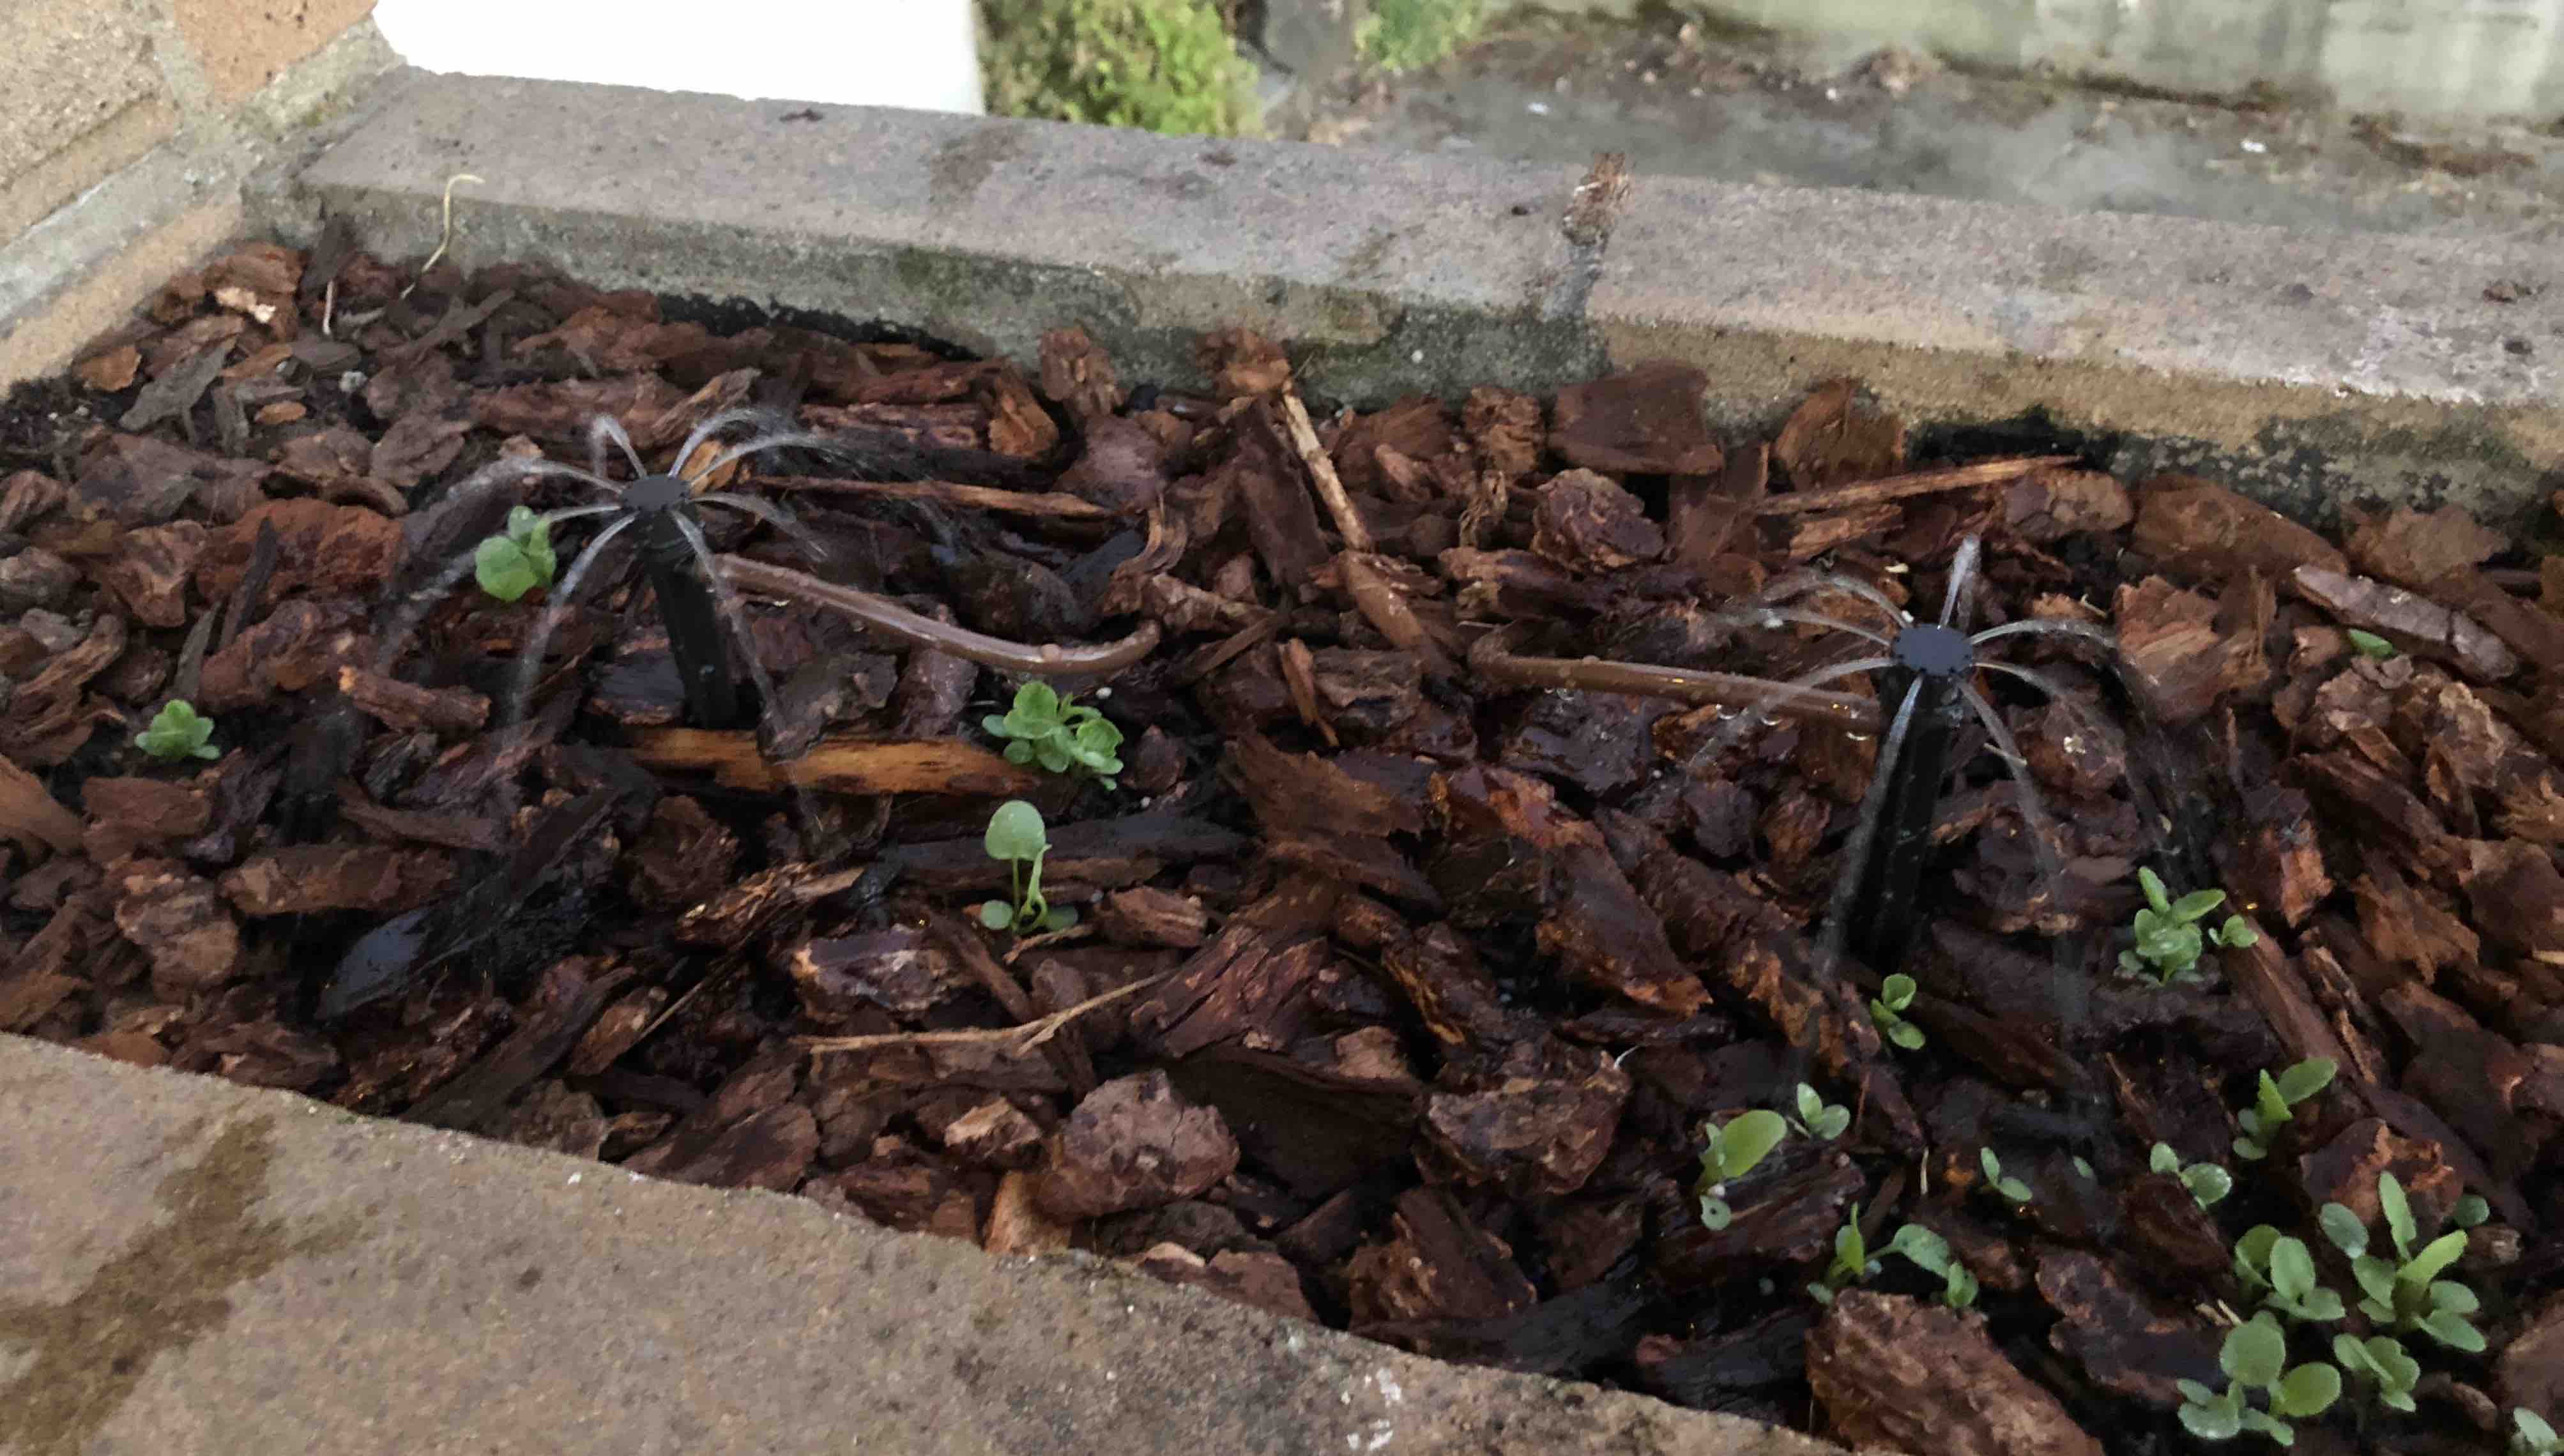
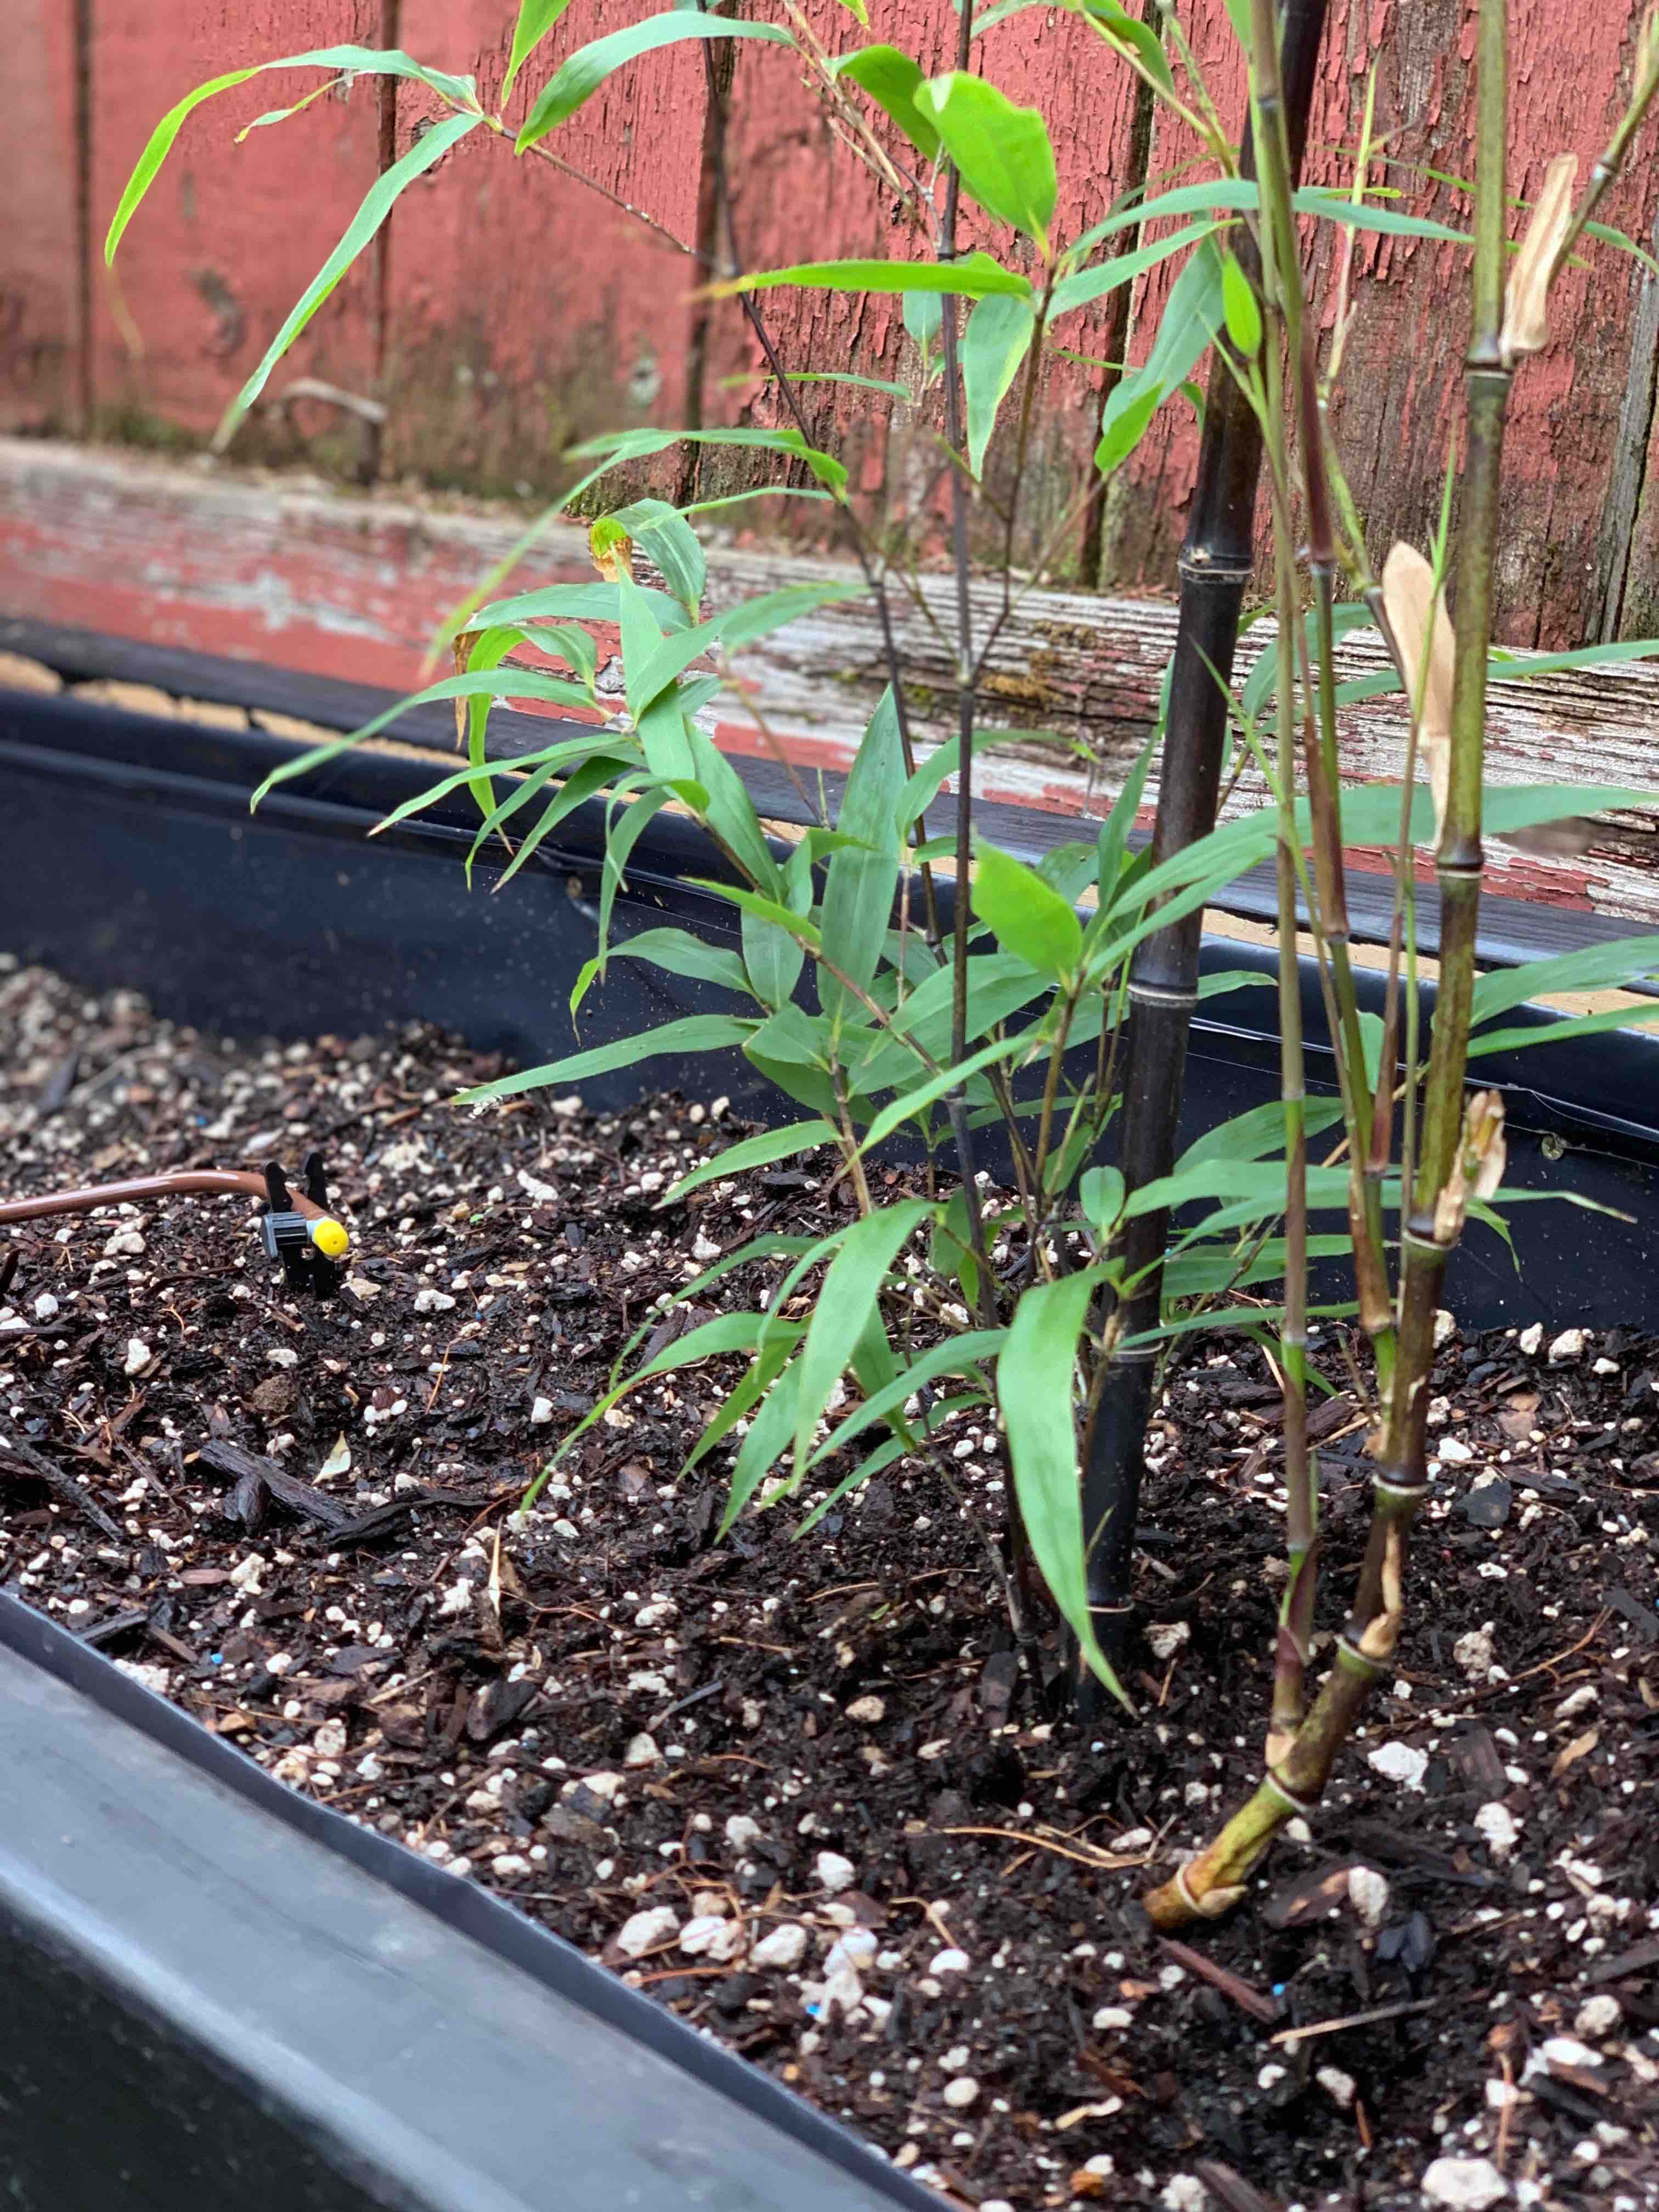
After that, I pulled tubing through the pipes in each planter, attached emitters to the tubing laying near each plant I wanted to water, turned on the water, and.... wow! All my front patio plants were being watered and I could barely tell it was happening! The tubing was practically invisible.
More Photos
Other Lessons and Tips
Emitters
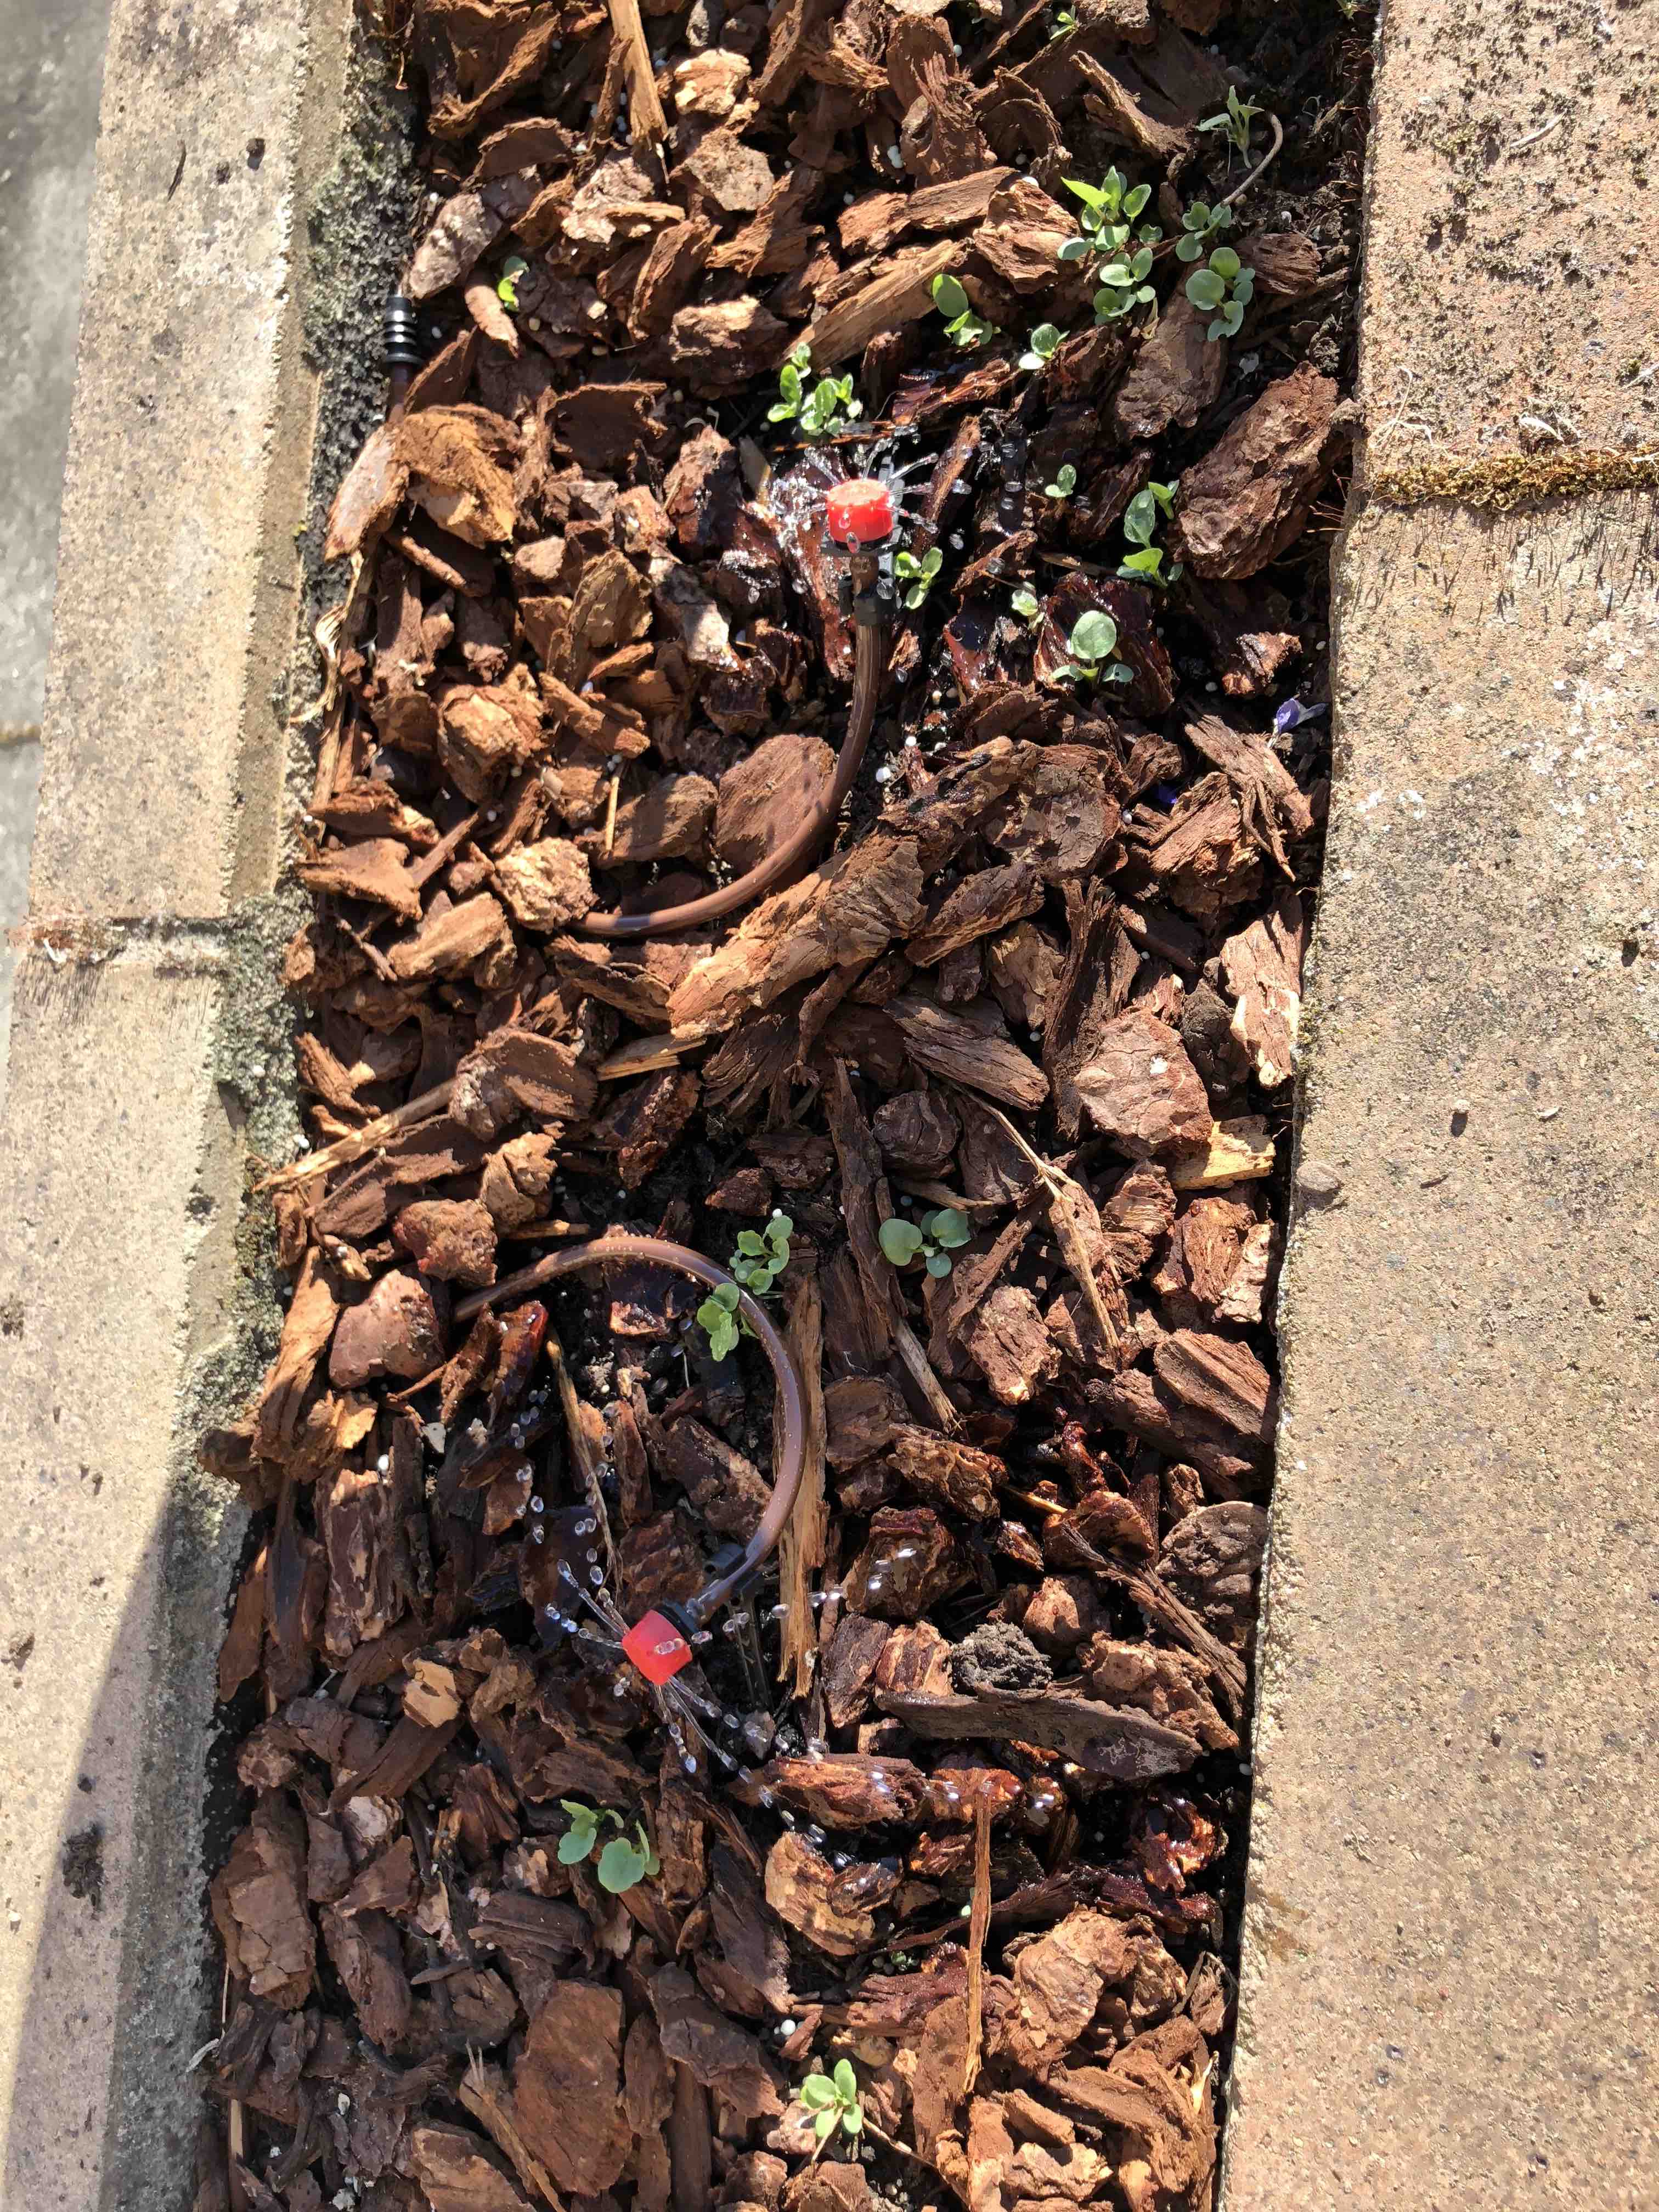
There are many different types of emitters out there and I’ve tried at least a dozen myself. While I occasionally use misting or spray emitters for plants that love being wet like calla lilies, I generally stick with simple drip style emitters that can be twisted to reduce or increase flow. This makes it easy to adjust an emitter to give a specific plant the amount of water it needs and doesn’t overly wet the plant’s leaves which often causes fungus issues on many types of plants.
1/2 inch Tubing
You may have noticed that my entire drip installation is made up of 1/4 inch tubing and not any tubing 1/2 inch or thicker. I have read that others have used 1/2 tubing as a “trunk” or a main line to each section they want to water and branch off 1/4 inch tubing to individual plants. This strategy also seems to provide better water pressure to each emitter.
I currently water about 30 or so plants with my irrigation system and don’t have a lot of problems with pressure, but I primarily use drip-type emitters as opposed to emitters that require more pressure like spray-type emitters. I admit that if I wanted to add many more emitters or more spray-type emitters, I may not have enough pressure to run everything at the same time.
If you think you may have a massive system or want to use a lot of spraying emitters, I encourage you to look into incorporating 1/2 inch tubing into your system’s design.
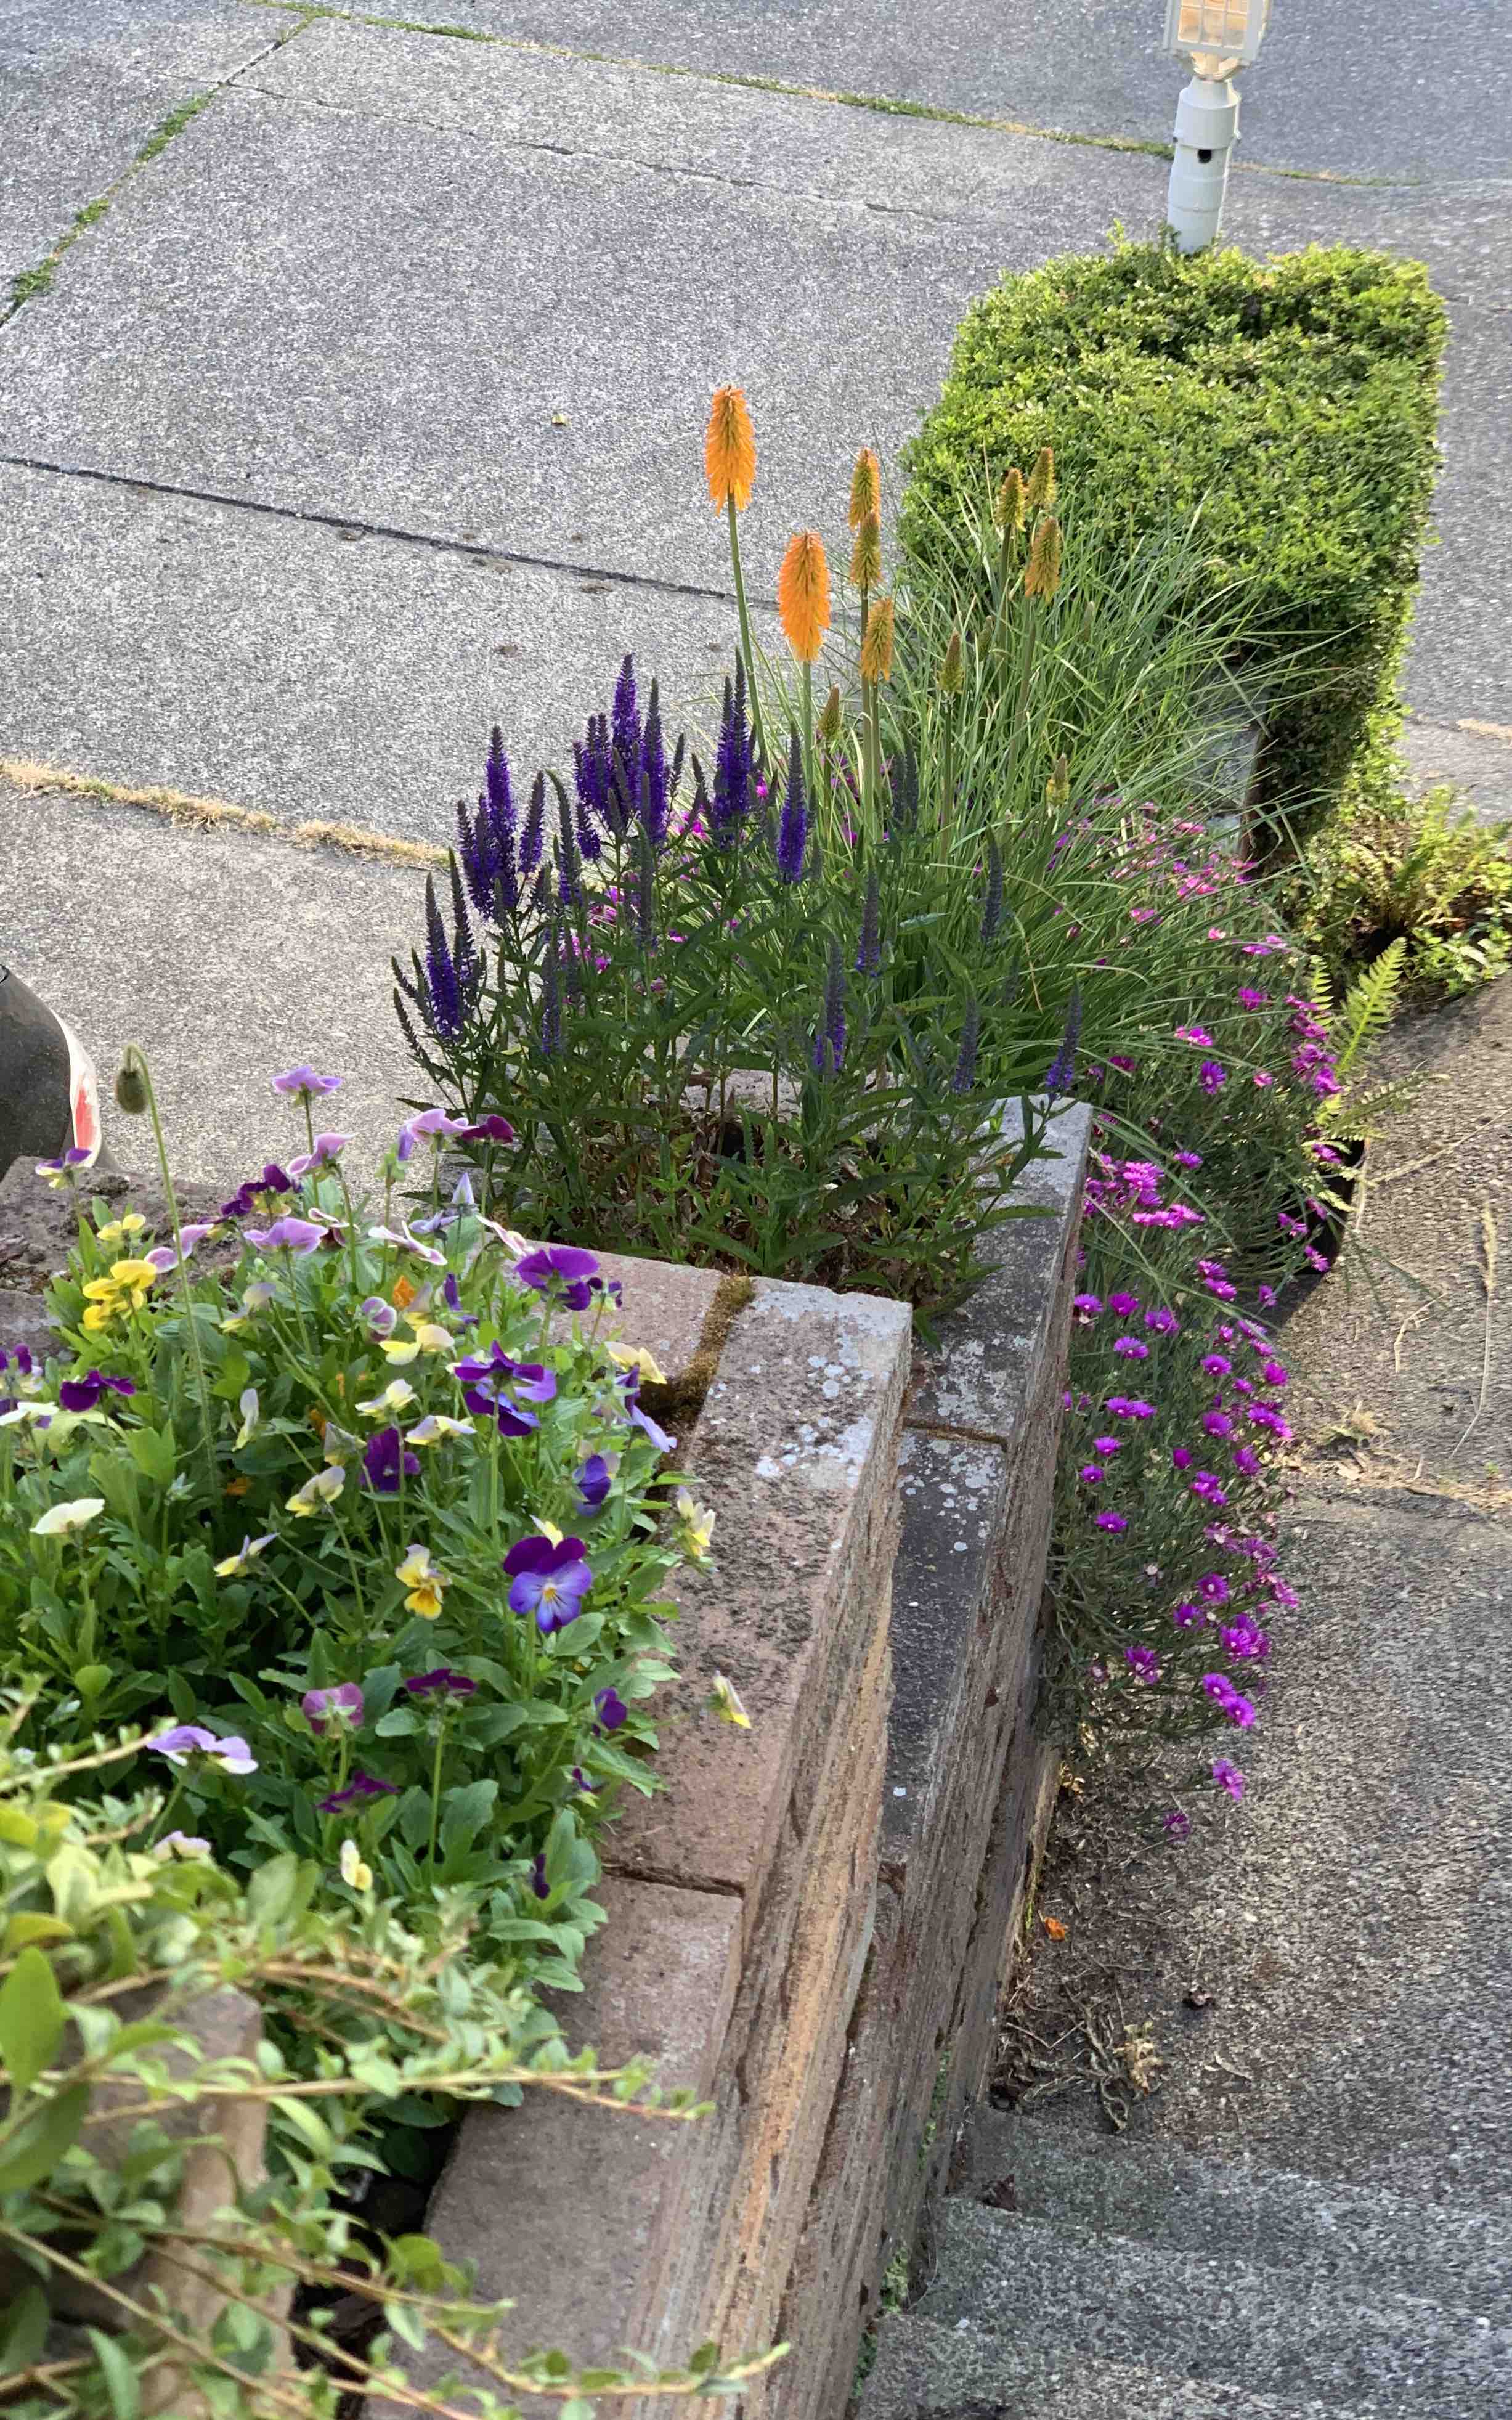
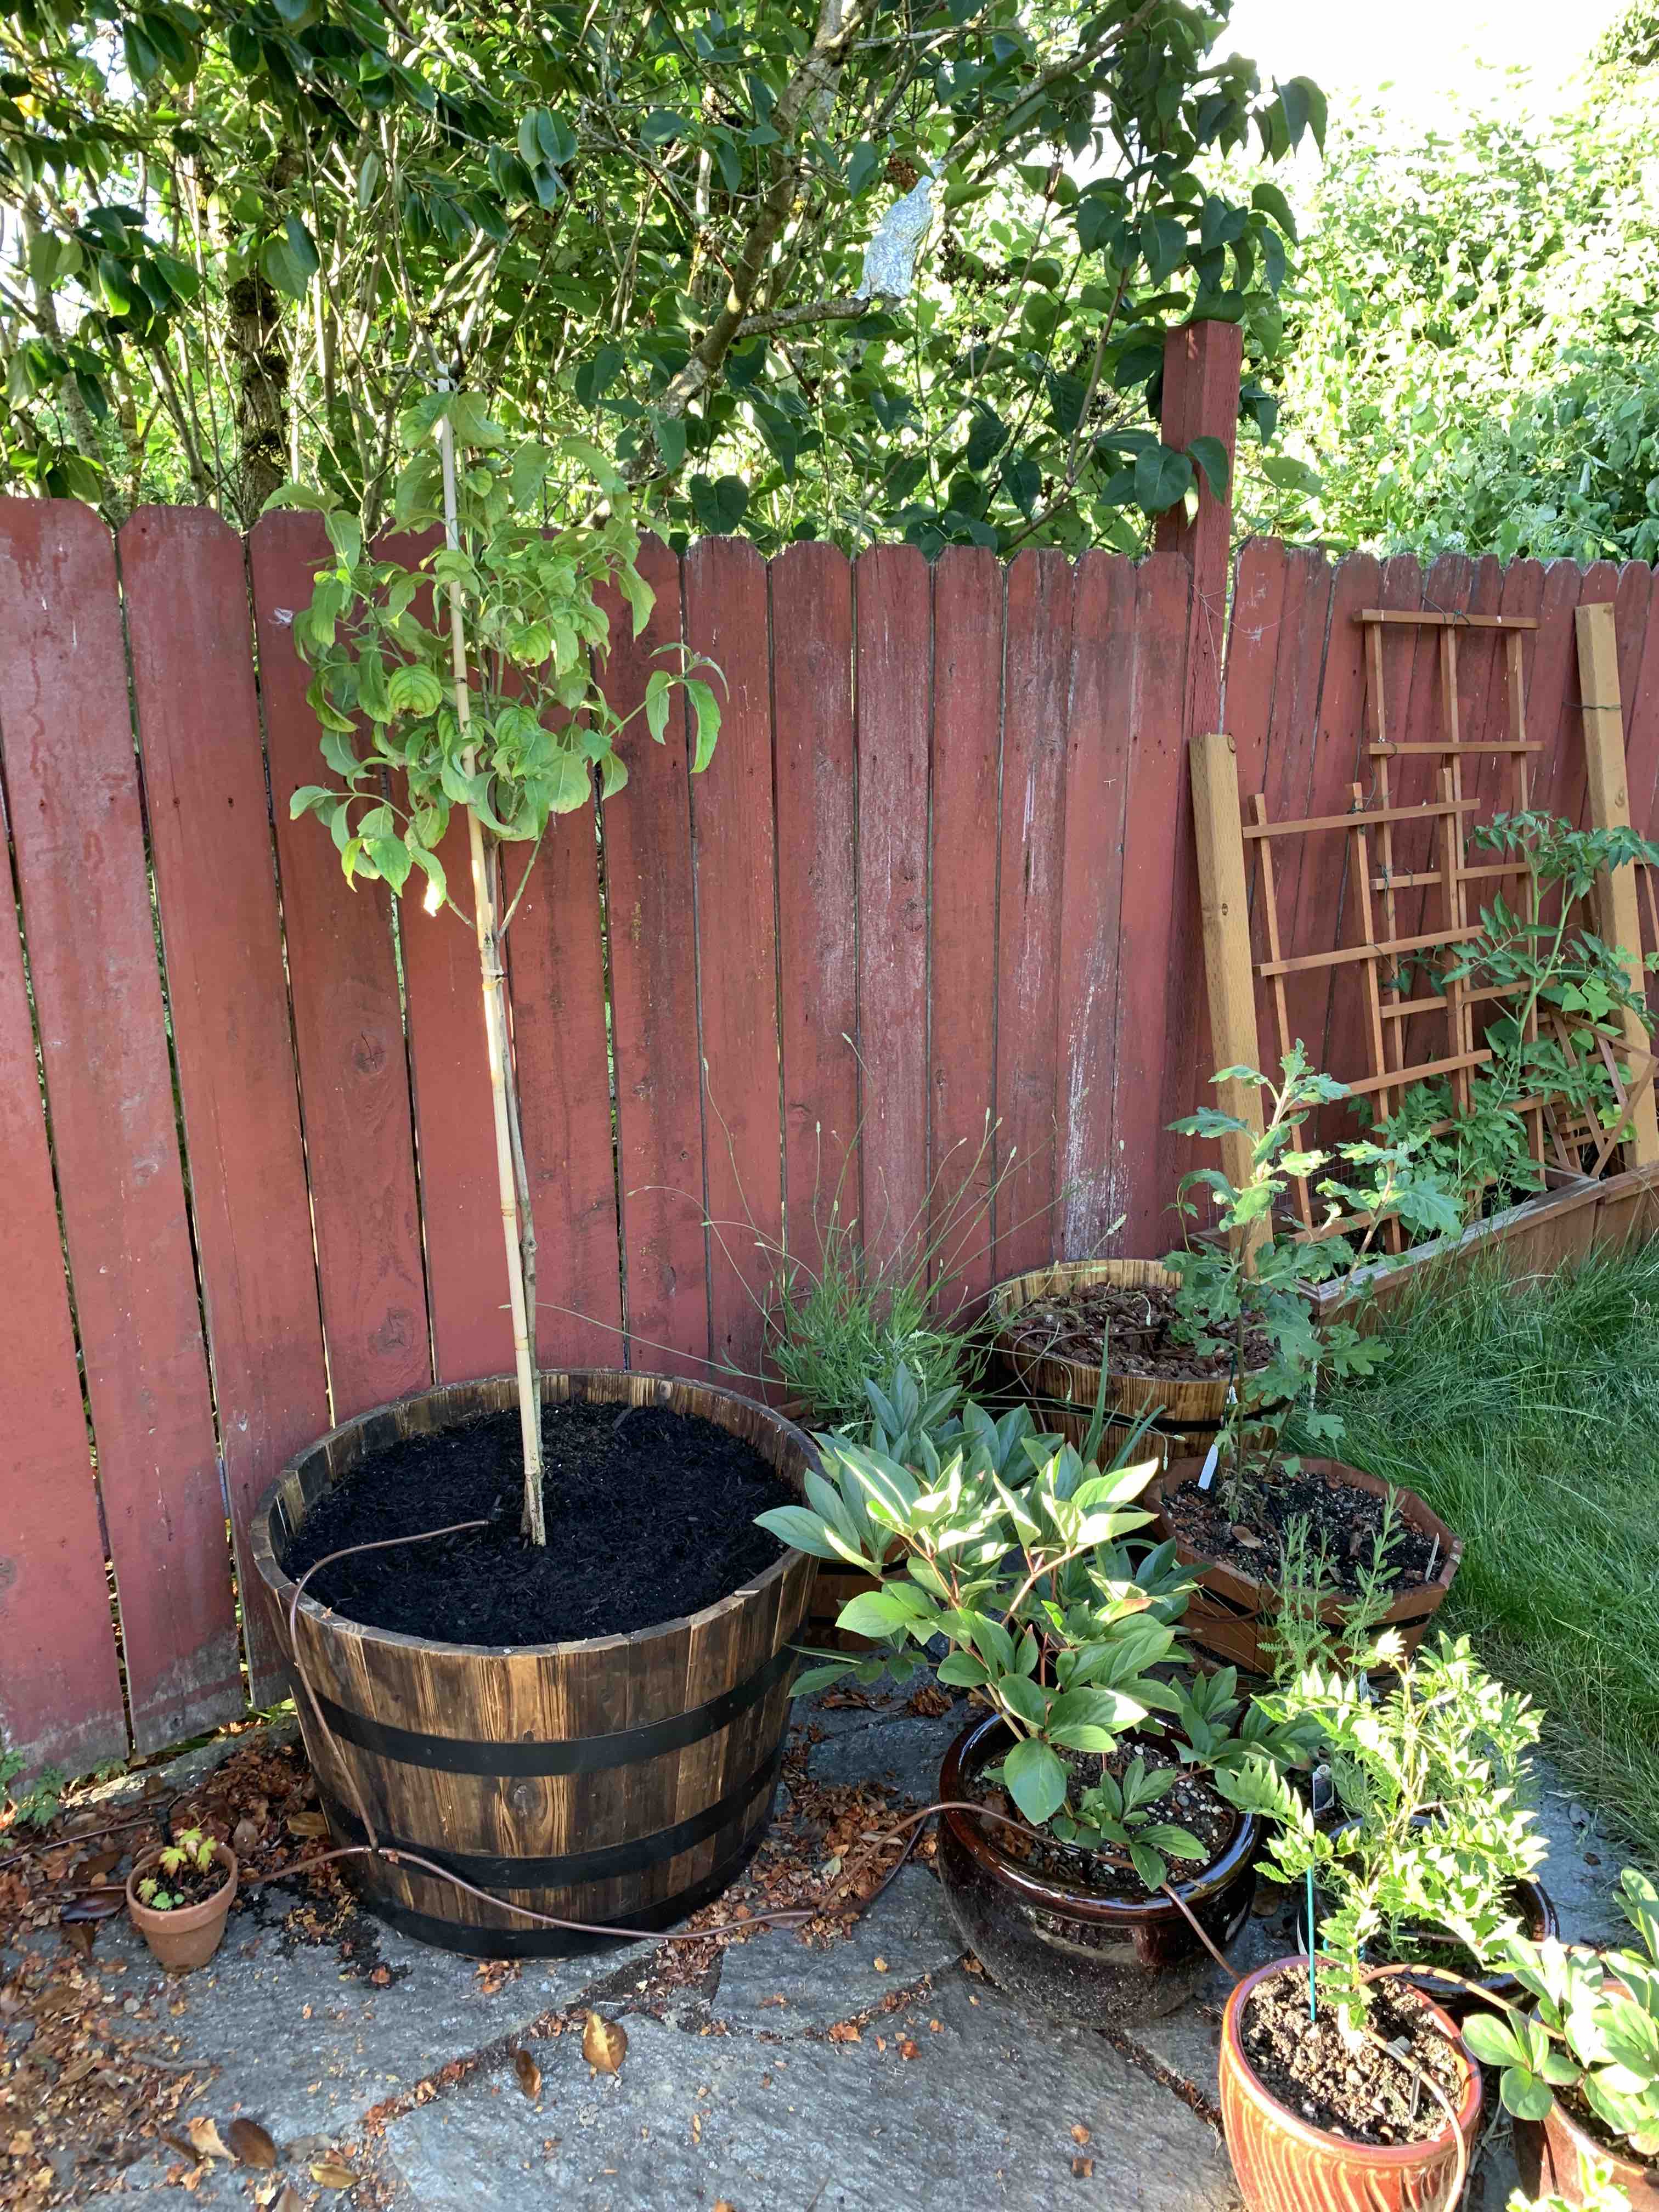
Worry Free Watering
My drip irrigation system is constantly growing and changing with each new pot, plant bed, and tree I add to my property. But the eave mounted design has made those additions a breeze. No matter how frenzied my obsessive plant collecting becomes, it’s nice to know all those plants will have a good chance of survival when I inevitably neglect them. ¯\(ツ)/¯